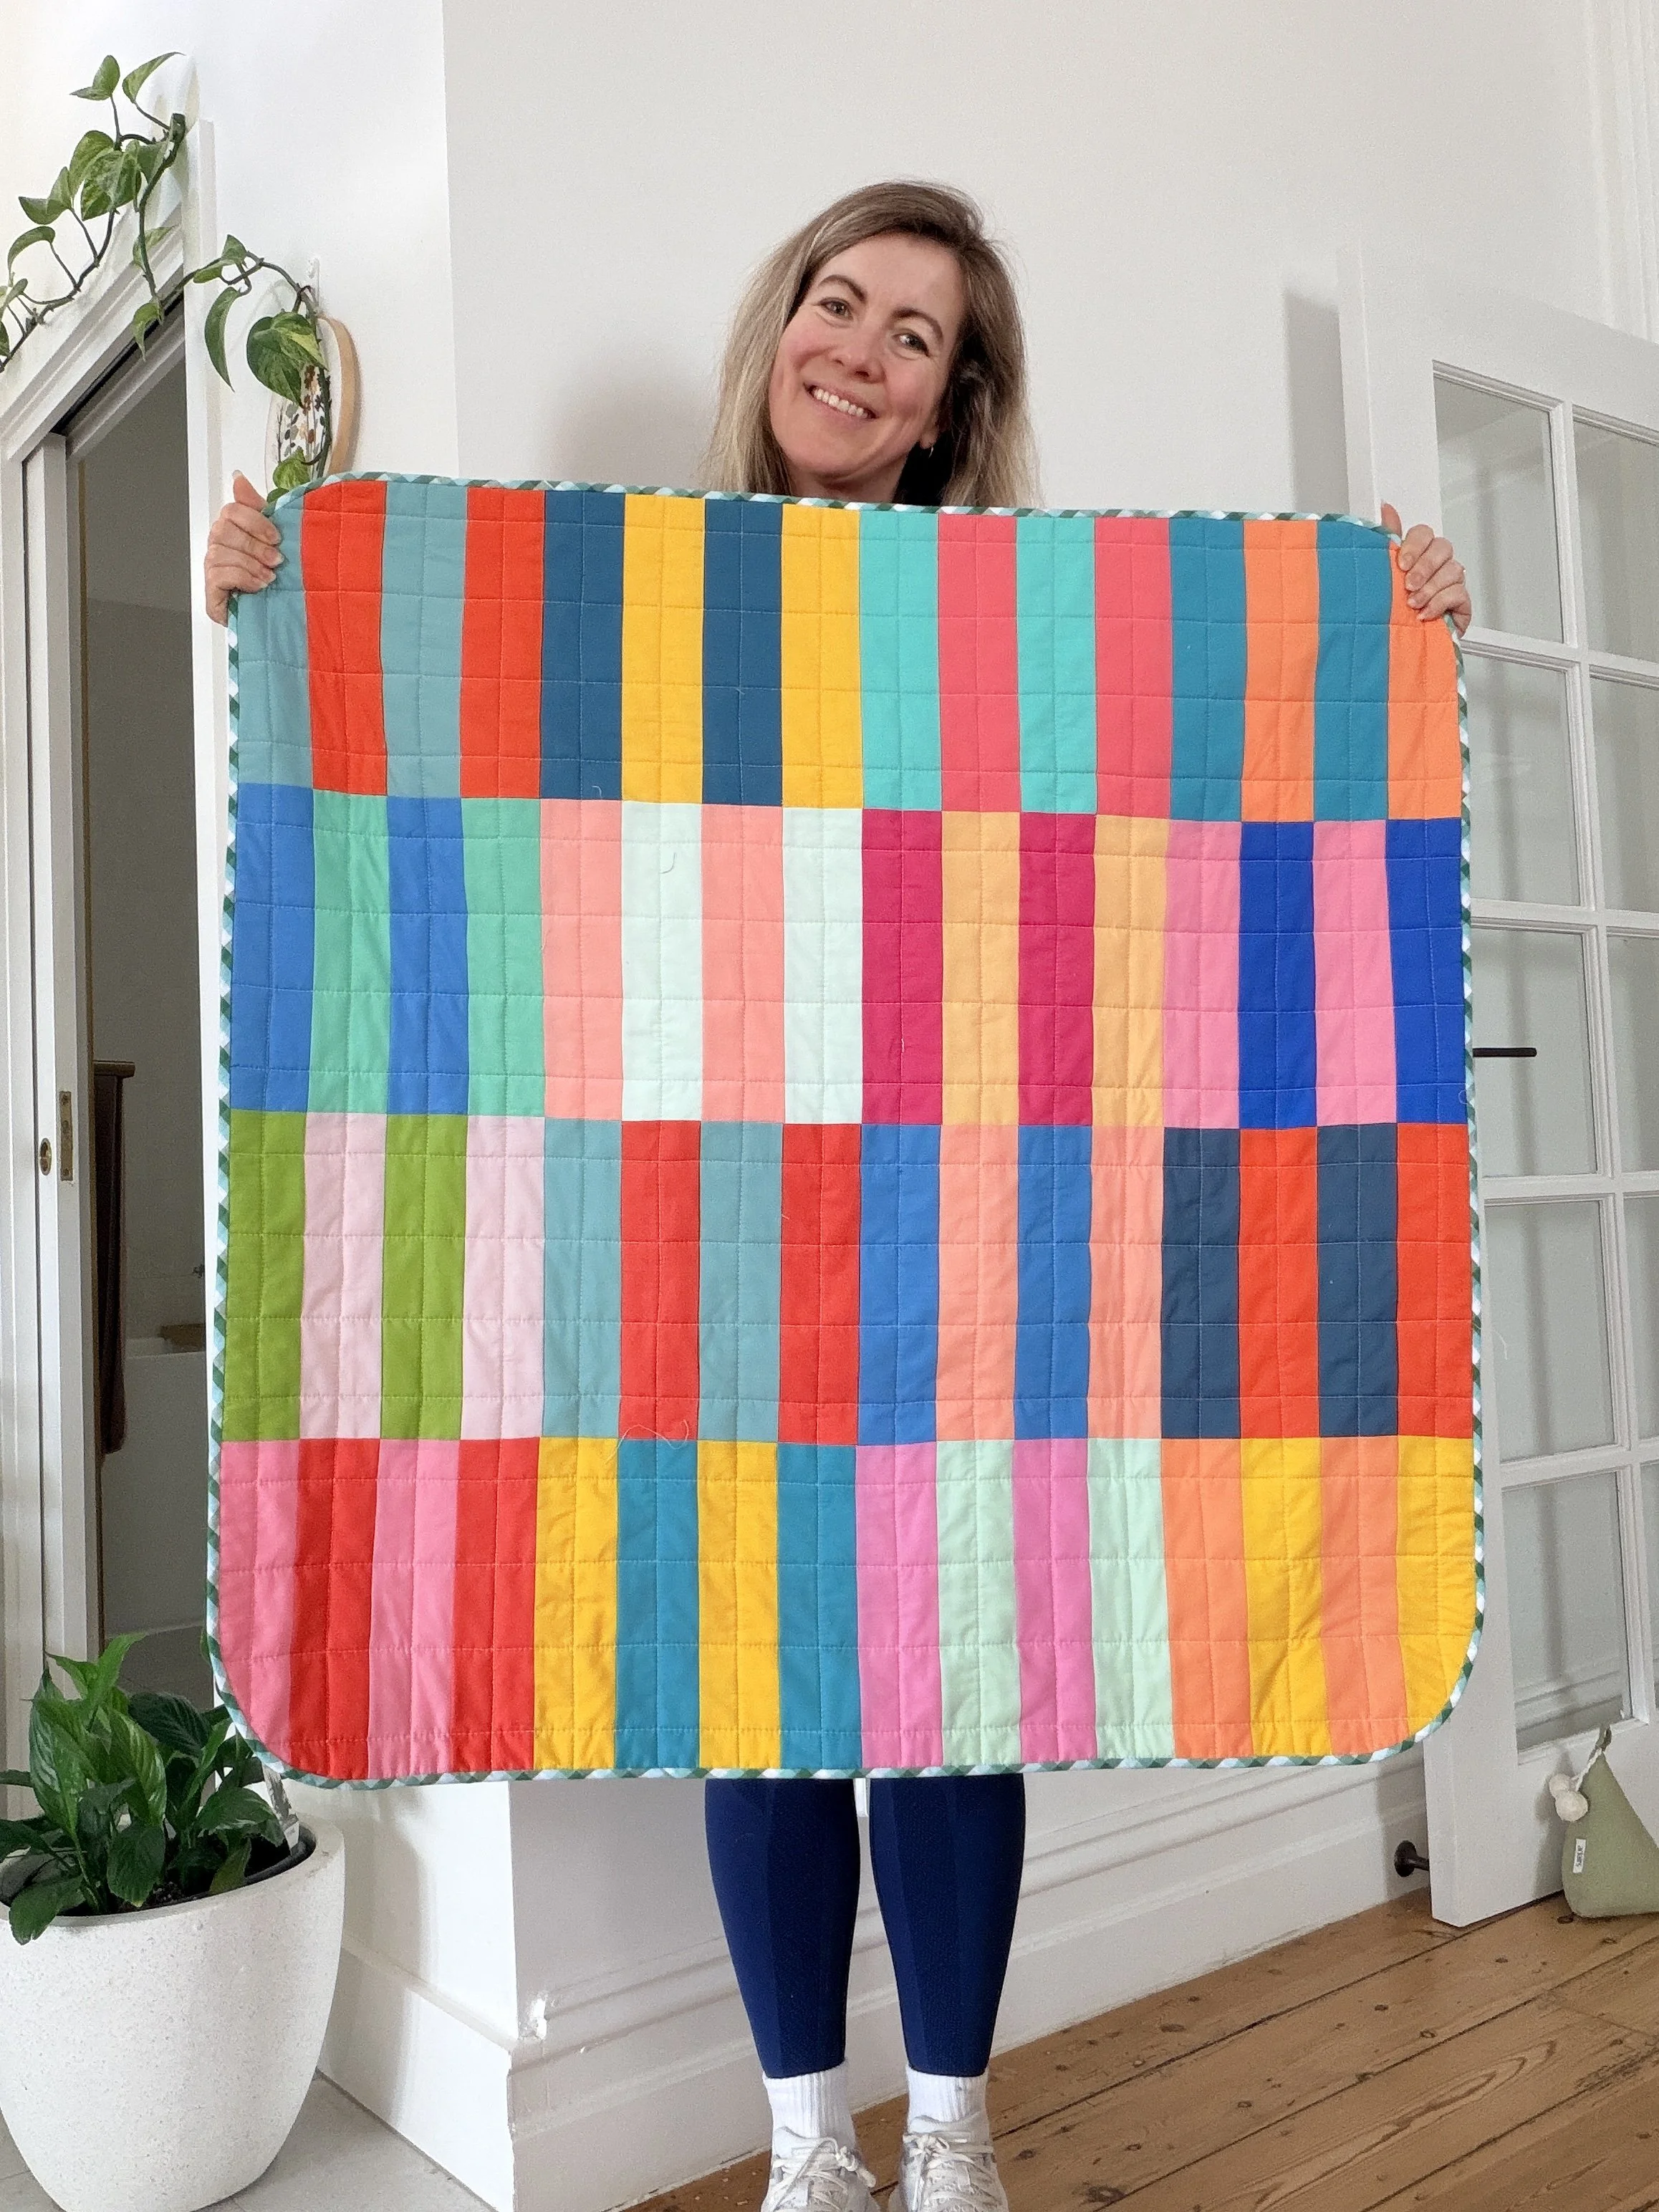
How to make this rainbow stripy quilt (baby size)
I recently made a set of four custom baby quilts- two of them I already have patterns for but two were so simple and fun, I decided to write tutorials for them. If you are a beginner quilter, don’t worry, this one is super straightforward and will come together in a jiffy! If you prefer a video tutorial, you can find that here. The finished quilt is approximately 40” x 40”. I’ve also got a blog post on how I made four different rainbow quilts with one bundle which you can find here.
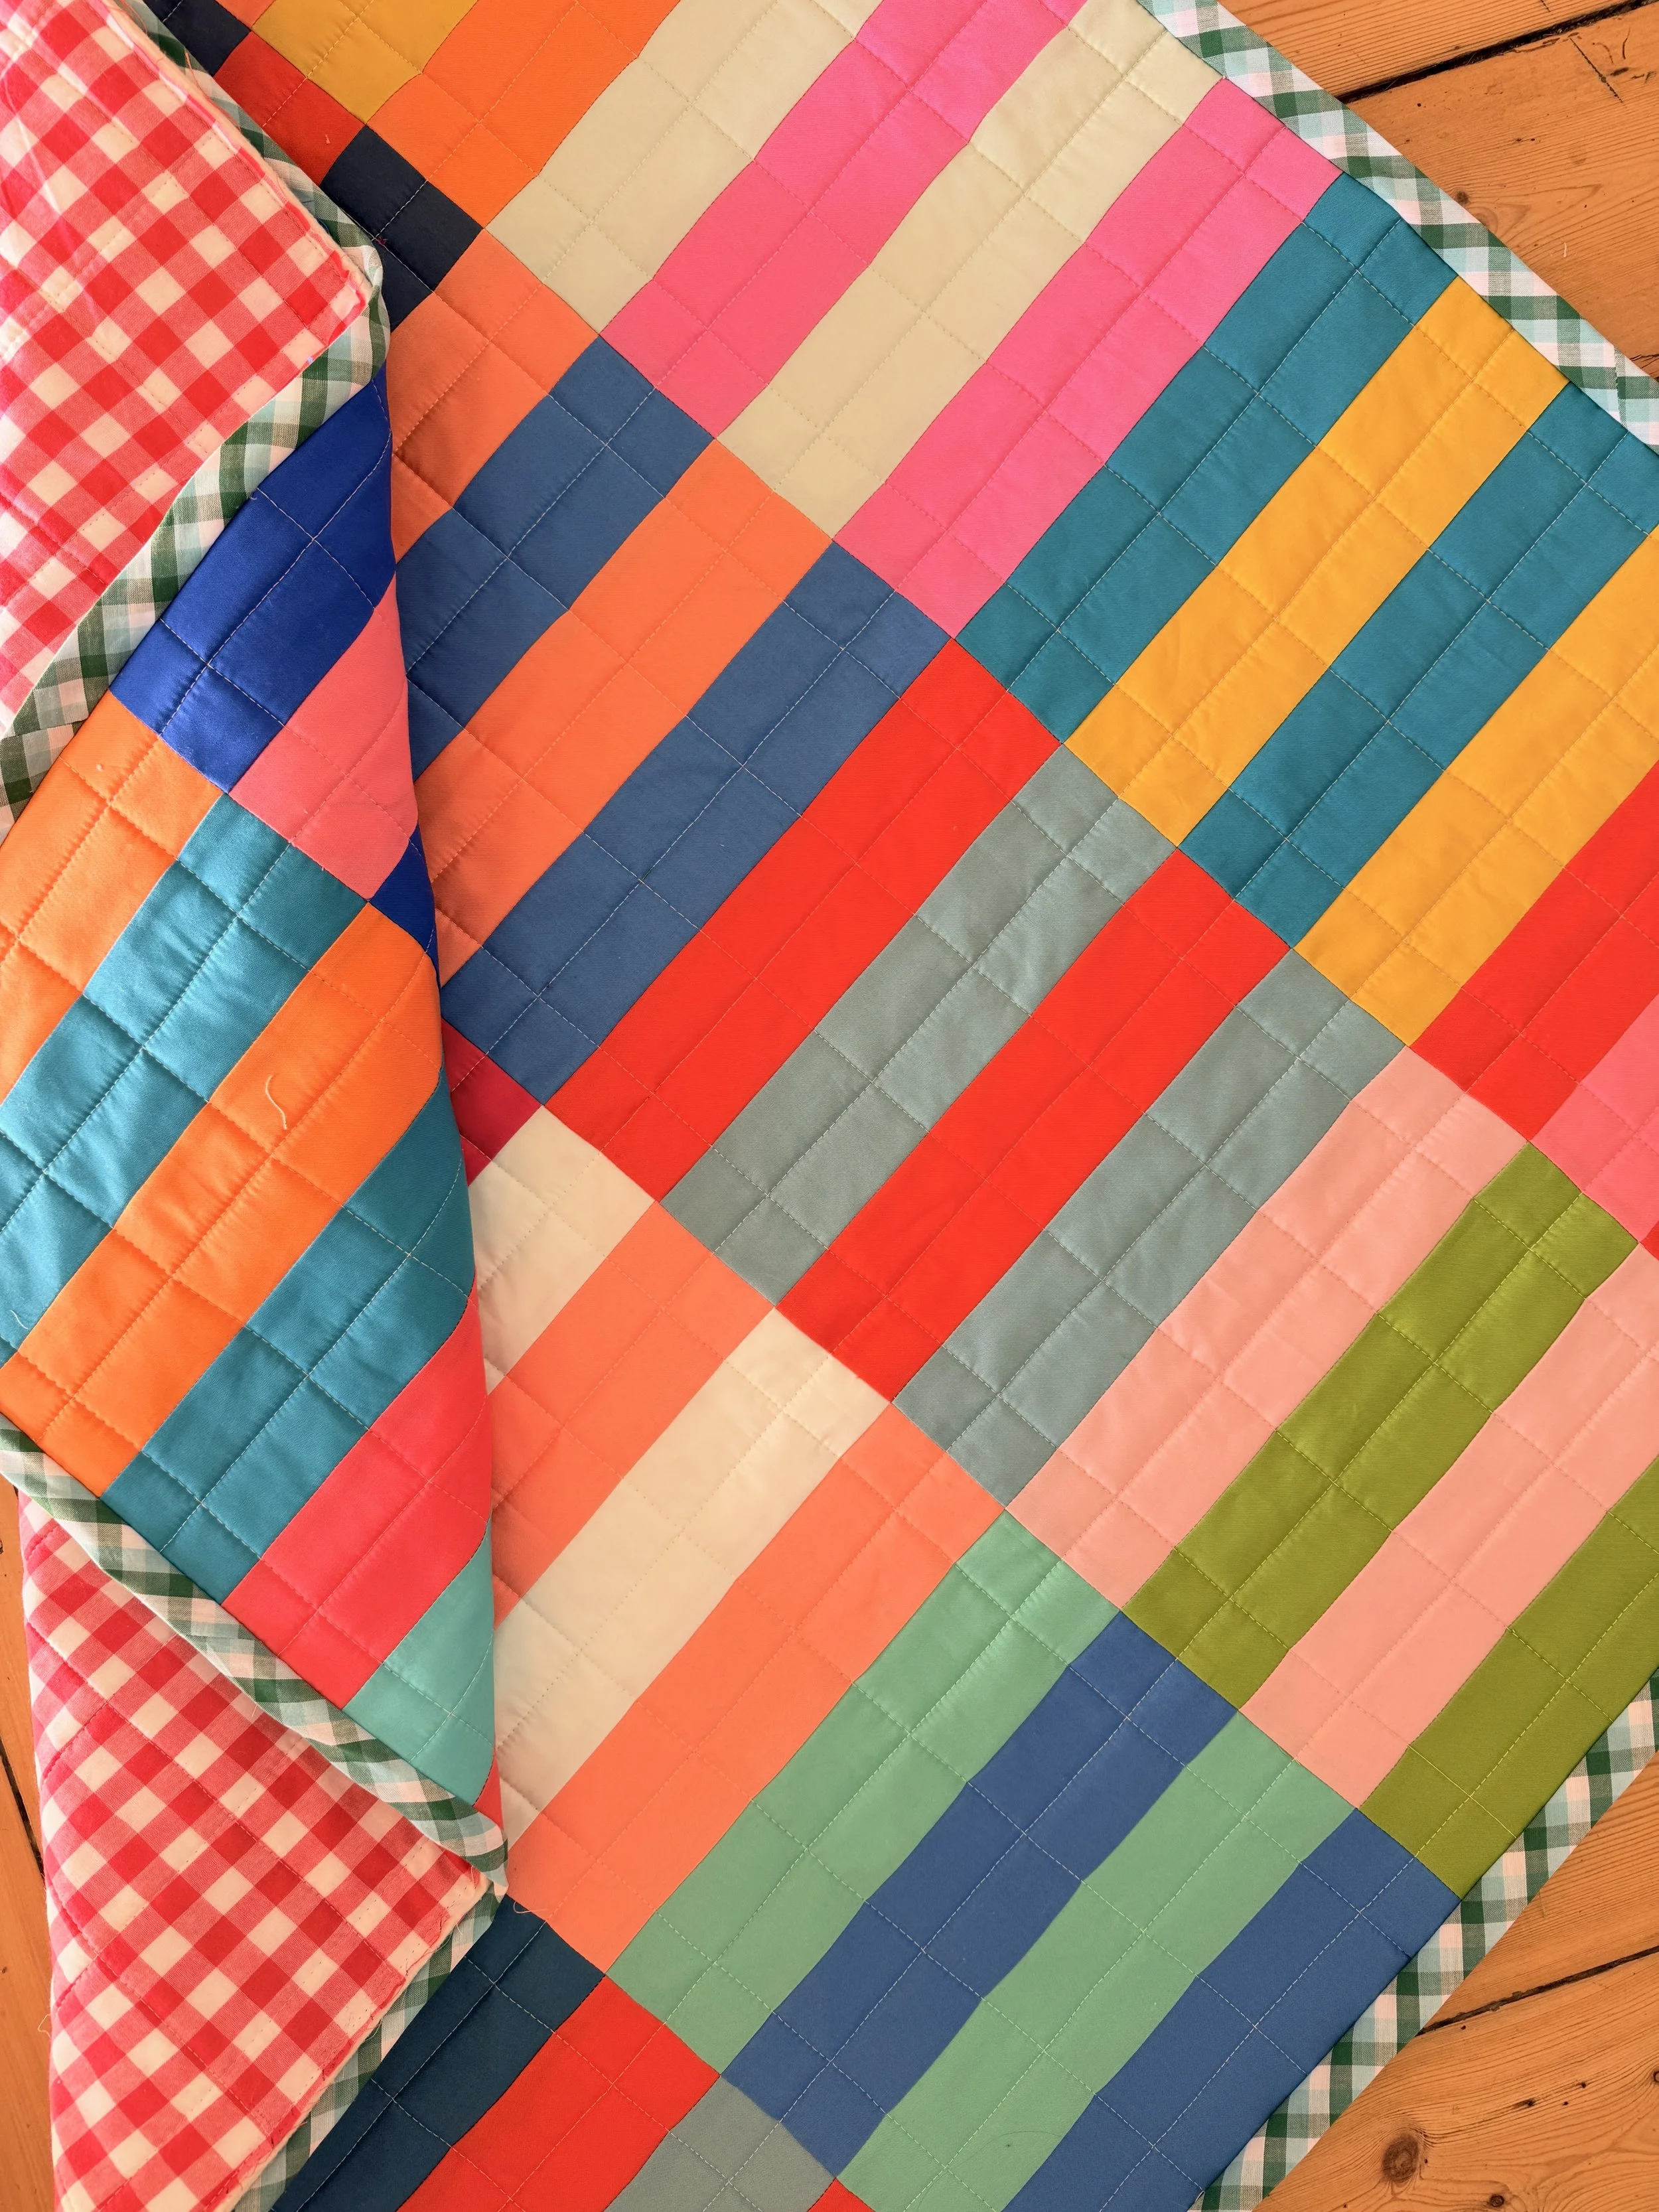
You need:
(32) strips that are 3” x 21-22” (basically the length of a FQ or half the length of a width of fabric). (I used 24 different fabrics but you can use however many you like!
1.25 yards backing fabric (I used a red gingham)
(5) strips of 2.25” x Width of Fabric (WOF) strips for binding
Sewing
Start by cutting your strips 3” x 21-22” strips. Then pair them into (16) pairs.
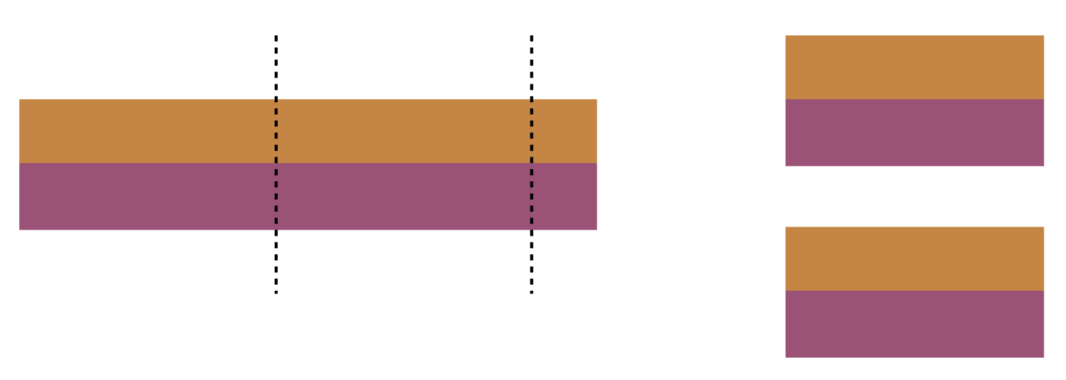
Take (2) 3” x 21-22” strips and sew them together right sides together (RST) using 1/4” seam

Then cut them into (2) pieces that are each 5.5” x 10.5” as follows:
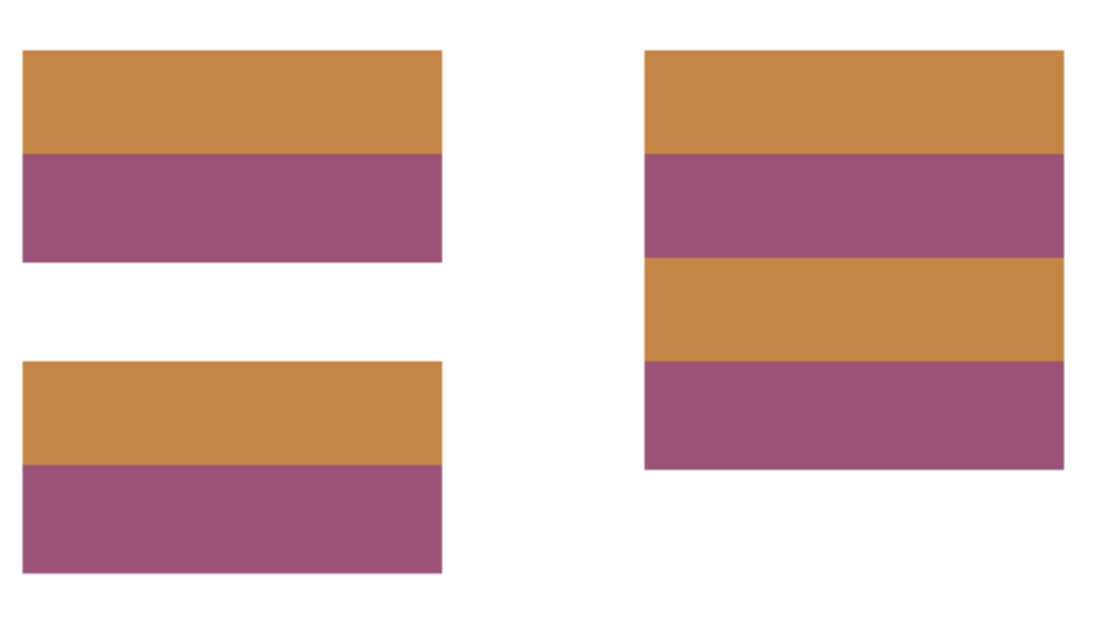
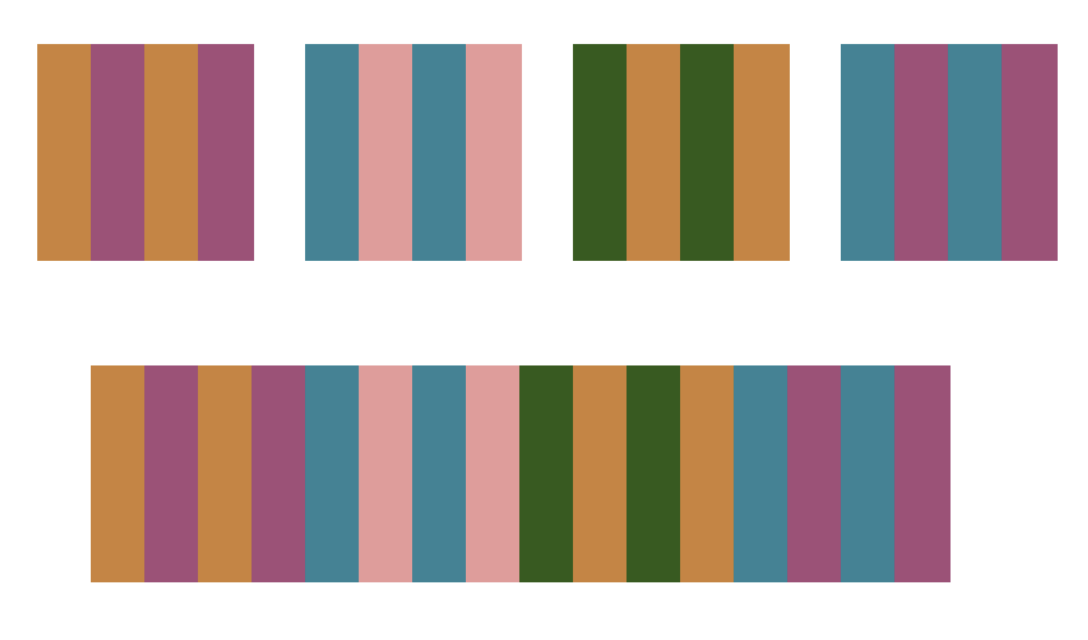
Then take your two pieces and sew them together lengthwise alternating as follows. This “block” will be 10.5” x 10.5” Press all your seams either open or in one direction.
Repeat for your remaining 15 blocks, You will have 16 blocks in total.
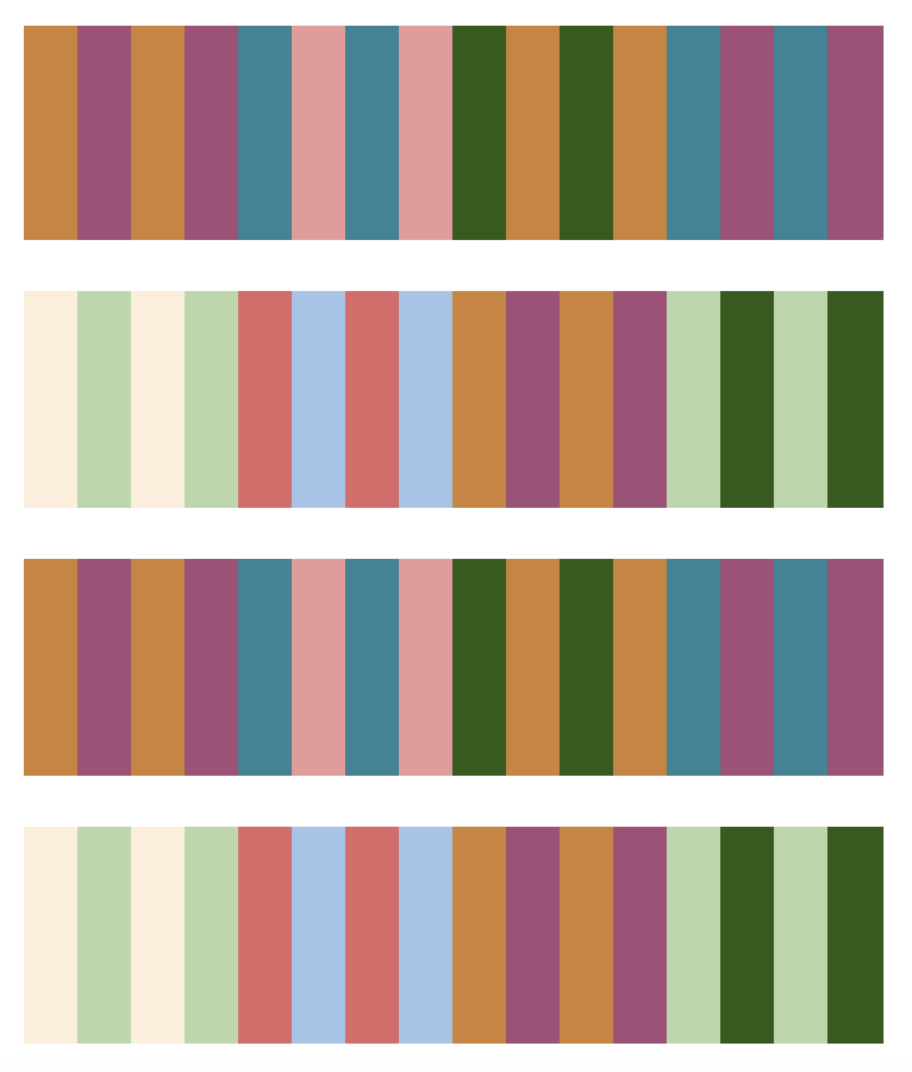
Layout all your blocks to make sure you have a good distrbution of colours. If you have pressed your seams open, make sure your first and third rows have the seams pressed in one direction and the second and fourth rows pressed in the other direction. This way they will nest together nicely.
Start by sewing 4 blocks together to create your rows.
Then sew your four rows together.
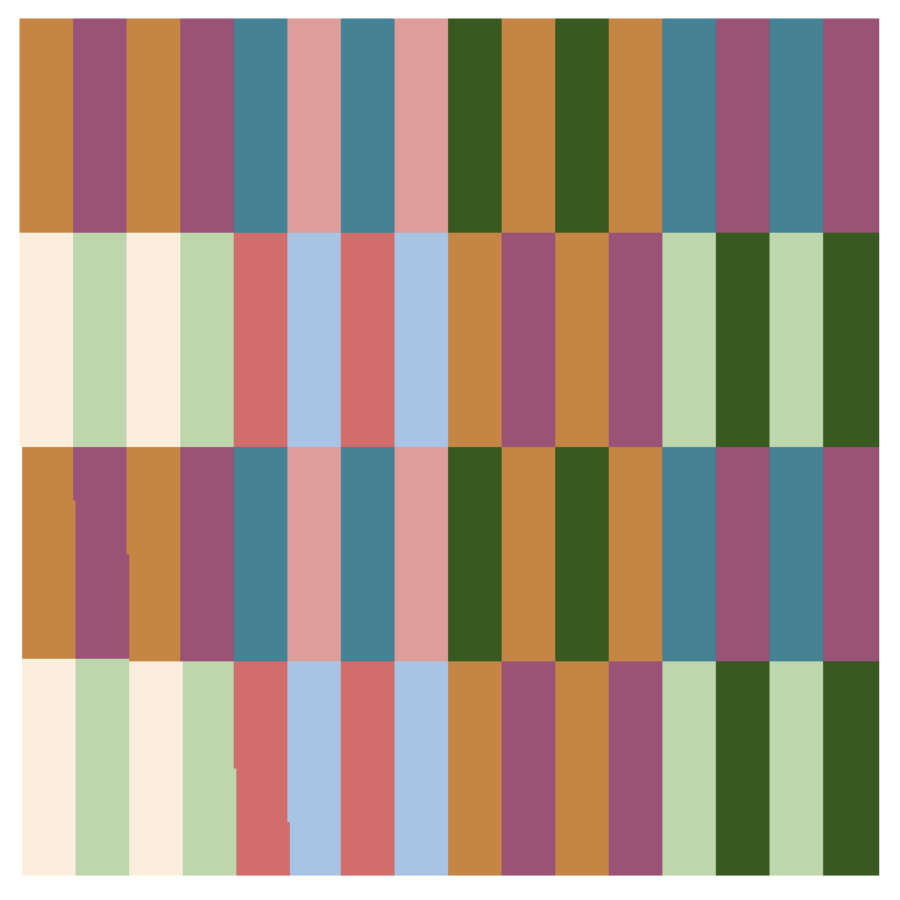
Give your quilt a good press and your quilt top is done!