
How to make: A Checkered Squares Quilt
A quick note: The pattern below is free however I have a downloadable printable version available for purchase (with two sizes) if you’d prefer which you can find here.
Another day at JMQ, another super simple quilt- my favourite! If you are looking for a quick finish, this one comes together in a flash- I made the quilt top in just over an hour! So let’s get right into it! This tutorial makes a large throw which is 60” x 75” ** (If you want to make a crib size quilt, I have instructions to make one here)
**If you have 42.5” of usable fabric (eg excluding the selvage), you can make make a quilt that is 64” x 80” by making cuts that are 8.5” instead of 8”.
Fabric Requirements:
Fabric A (I used green): 2 yards
Fabric B (I used cream): 2 yards
Binding: 0.5 yards (6-7 strips)
Backing: 4 yards*
*If you want to use less backing fabric, check out this tutorial
Cutting Instructions:
From both of your Fabric A and Fabric B, cut (8) strips (from both Fabrics, so 16 strips in total) that are 8” x Width of Fabric (WOF). Don’t understand WOF? Check out this link.
Now take (2) strips of Fabric A and (2) strips of Fabric B and sew them together alternating, right sides together using ¼” seams as follows:

Press your seams towards the dark colour. This is important for nesting seams later on as well as making it easy to fold and cut :-)
Repeat 3 more times using your remaining strips so you have a total of (4) strips sets.

Now we are going to cut our square sets, it’s easiest to do this if you fold your strip sets in half lengthwise like this:

Make sure the fold is nice and flat (this is where pressing to one side makes it much easier)
Trim off the rough edges, then cut 5 strips that are 8” long- this is what we are doing:

But it will look more like this because we have our fabric folded. From each strip set, you will have 5 strips of 4 squares (we will call these square sets).

Repeat with your other 3 strip sets to create a total of (20) squares sets:

Take (2) of your square sets and sew them right sides together with ¼” seams with alternating colours as follows- press your seams towards the dark colour:

Repeat until you have 10 strips of 8 squares in total. Then we are going to sew each row together, making sure you flip every second row so you have a checkerboard. Sew right sides together using ¼” seam. Because we pressed all of our seams towards the dark colour, they will nest together perfectly:
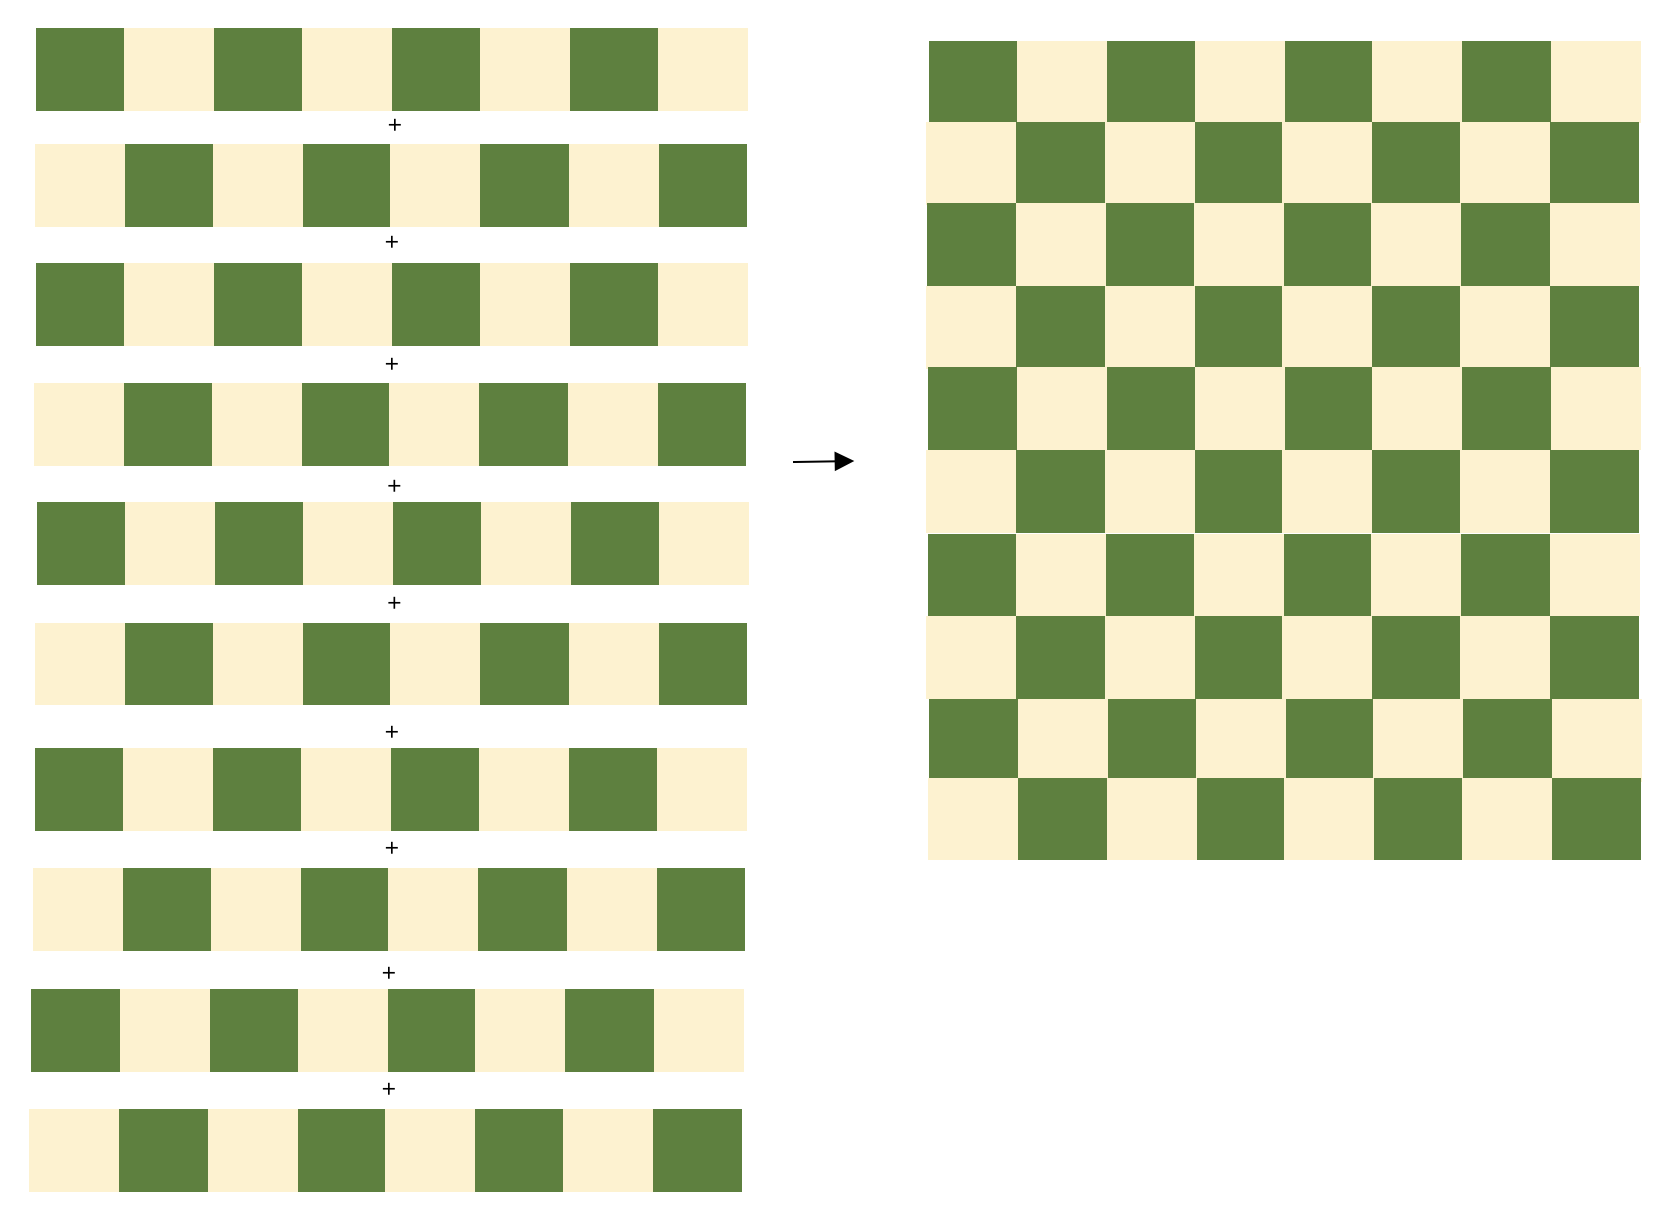
Give it a good press and your quilt top is done!
Baste, quilt and bind as desired
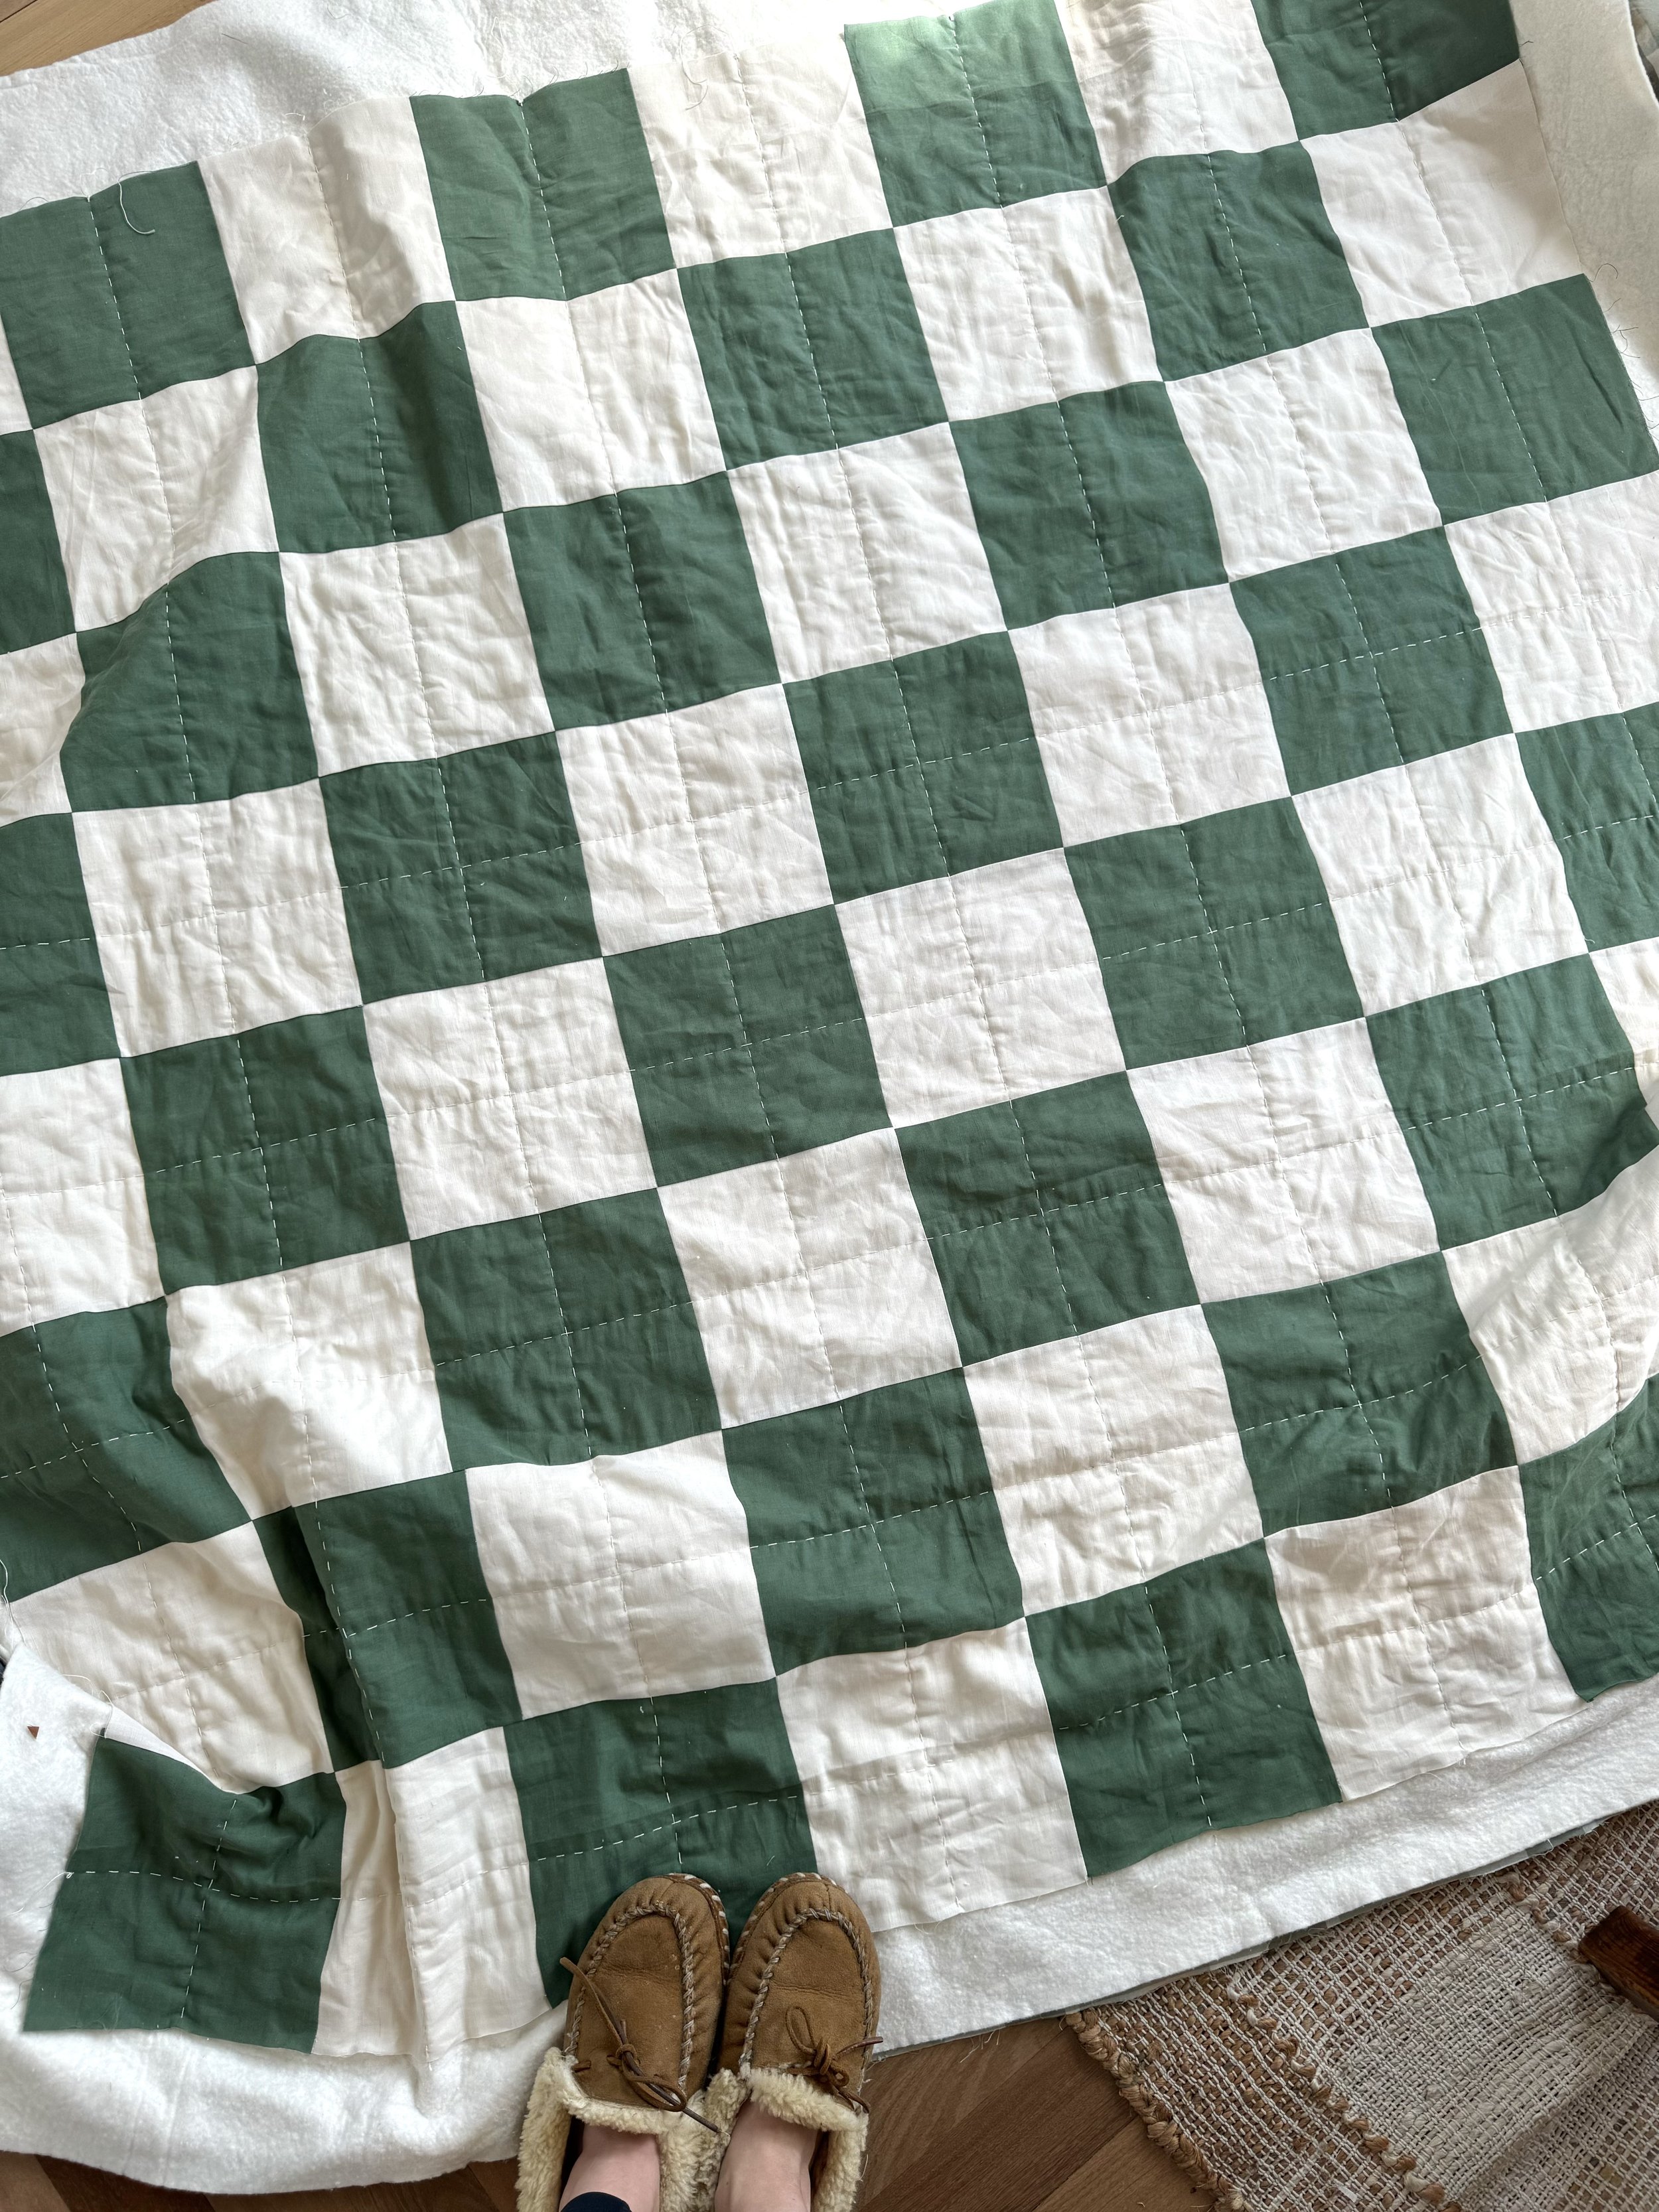
Now onto my quilt! I used linen cotton blend fabrics for a little bit of extra texture and chose to hand quilt it by doing straight lines both horizontally and vertically through the squares. If you would like to learn how to hand quilt, or read some tips, you can find these here:

I used a sheet as the backing and made curved edges for my binding. I machine sewed on the front of my binding and hand sewed it on the back using a big stitch.

I hope you enjoy making this quilt! If you have any questions, let me know :-)
