
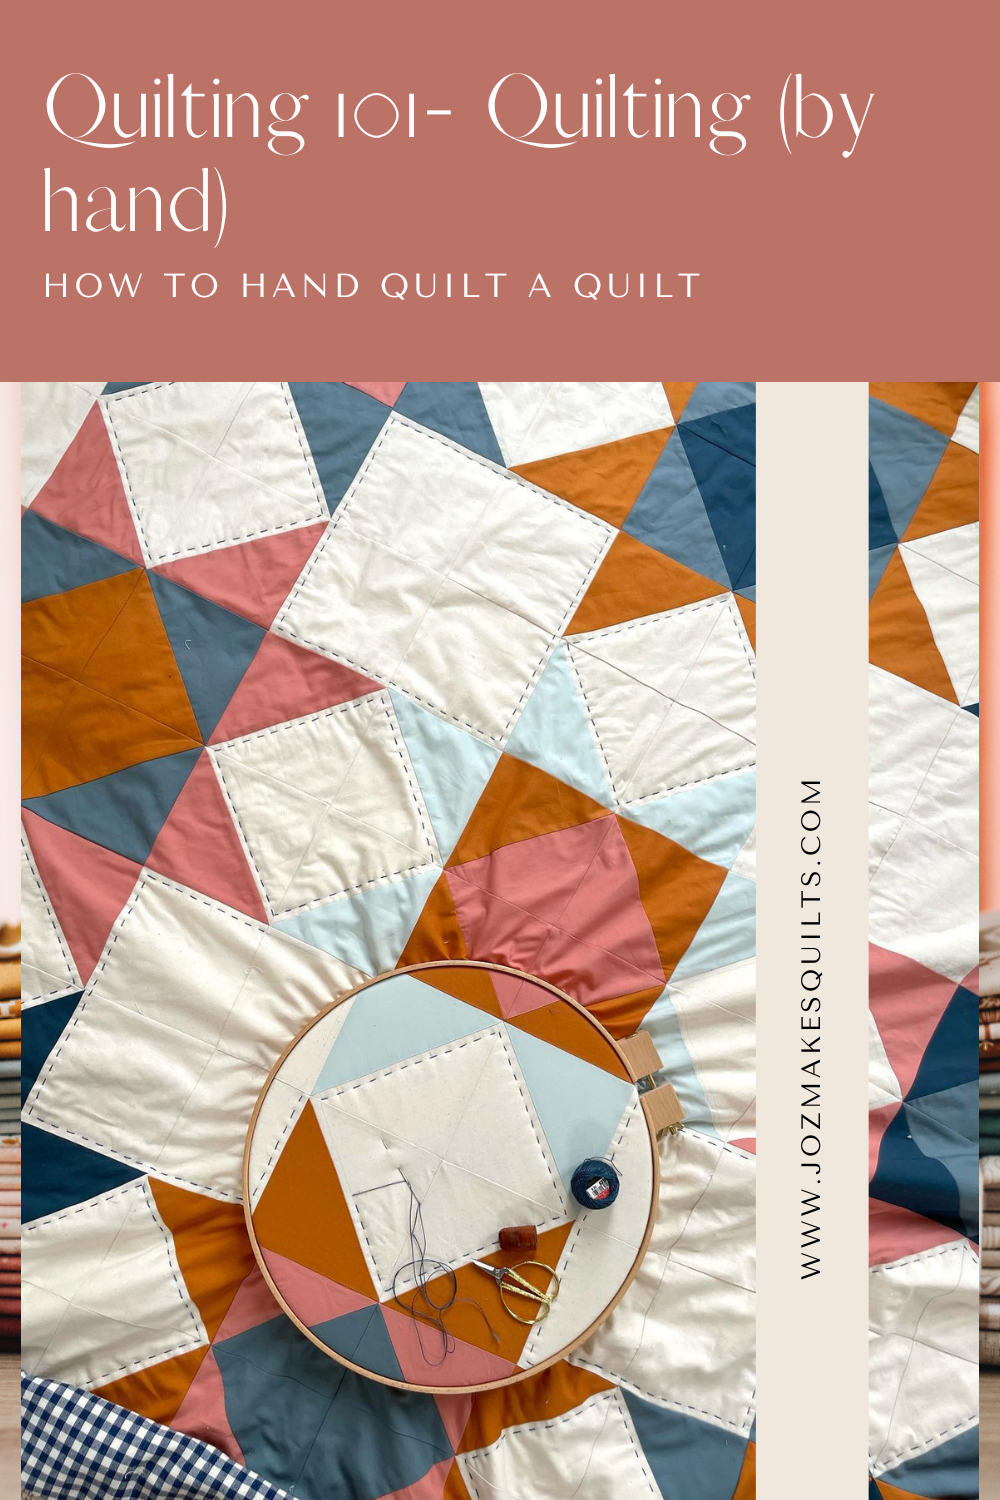
Quilting 101, Lesson 7a- Quilting (the hand quilting edition)
If you’re looking for the tutorial on machine quilting, you can find that here.
One of my favourite ways to finish a quilt is to hand quilt- it takes a little (well, let’s be honest, much) longer than machine quilting but the hand finished product is completely worth it! I’ve included some photos at the end of this tutorial so you can get some ideas for how you might like to hand quilt :-)
It’s a slow a meditative process that you can do in front of the TV (and a fireplace) or while listening to a podcast or audiobook. So let’s get started.
Supplies:
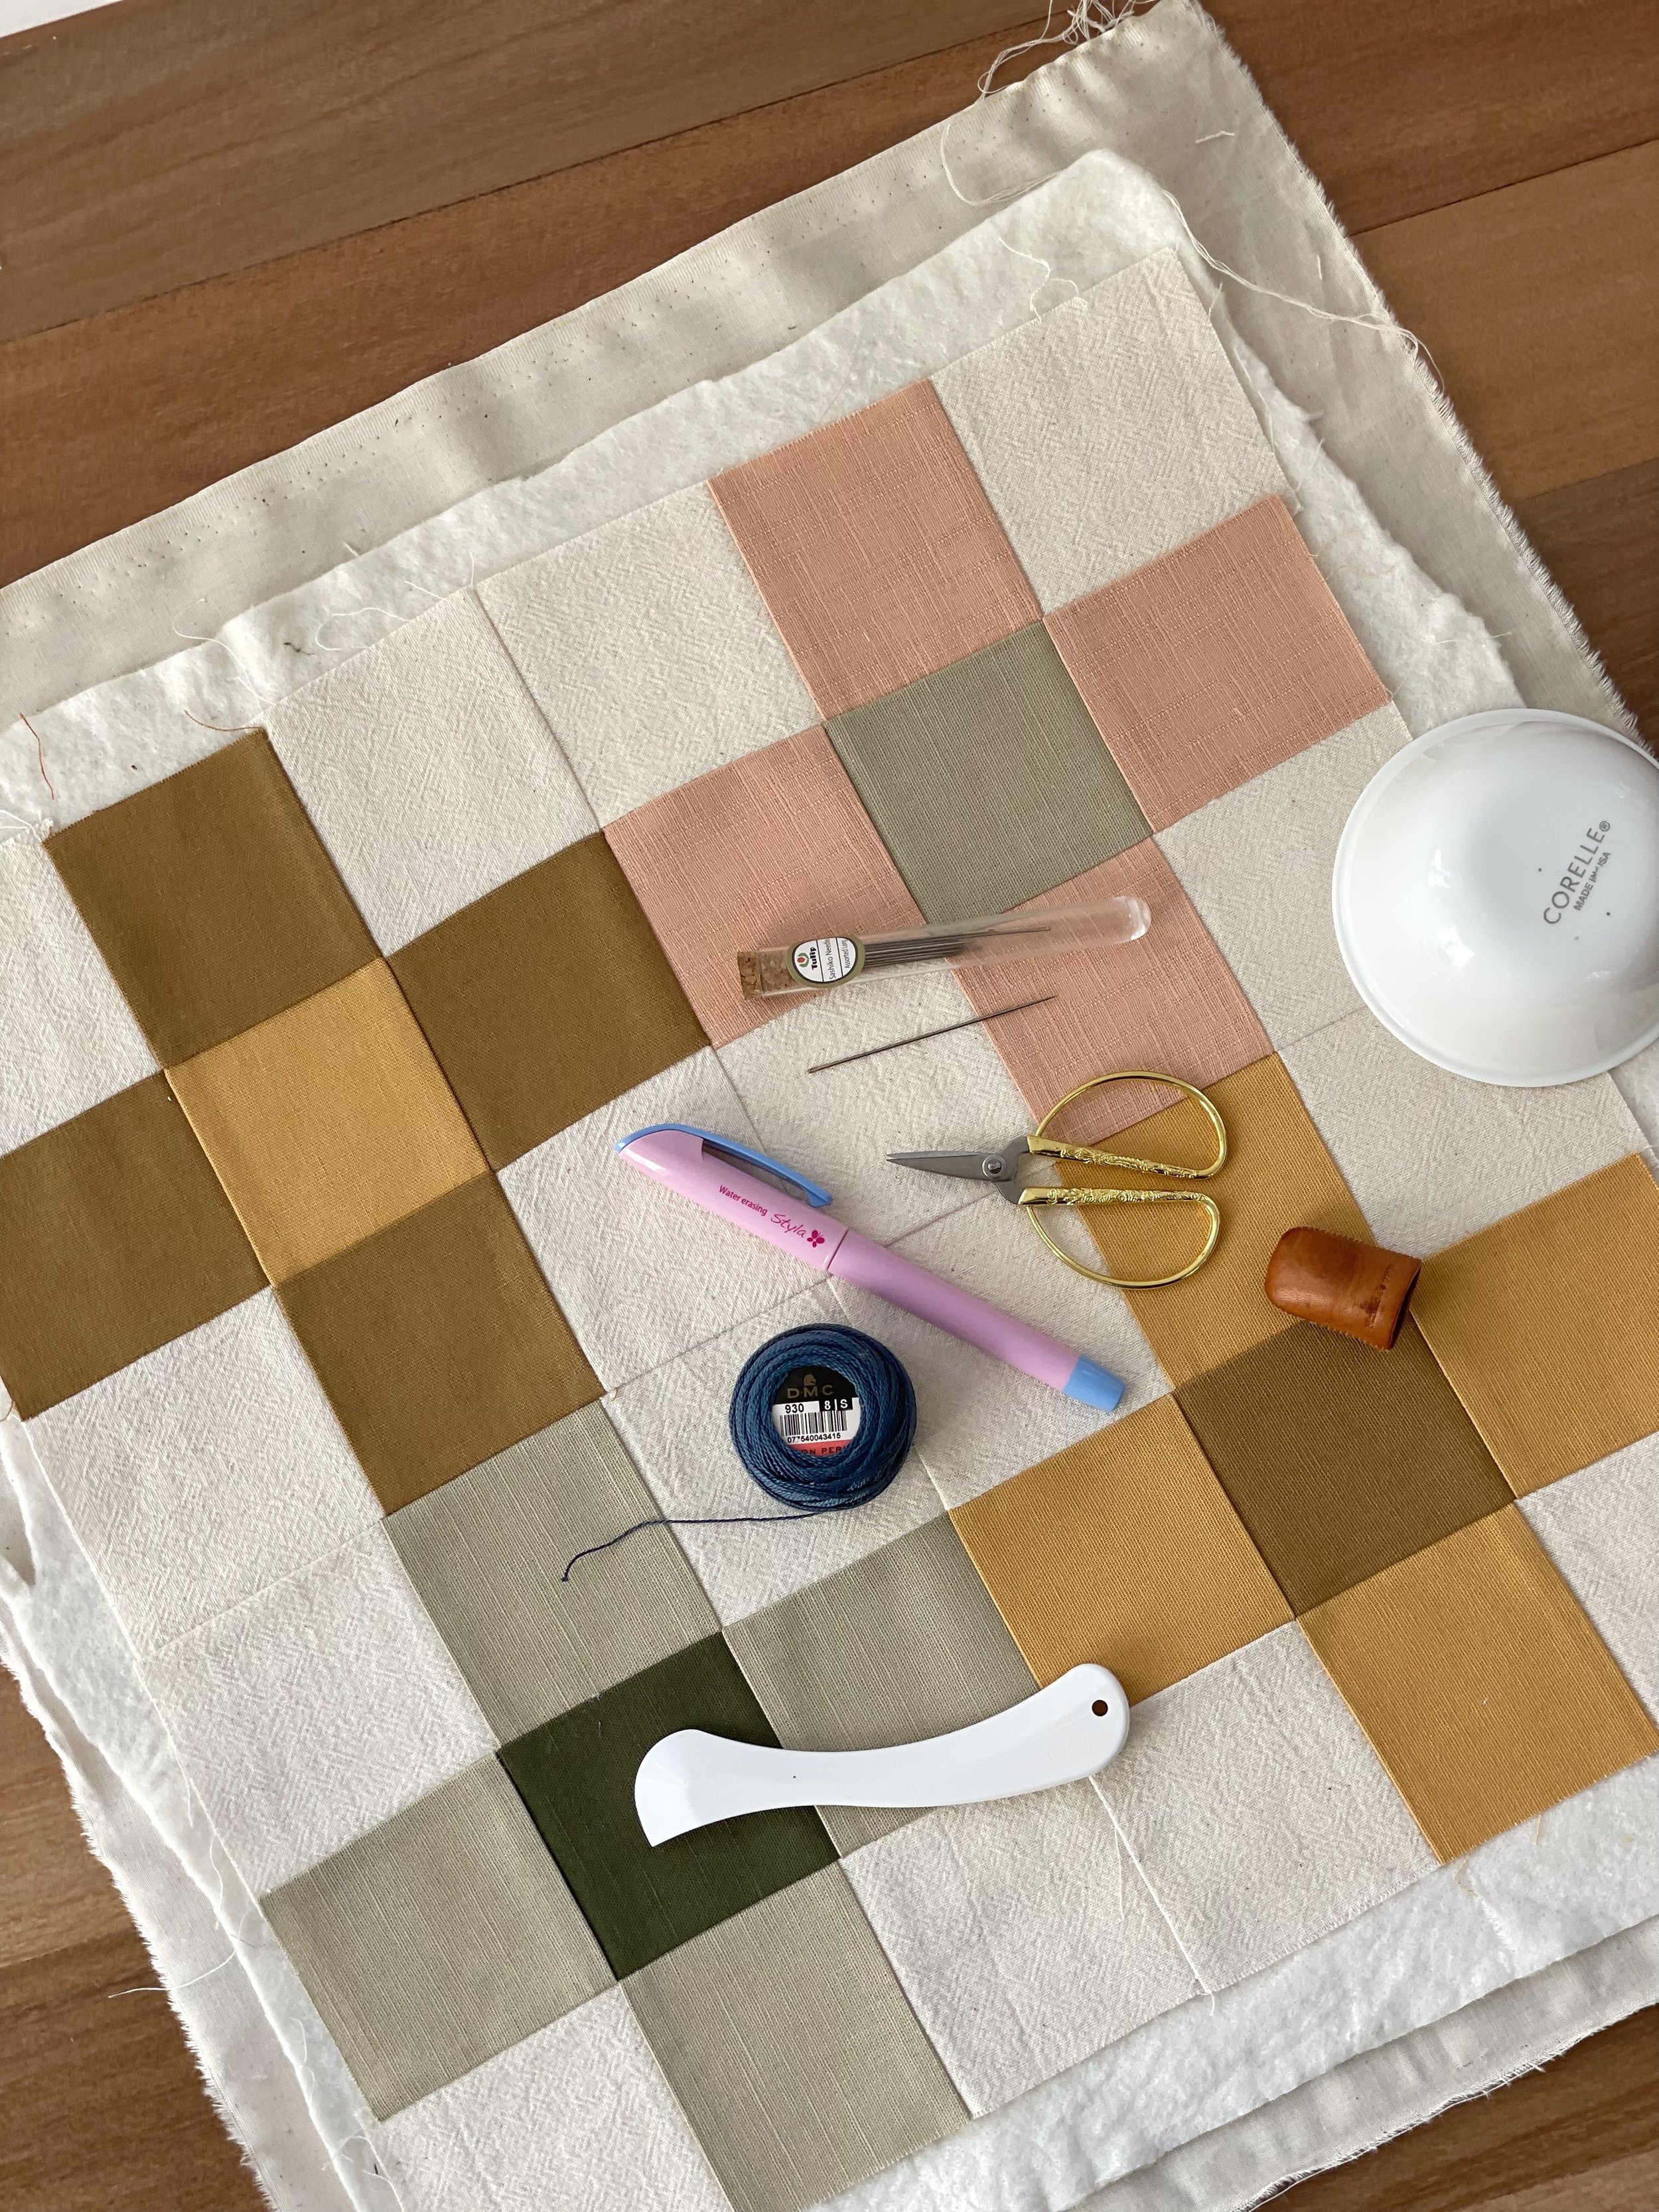
Basted quilt (NB: My preference is spray basting regardless of the type of quilting but for hand quilting, it means you don’t have pins getting in the way. In terms of longevity of spray basting, I hand quilted a king sized quilt on and off over a period of about 6 months and had no issues with the spray basting)
Thread- my favourite is DMC Perle 8 or Sashiko Thread - It’s a bit thicker than a standard machine thread and gives a really traditional yet timeless look. I often use a cream or white but have recently started using more contrasting colours to really show off the hand quilting
Marking tool
I like to use a hera marker for straight lines (you can also use a butter knife if you don’t want more quilting paraphernalia) but if you are quilting at night/ in poor lighting this can sometimes be hard to see.
Alternatively you can use a water erasable marker like this one
Ruler if you are doing straight lines
Bowl or something similar for curvy lines
Needles- my favourite to use is Tulip Hiroshima needles- they are nice and long, not too sharp and have a decent eye for easy threading
Thimble (optional but highly recommended)
Quilting hoop (optional)
Instructions
NB: Before you start, you may want to consider trimming your quilt and attaching your binding to the front of the quilt only- that way you can hide all your knots behind the binding and don’t have to worry about any of the hand quilting being cut when you trim your quilt sandwich. This step is completely optional- I’ve done both methods with success!
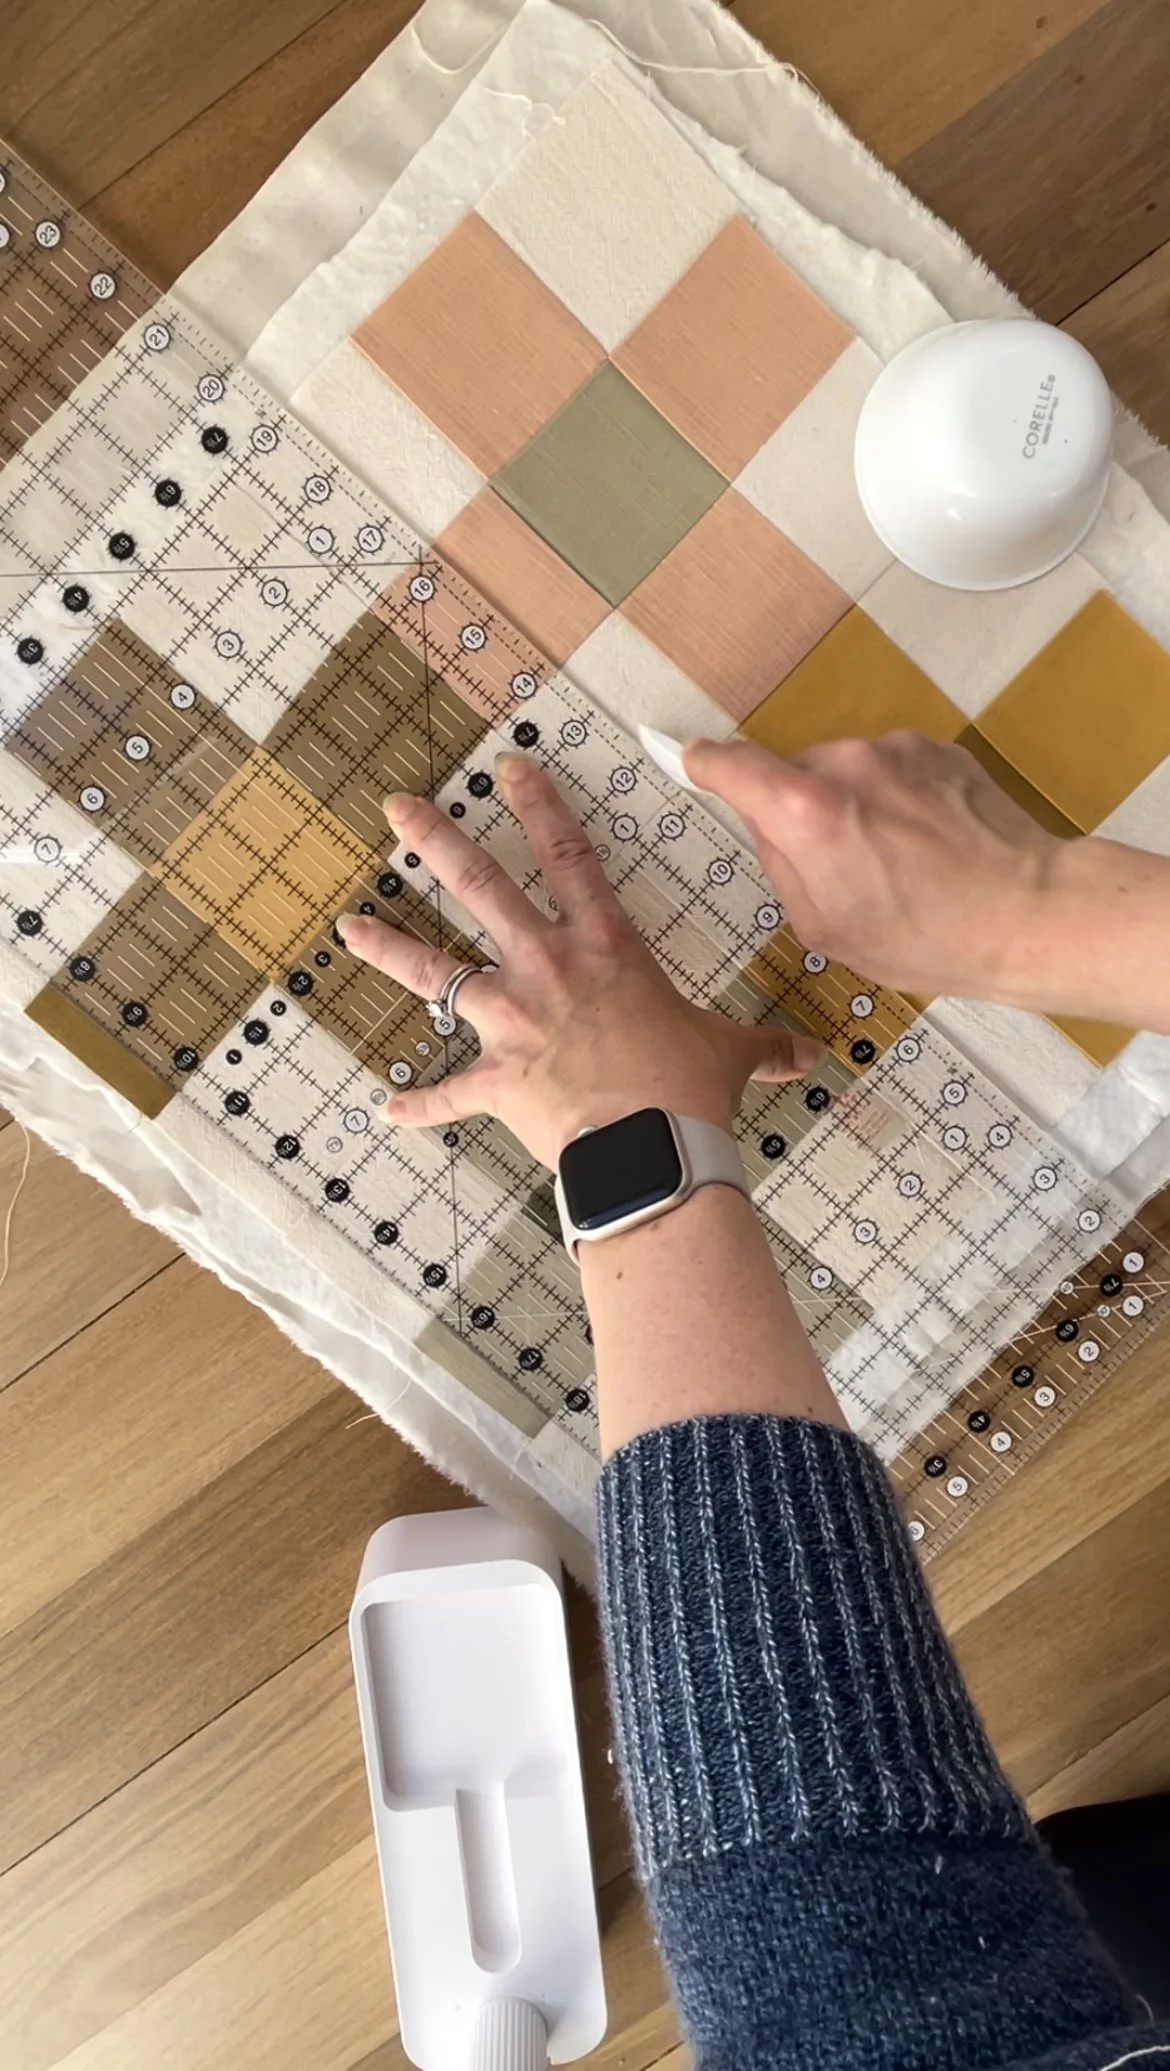
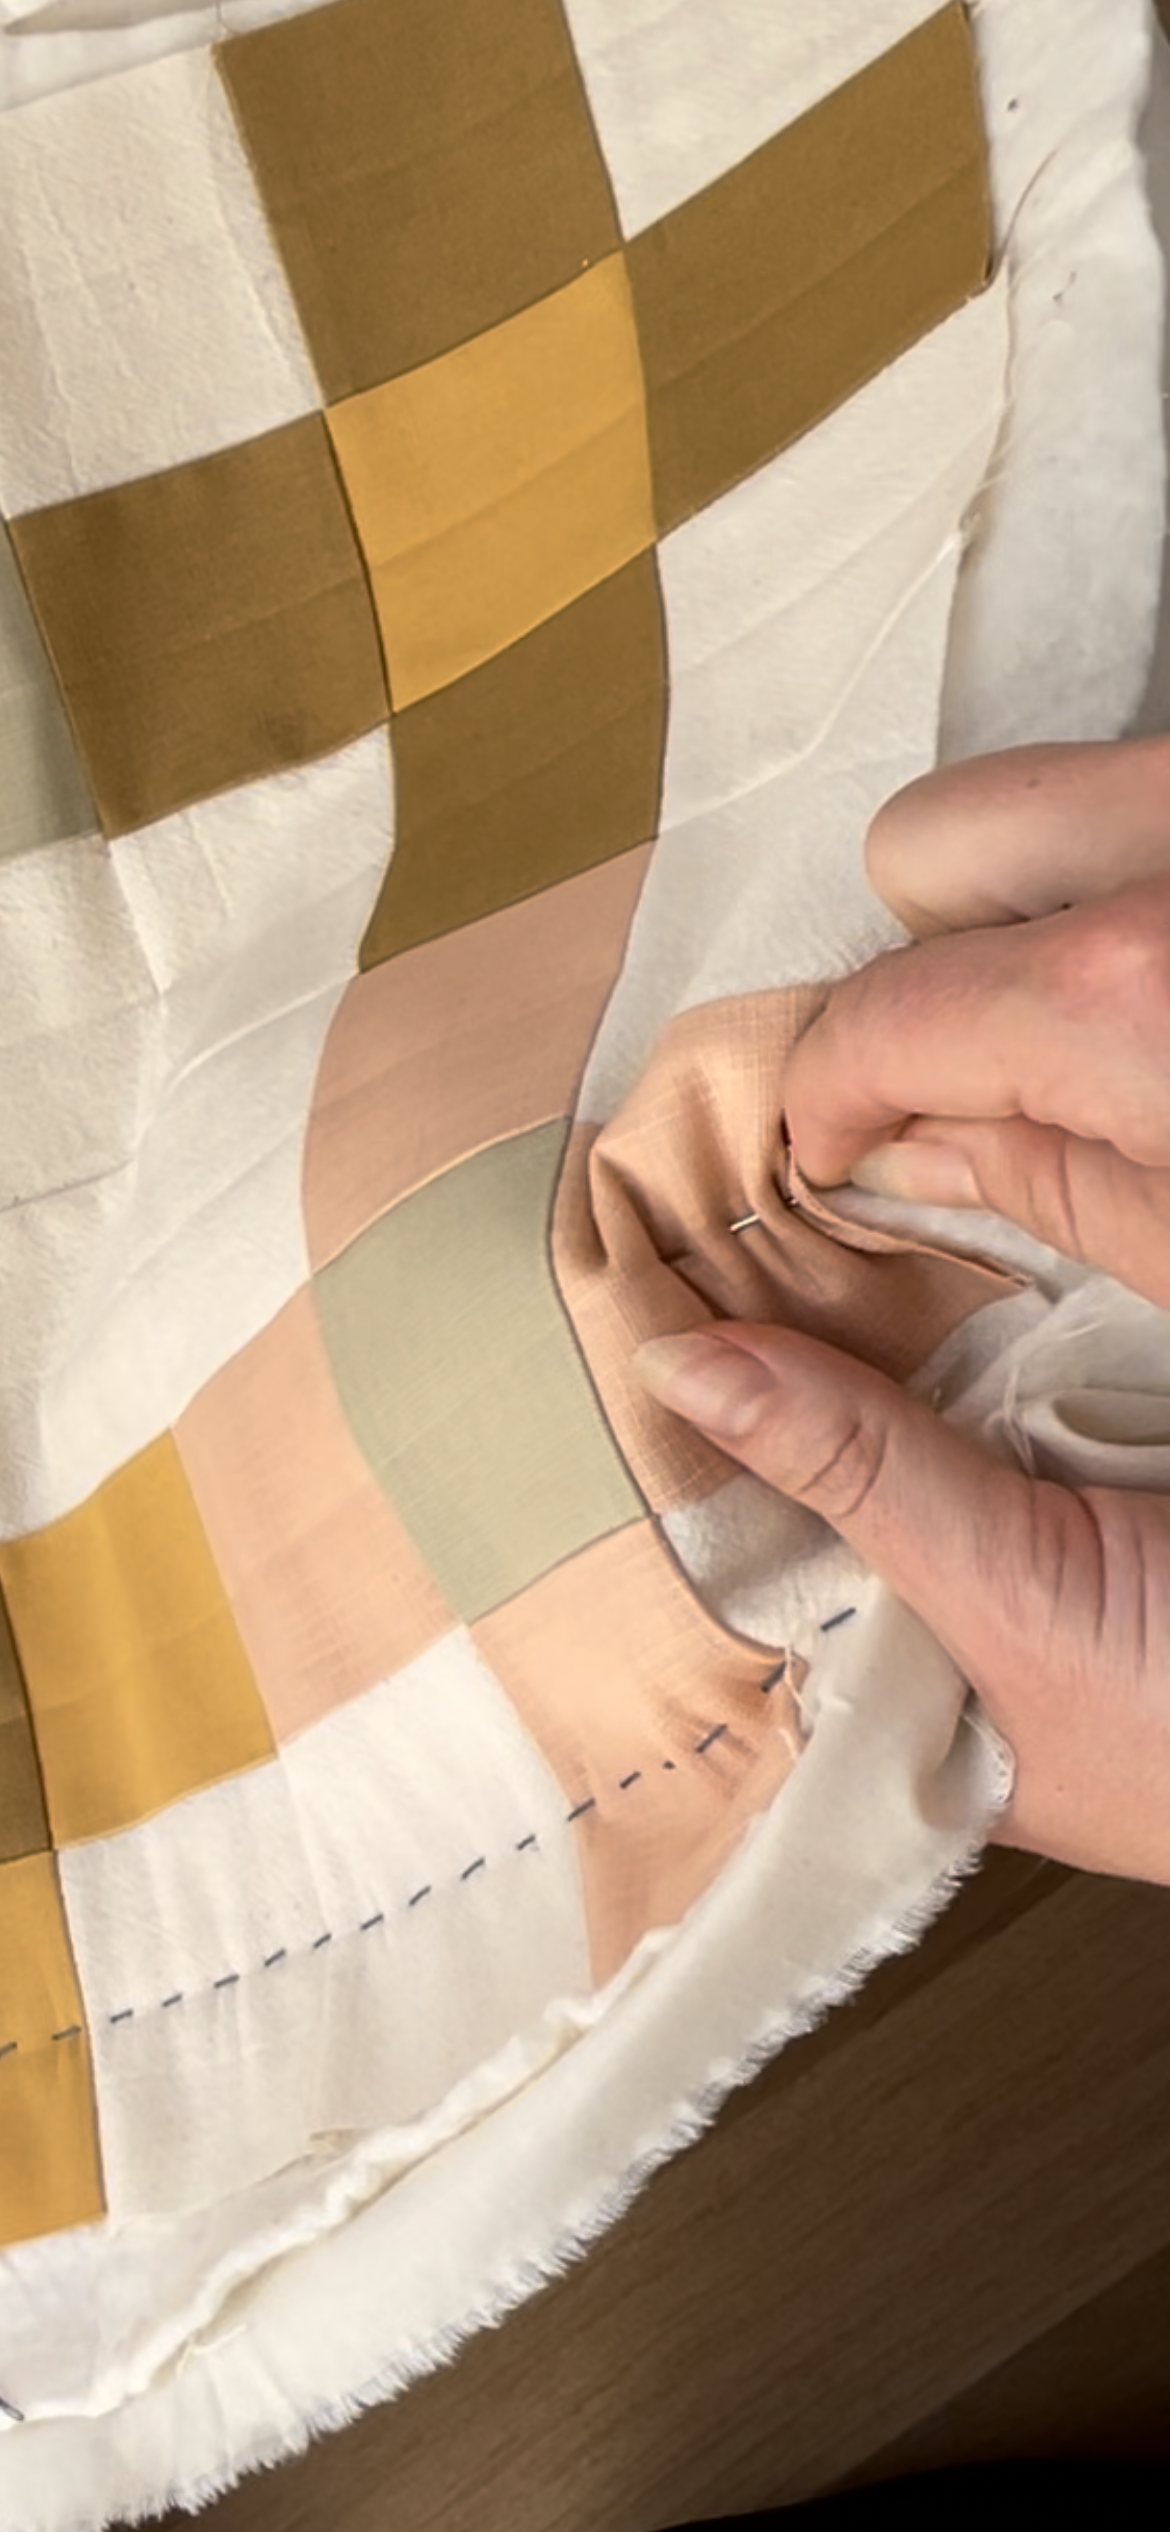
Start by choosing your quilting design. You can draw your design onto the quilt top with your marking tool of choice, or you can use a quilting stencil or template like a bowl. If you're new to hand quilting, a simple design with straight lines or gentle curves is a good place to start. If you are doing a quilt, start by marking a little bit first (eg don’t do the whole quilt)- depending on how long you take, the lines/ marks may eventually disappear.

Thread your needle with your quilting thread. Choose a thread colour that blends in with your quilt top, or choose a contrasting colour for a more visible effect. Tie a simple knot at the end of your thread.
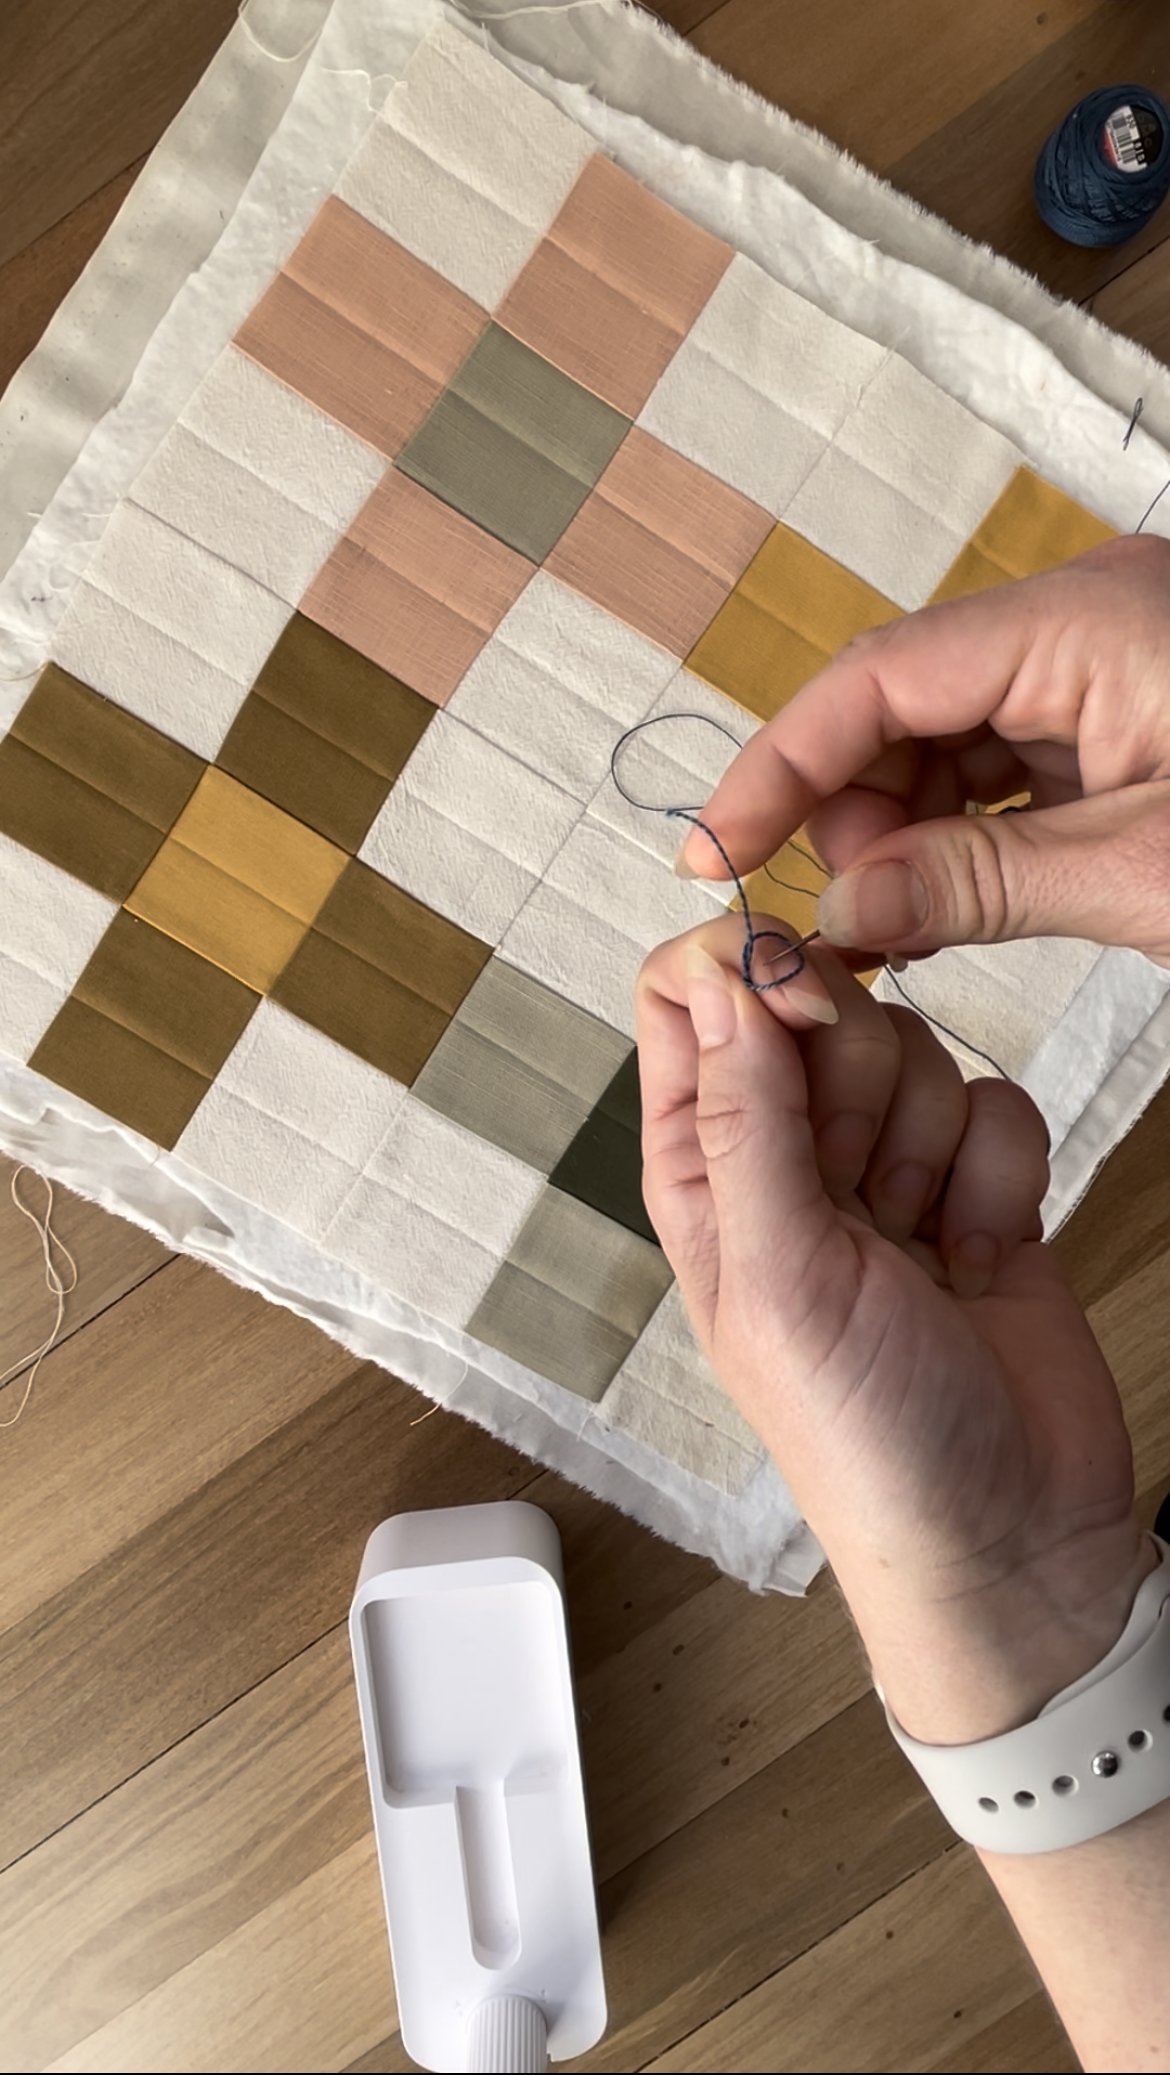
Making a simple knot- use the needle to pull the knot to the end of the thread- around an inch or so from the end
To begin quilting, push your needle between the quilt top fabric and batting and pull through until the knot is firmly in place.


Pull through until the knot is nice and secure- as you can see we’ve only gone through the top fabric layer
Now we can start quilting! We are quilting all three layers together so your needle and thread should go in through the quilt top then out through the backing and continue.
Start at one corner of your quilt top and work your way across the quilt following your marked lines. You can use a rocking motion to do 5-6 stitches at the same time- stitch length is completely up to you but I like to do about 1/4 each. Don’t worry about perfection!
You can use a thimble to protect your finger and help push the needle through the fabric and batting.
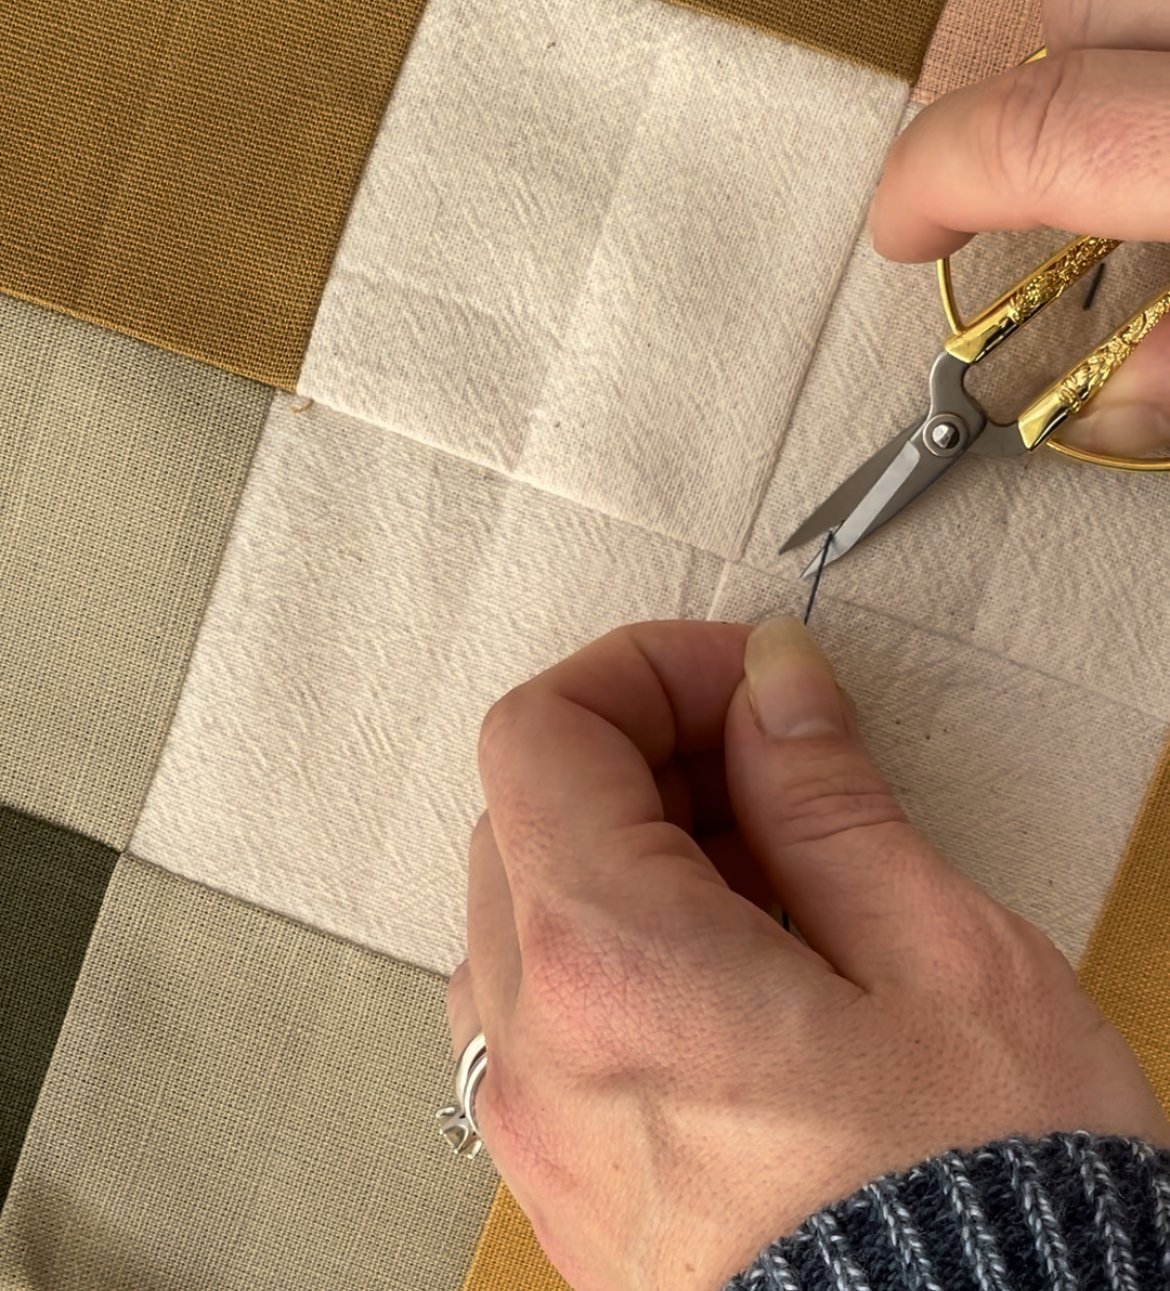
When you reach the end of your thread, tie a knot in the thread and use your needle to guide the knot so it’s about 1/4” from the fabric. Do one more stitch and pop the needle under one layer of fabric only (eg between the top layer and batting)- direct the needle so it comes out about 1-2 inches from the final stitch. Pull the thread through until the knot pops through the fabric. Snip off the excess.

Using the needle to guide the knot so its about 1/4” from the edge of the fabric

Pull the needle through about 1-2” away from the thread- keep pulling until the knot pops through to the underside of the fabric
Thread a new needle with a new length of thread, and hide a knot between the layers of the quilt to start quilting again.
Continue quilting until you have finished your entire design.
Finally, if you haven’t already added the binding, use your sewing machine to stitch around the borders, just under 1/4” from the edge to lock the hand quilting stitch ends into place before trimming your quilt sandwich. You can use your rotary cutter and ruler to cut off the excess batting and backing so your edges are nice and even- do this in line with your quilt top but don’t worry if your quilt top isn’t perfectly square/ rectangle.
I hope you found that useful but as always, let me know if you have any questions! Now onto some examples!
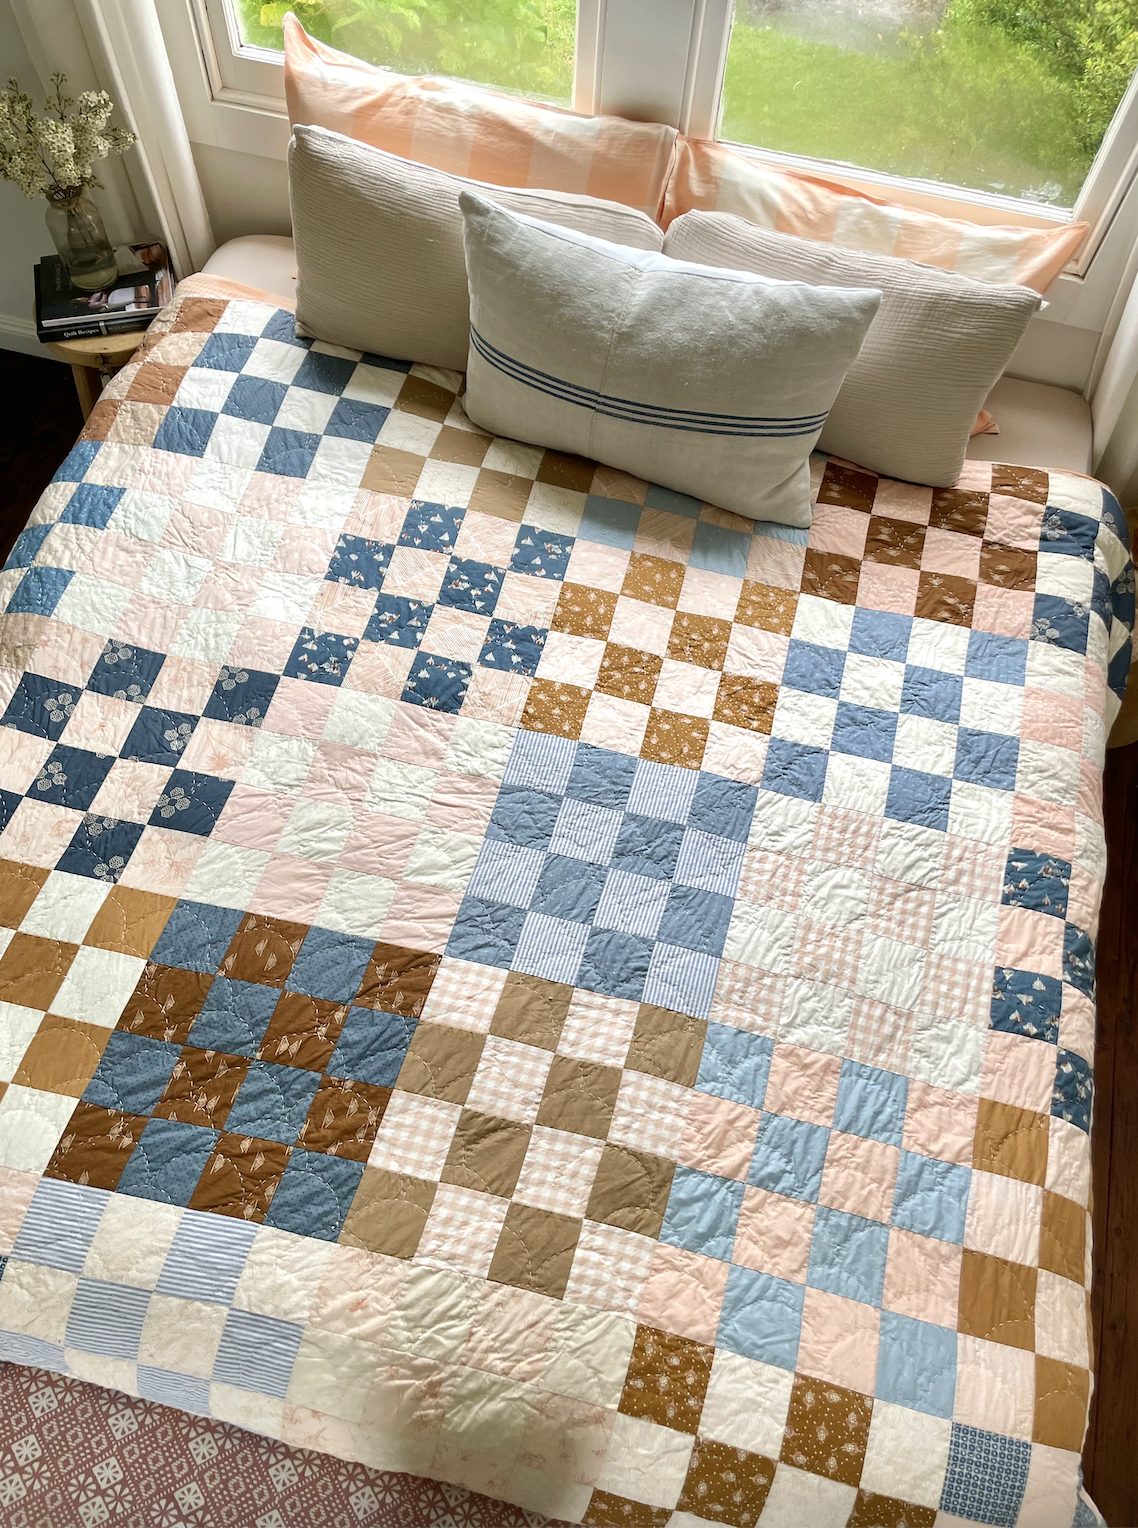
In this St Louis 16 patch, I used a small bowl to trace on half circles
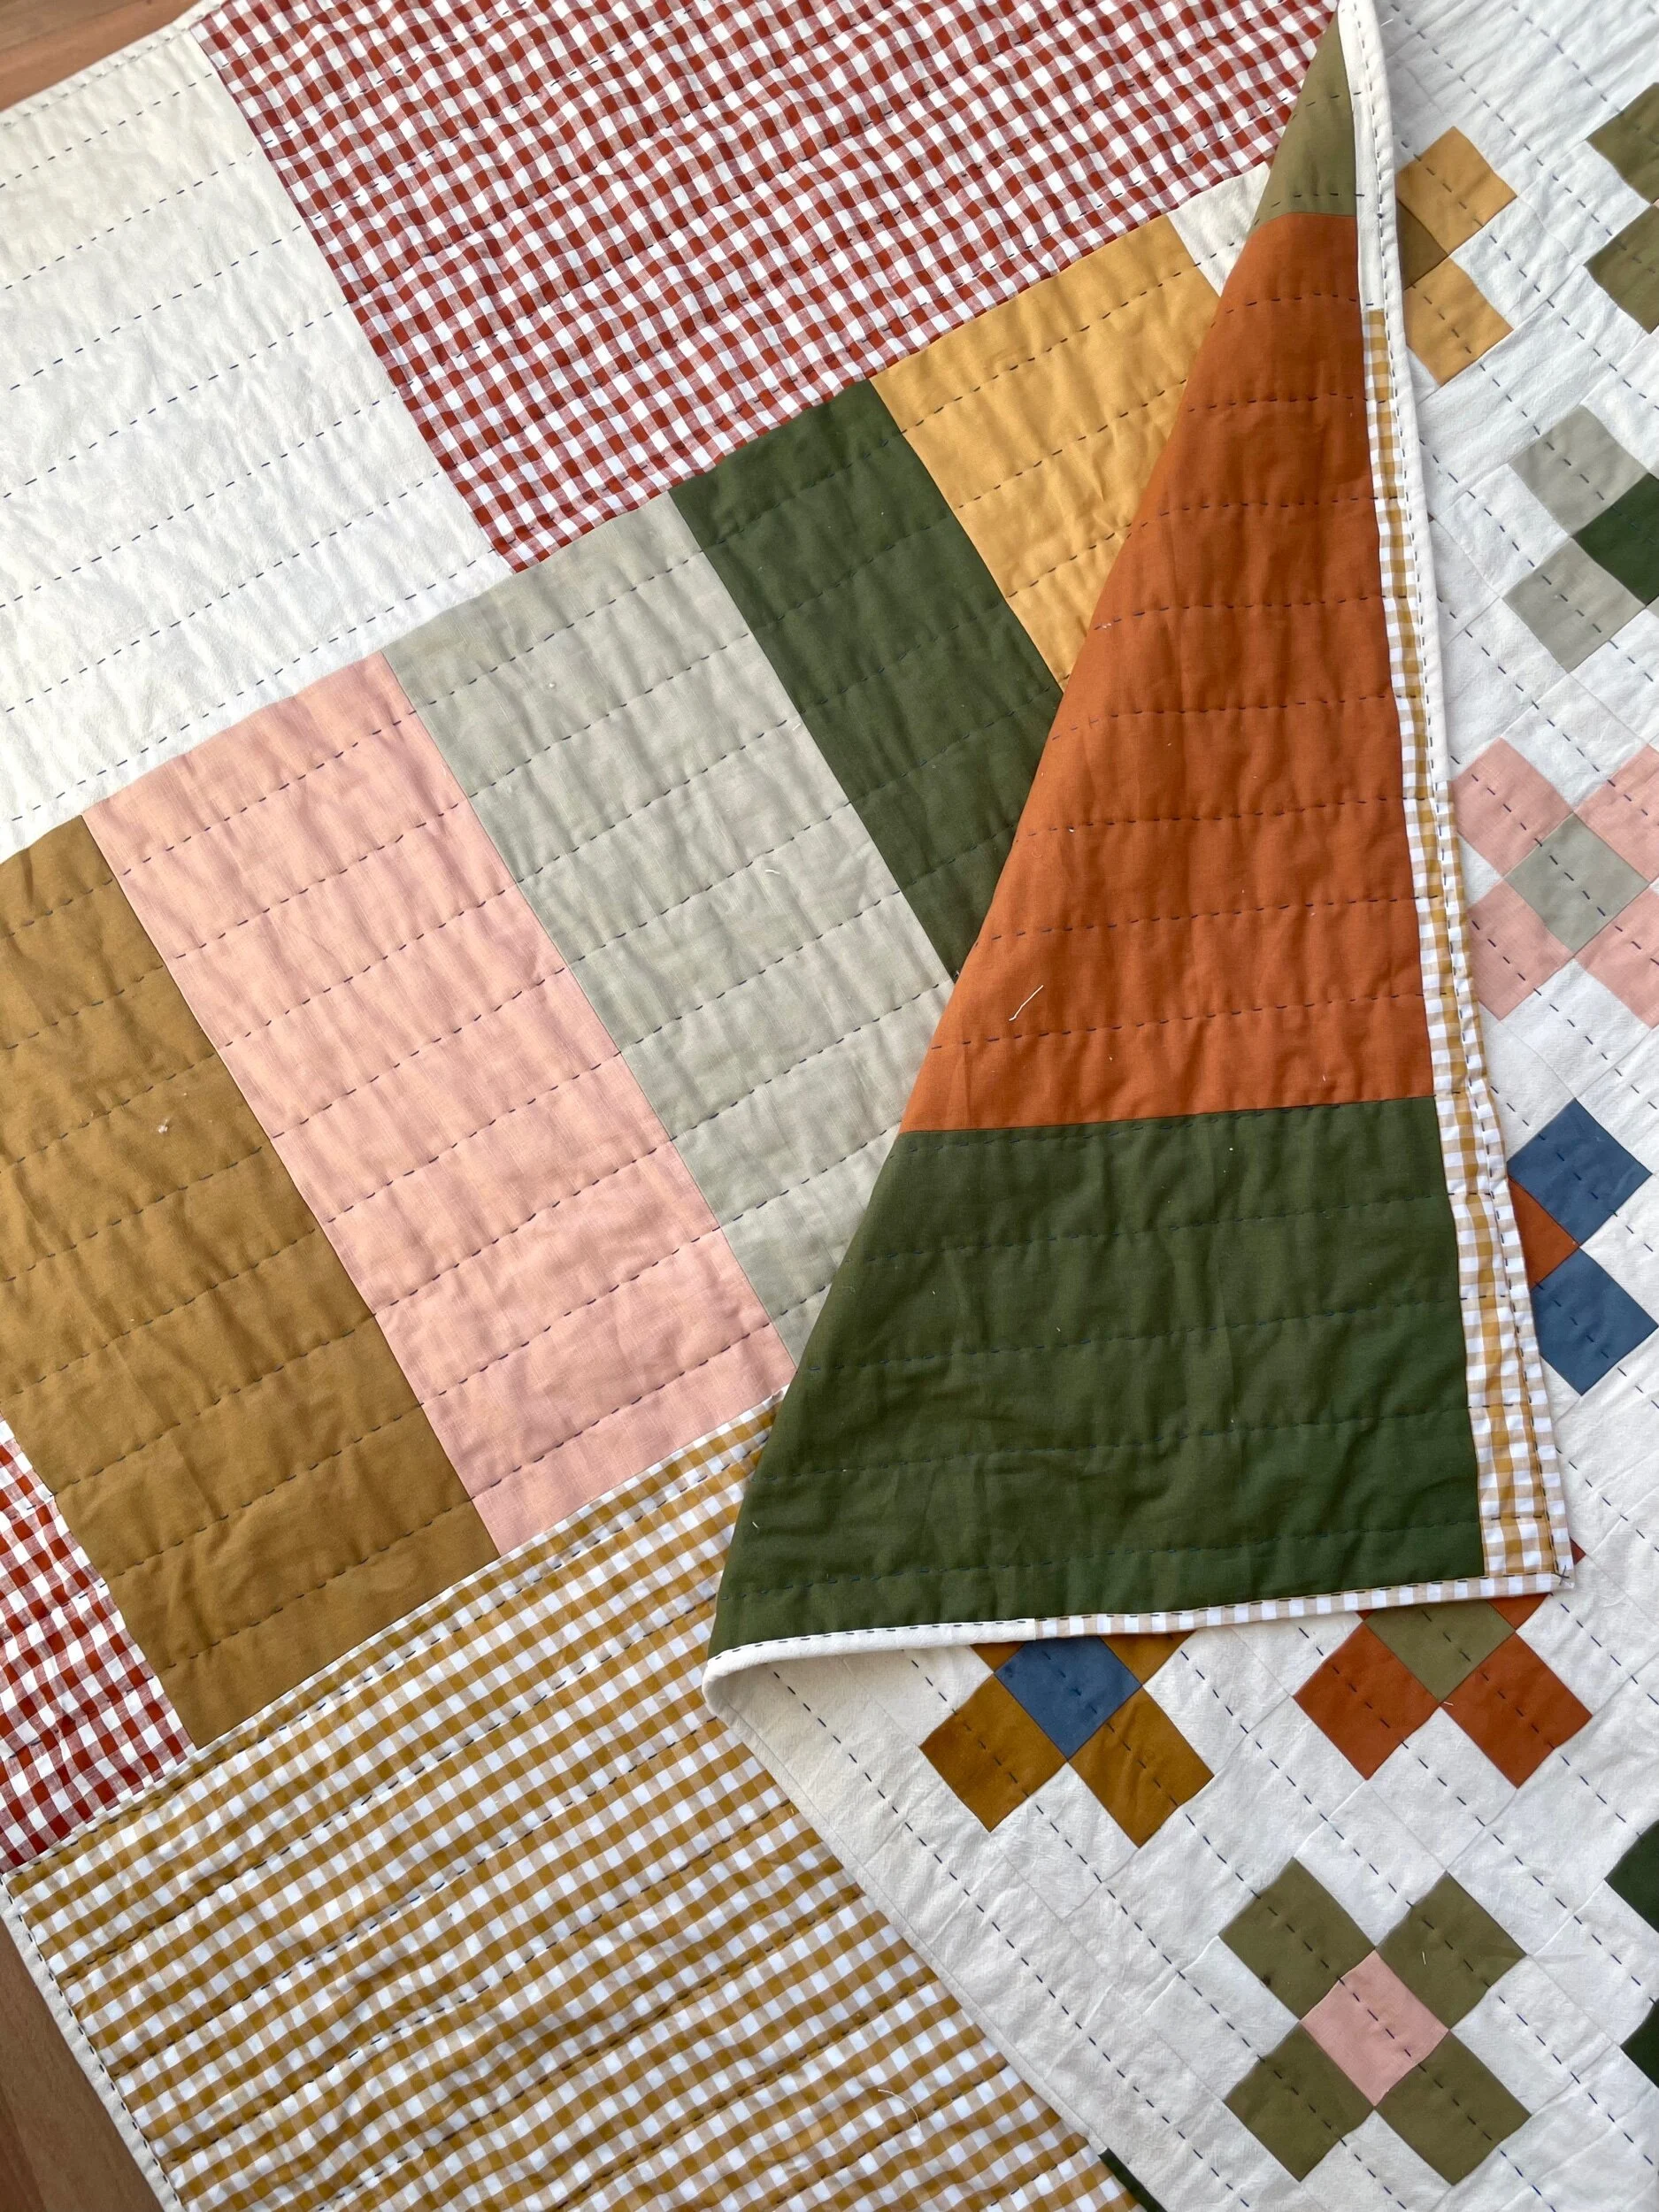
For this quilt (free pattern available here), I just did straight lines in a grid pattern (this is a progress shot but I have since finished it. Because the lines were about 4” apart, this didn’t take me too long at all.

For this one, I did squares around the pattern (straight lines). Free tutorial to make this quilt can be found here.

And this cushion, I just did diagonal grid quilting :-)

Some of the links here are to my favourite quilting shops but where they aren't available, I have linked to Amazon. As an Amazon Associate I may earn a small commission from qualifying purchases- thank you for your support !