
How to make bias binding
Want to make bias binding but concerned its too hard? Don’t worry, it’s actually quite easy! There are many ways to make bias binding out there but this was the least confusing method I found (plus bonus- very little waste) :-)
Because it takes a little bit of extra effort, I generally make bias binding in two different scenarios:
When I am making a quilt with curved edges (you can still use normal binding for curved edges (and I have many times before) but it does make it a little easier
When I am using either strips or a gingham for my binding- because your strips are cut on the diagonal, it creates a really lovely effect with your gingham and strips being diagonal).
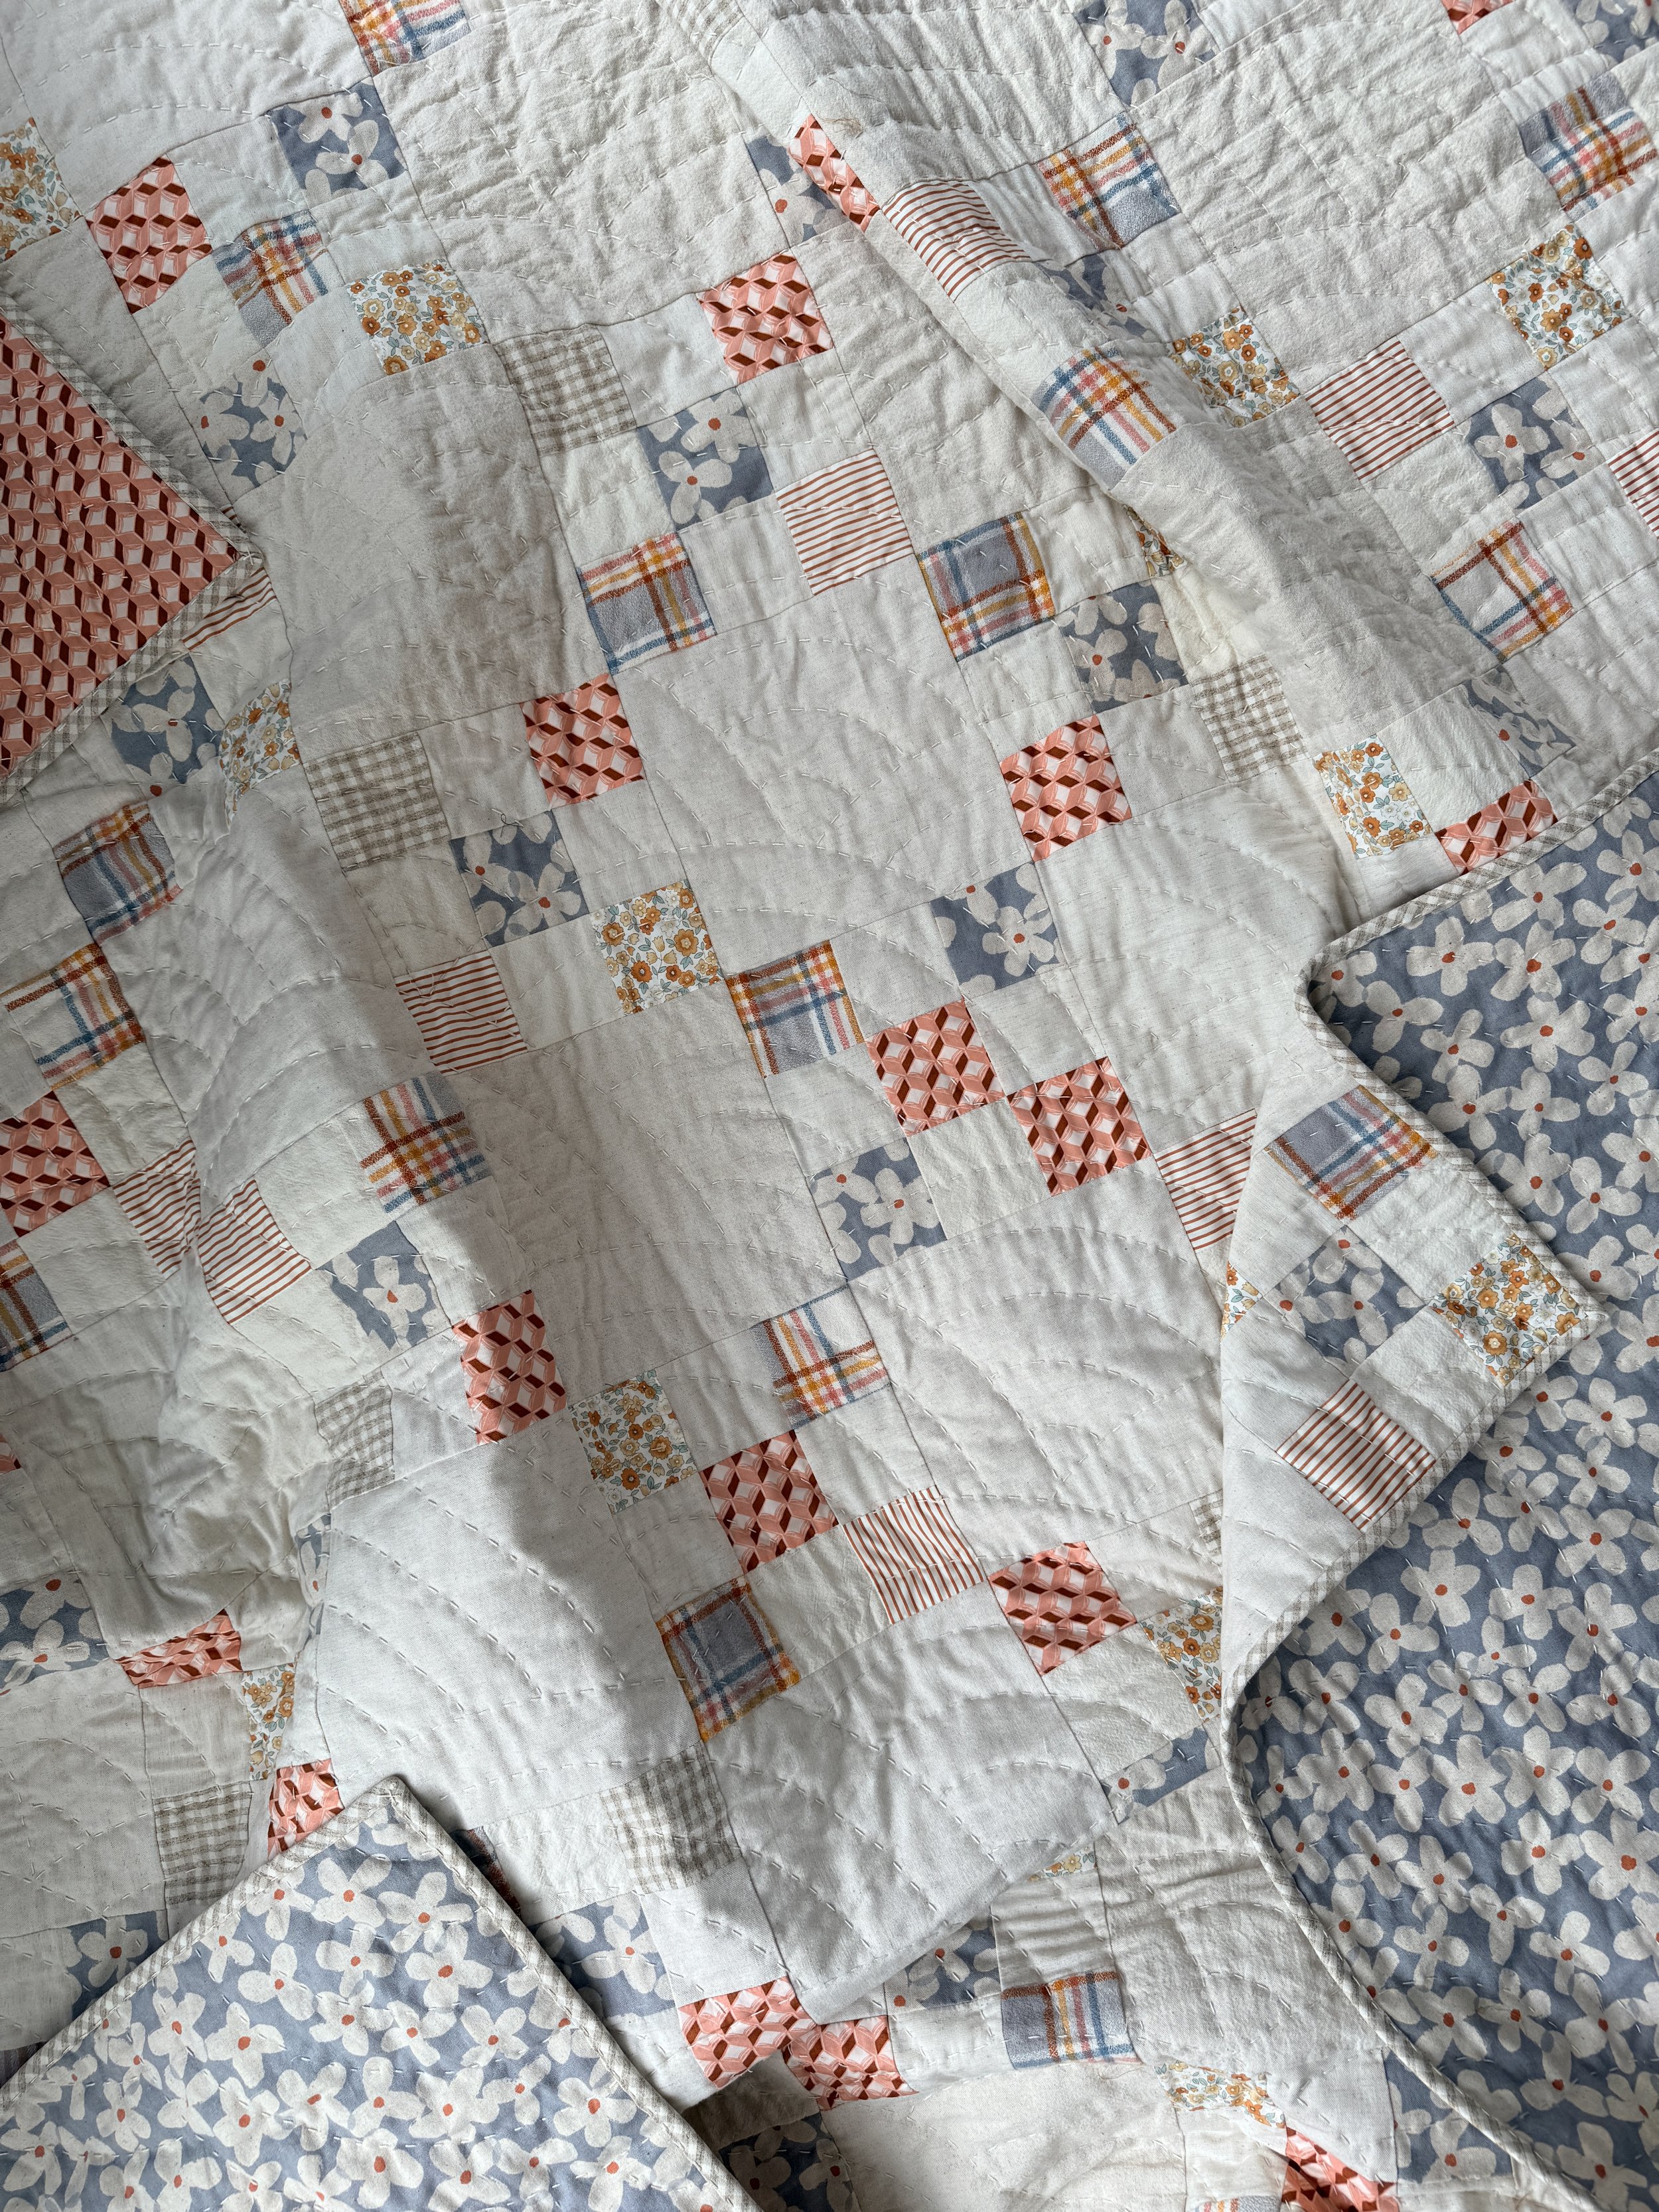
Step 1: Calculating the size of our square (and how much fabric we need) I’ve included instructions below if you want to calculate it yourself, or you can use this handy dandy little calculator just here:
JozMakesQuilts
Binding square calculator
Pop in your quilt measurements and the width you cut your binding strips, and this works out the size of the single square you need for continuous binding.
Cut one square this size
Fill in the three boxes above to see your cut size.
How this is worked out
Perimeter of the quilt (2 lengths plus 2 widths), plus 20 inches for turning the corners and joining the ends. That total is multiplied by your binding width to give the area of fabric the strips need, and the square root of that area is the side of the square you cut.
(OR!) The calculation (I promise it's not that confusing!)
Add together the sides of your quilt (in my example, it is a 64" x 64" quilt)
64 + 64 + 64 + 64 = 256
Add 10-20" for corners
256 + 20 = 276
Multiply this amount by the width of your desired binding (eg 2.25", 2.5" etc- I like to use 2.25" binding)
276 x 2.25= 621
And then take the square root of this total
= 24.91 - round this up to 25" (or even 26 if you wanted to be extra safe)
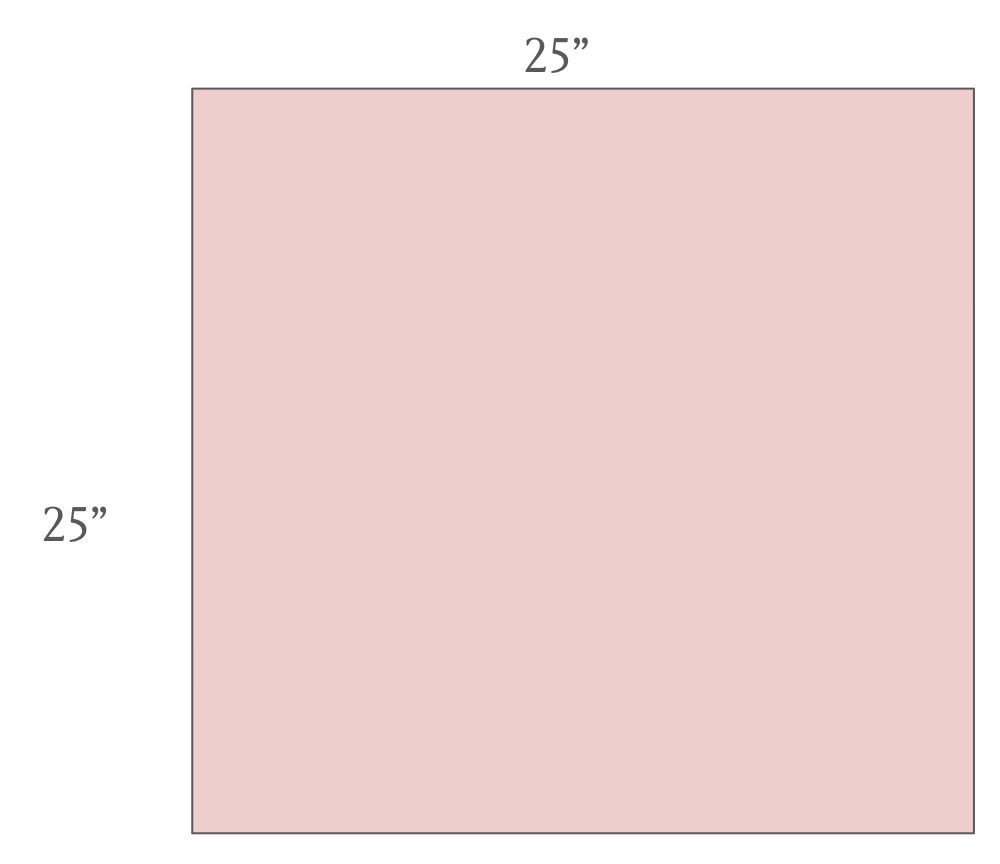
So that means you need to start with a 25" x 25” square of fabric. (This likely means you’ll need at least 25” x WOF fabric and you’ll have some leftovers)
Step 2: Cut your square to the size you have calculated in the previous step:
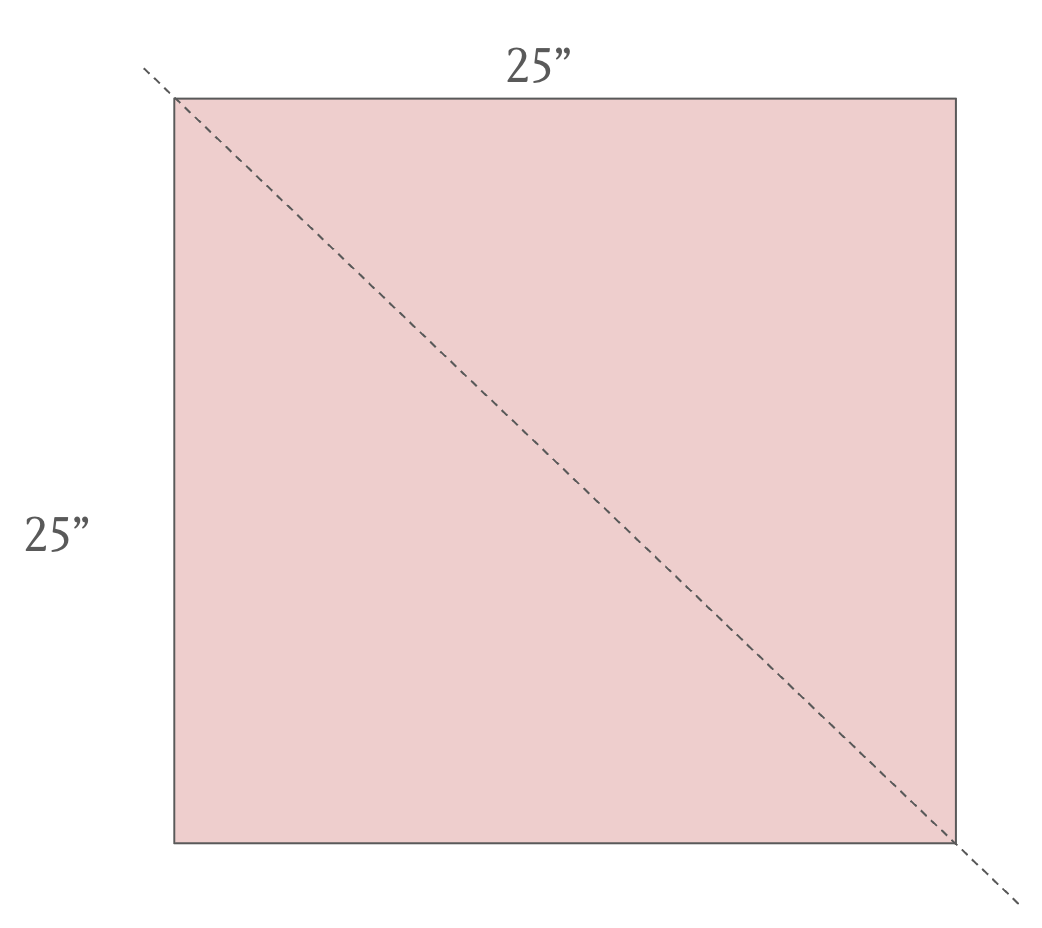
Step 3: Cut your square in half along the diagonal (from corner to corner):
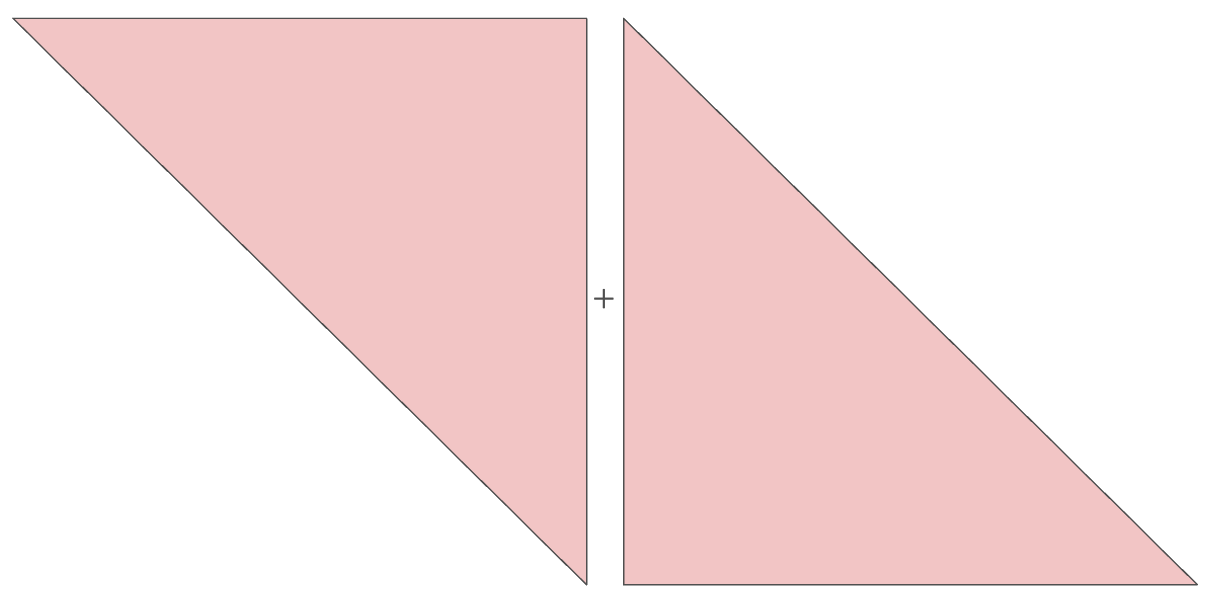
And you'll have two triangles that look like this:
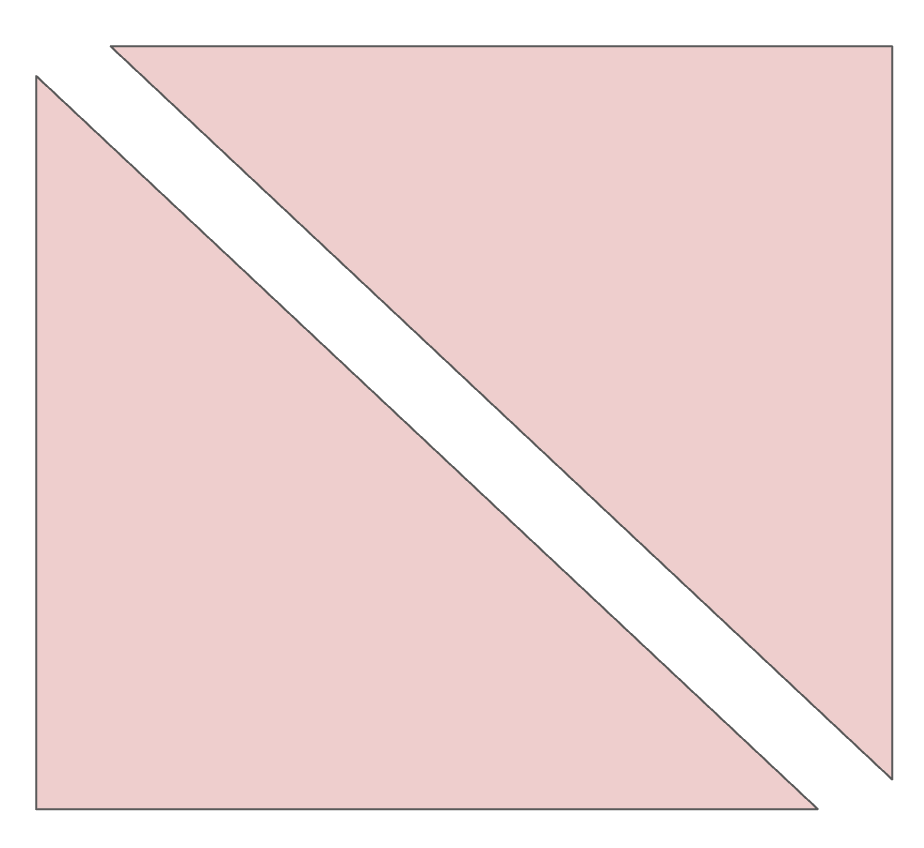
Step 4: Sew your two triangles together as follows, right sides together:
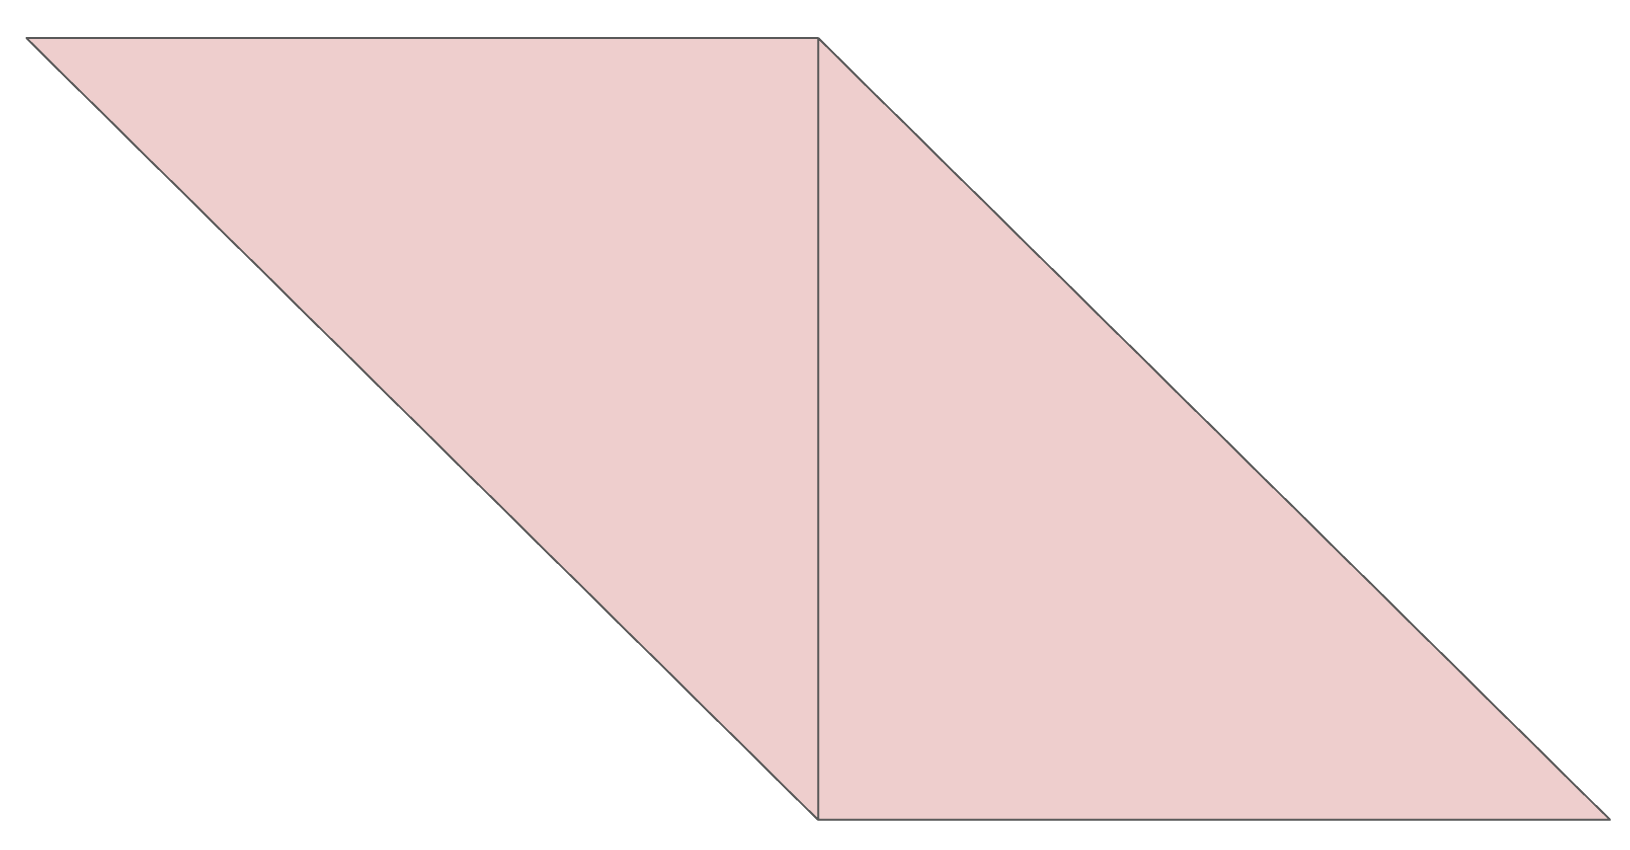
It will look something like this when you are sewing them together
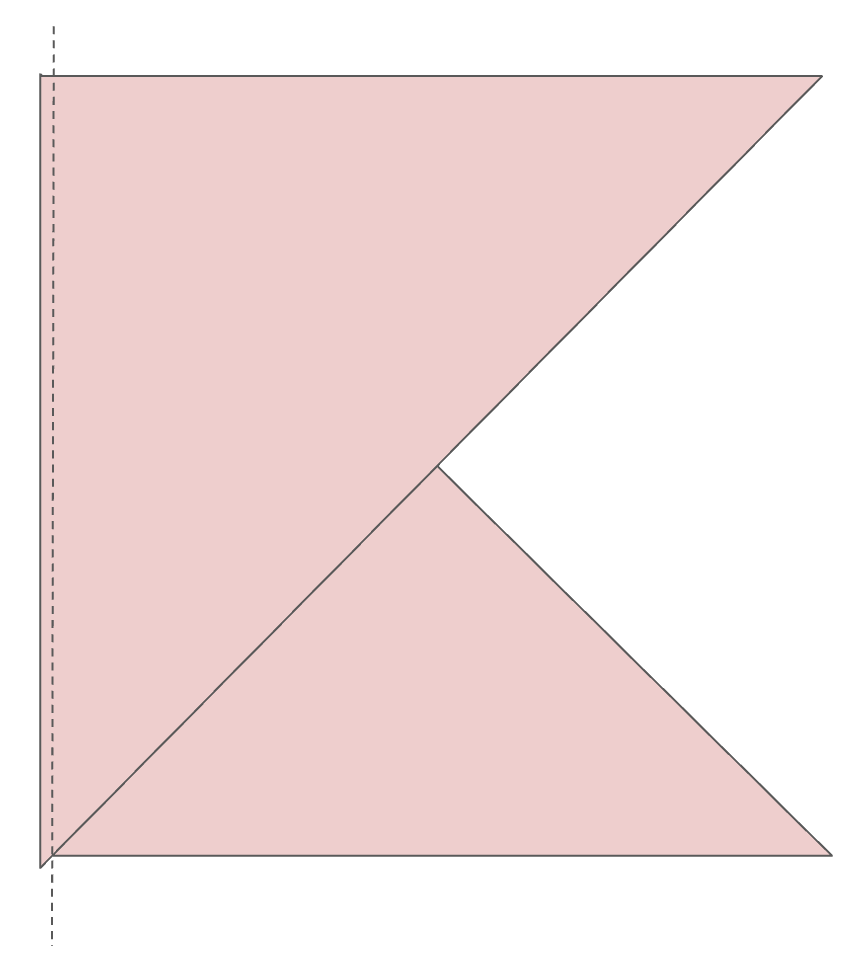
Step 5: Press your seam open and cut your strips to size (in my case, they are 2.25” wide). You may have a strip on the end that isn’t quite wide enough- you can add this to your scrap pile :-)
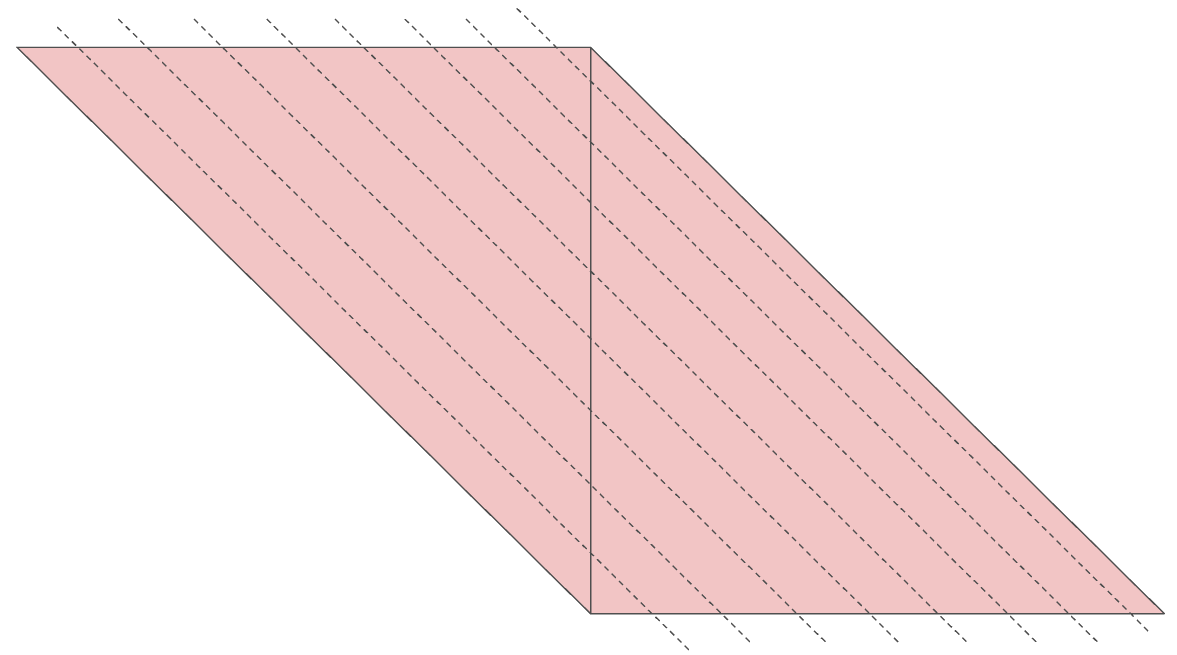
Step 6: Sew your strips together using quarter inch seams. The diagonal ends of your strips will line up as follows:

Step 7: Press all your seams open and then press your binding in half lengthwise, wrong sides together. Your binding is done!
