
How to make: A Chunky Charlie Doll quit
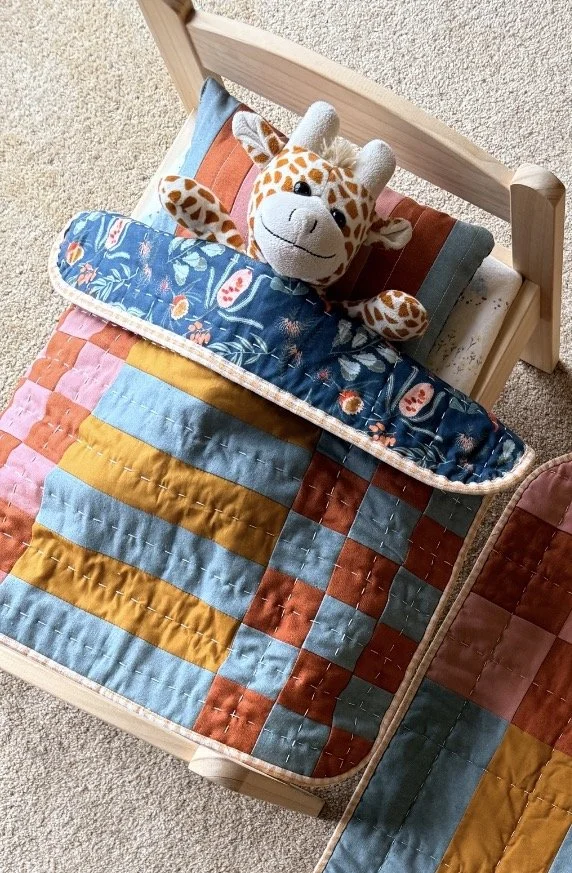
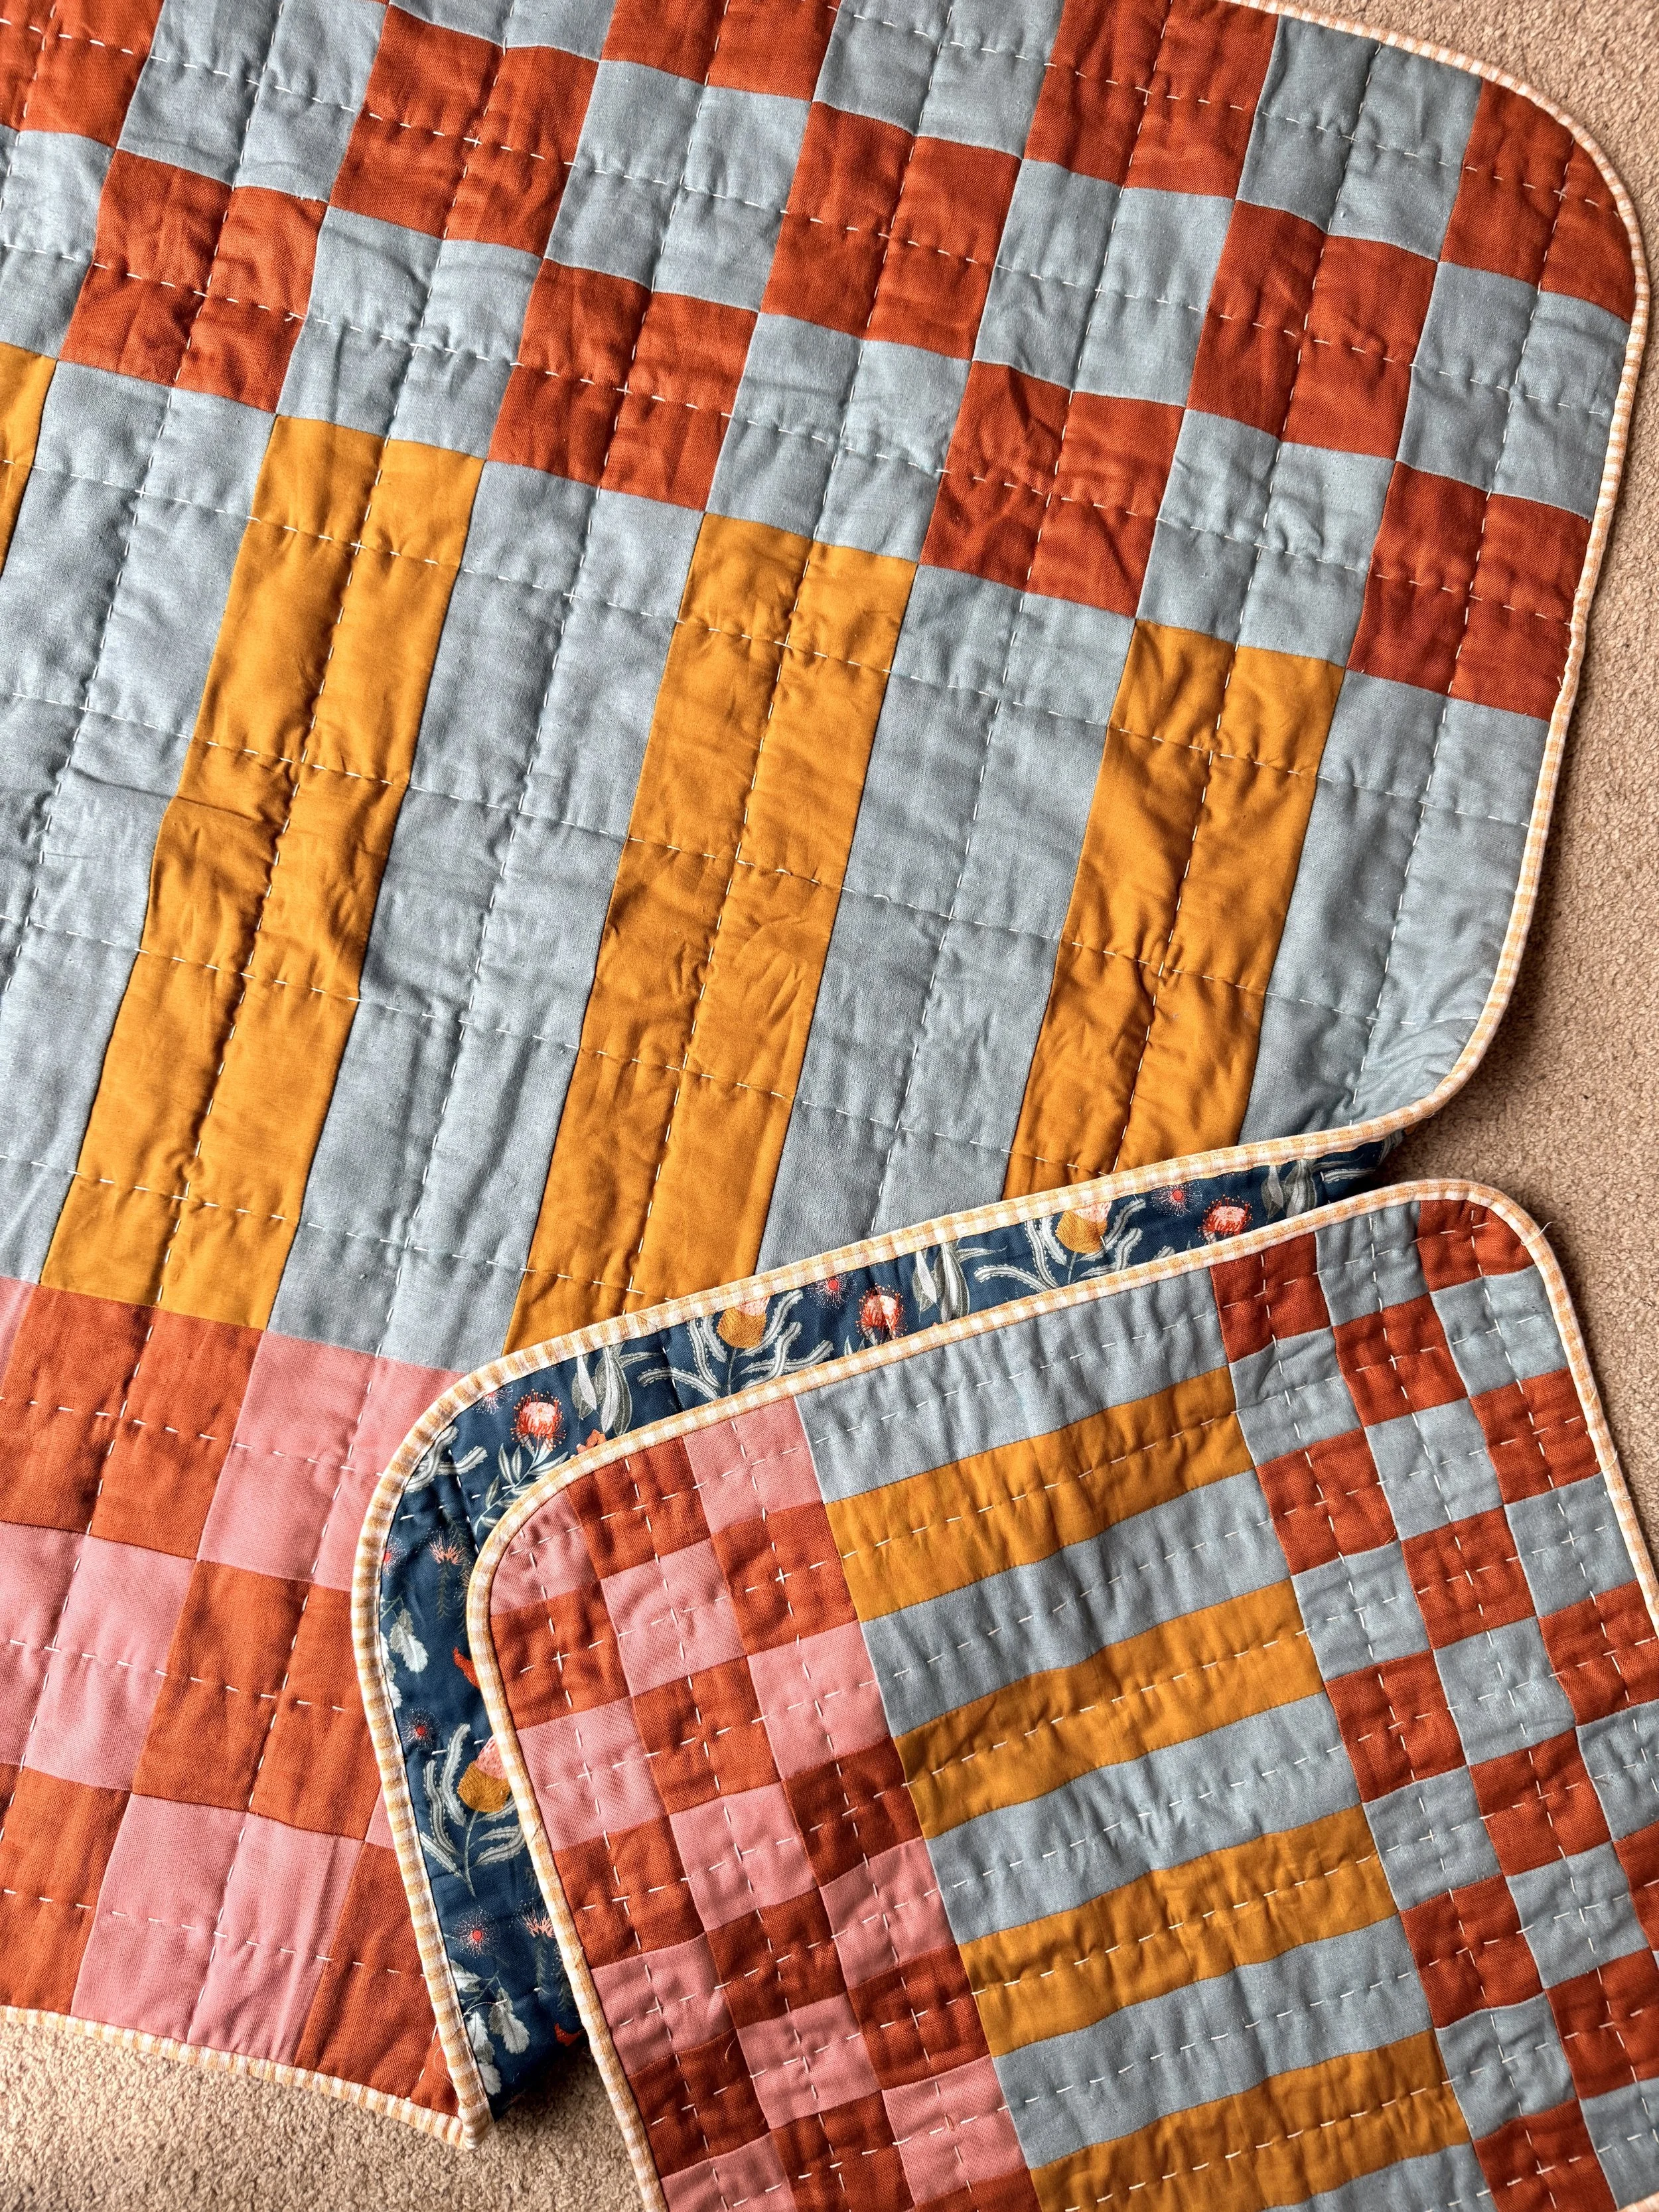
When I finally got around to adding additional sizes to my Chunky Charlie quilt pattern, I decided to make my first baby size for my nephew, Billy. And then I had the idea to make a matching mini size version for his big sister, Molly’s doll bed. So here’s how I made it!
This makes a doll quilt that is approximately 18.5” x 20.5”.
You need: (colours are those in the diagram below):
(14) 2.5” x. 2.5” squares Colour 1 (Pink) (you can cut these from (1) 2.5” x WOF strip)
(13) + (14) 2.5” x 2.5” squares Colour 2 (Brown) (you can cut these from (2) 2.5” x WOF strip)
(13) 2.5” x 2.5” squares Colour 3 (Green)(you can cut these from (2) 2.5” x WOF strip)
(5) 2.5” x 8.5” rectangles Colour 3 (Green) (you should be able to JUST get these from (1) 2.5” strip)
(4) 2.5” x 8.5” rectangles Colour 4 (Blue) (you can cut these from (2) 2.5” x WOF strip)
(2) 2.5” x WOF strips Fabric for binding
20” Backing Fabric
All seams are 1/4”.
Start by laying out your pieces like this:
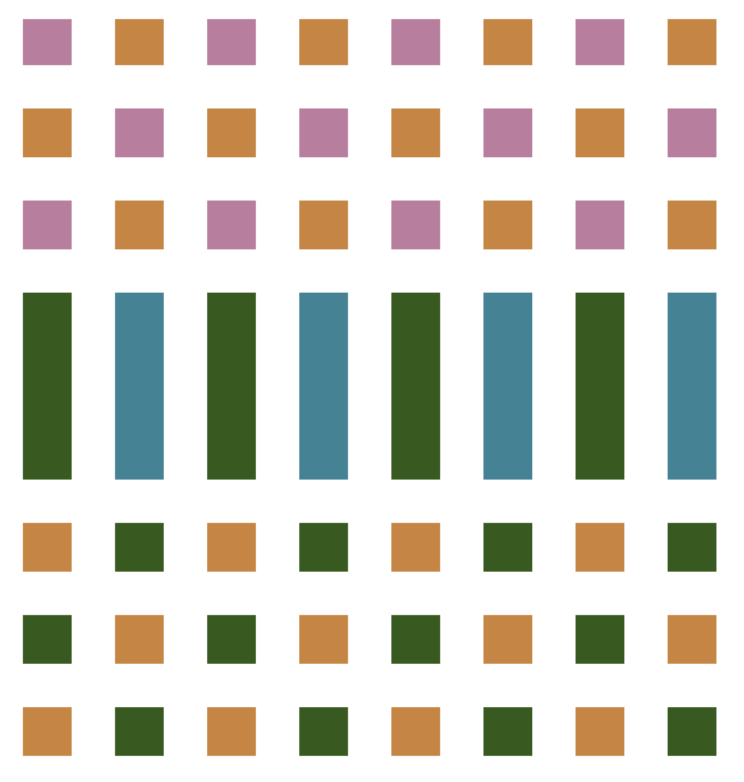
Then sew together your pieces into groups of three as follows:

Then sew your groups of three together as follows (plus your rectangles)

And finally sew your panels together
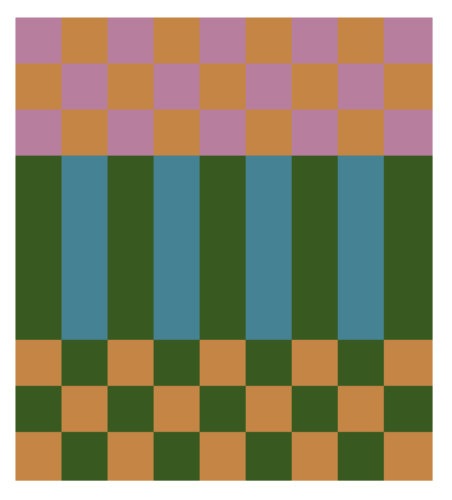
And your baby quilt top is done! Baste, quilt and bind as desired