How to make: A stripy quilt (which can be a quilt top or quilt backing) - wider WOF instructions
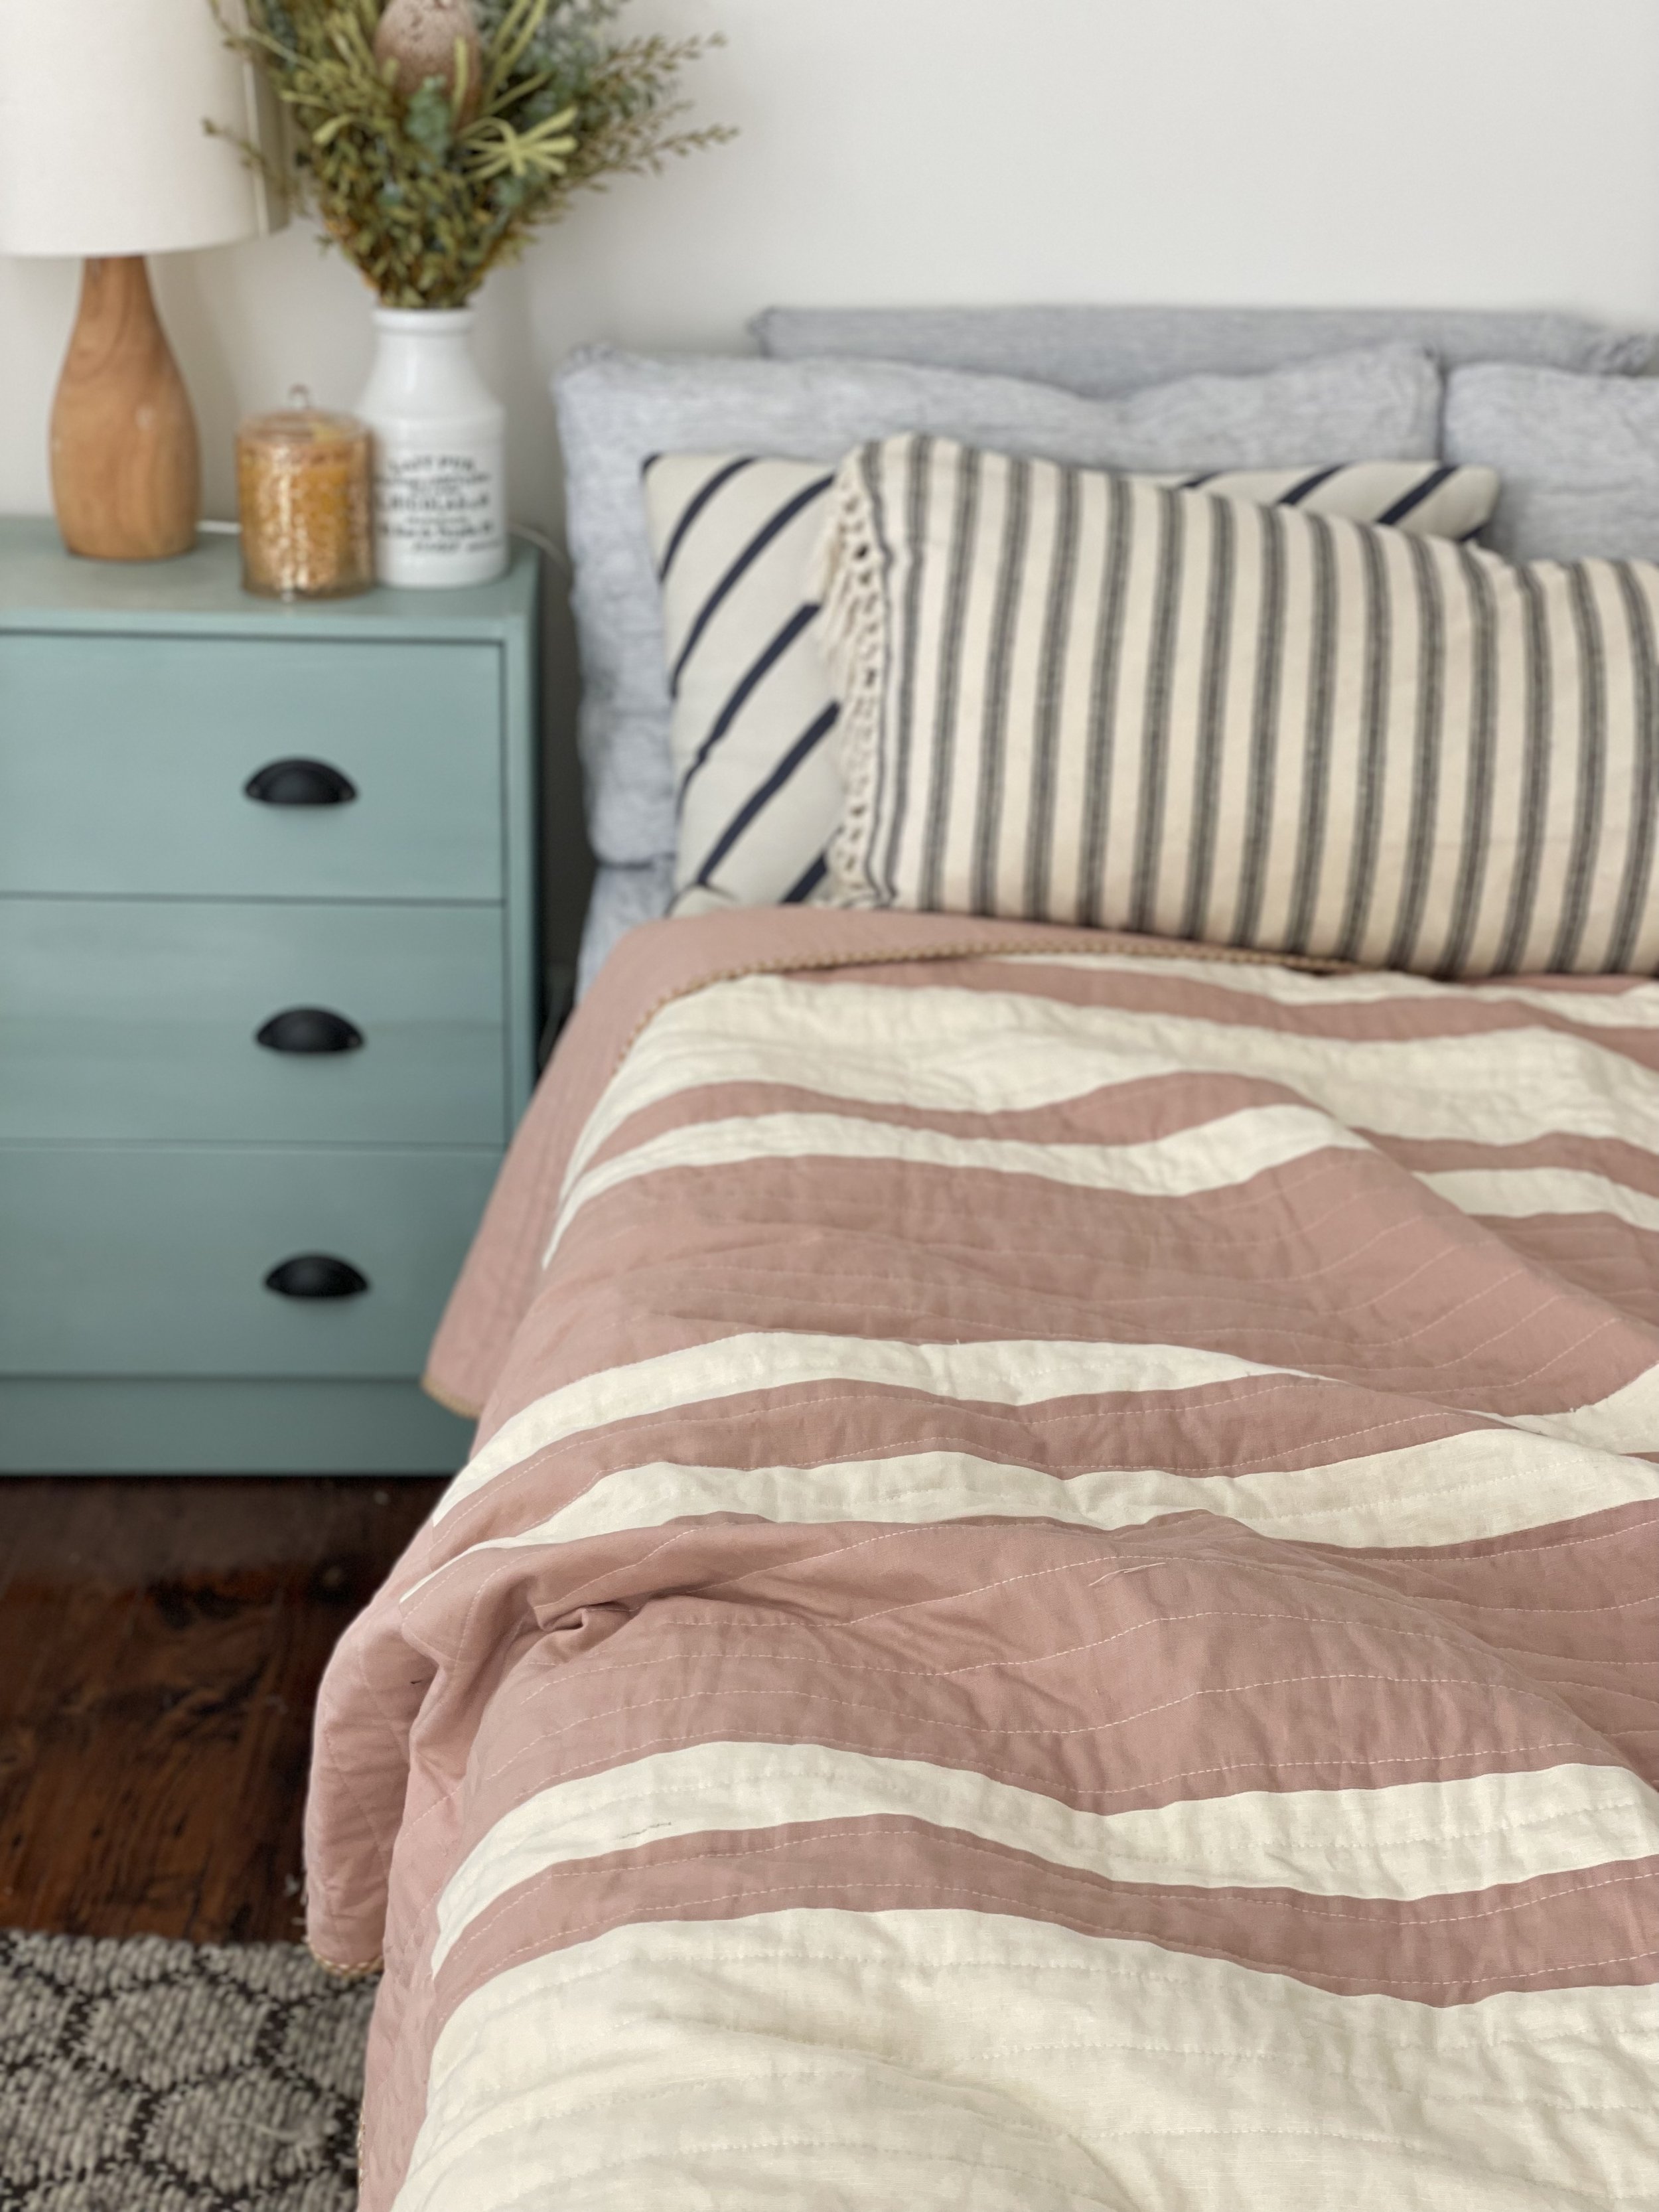
If you are looking for a super quick quilt make OR an interesting yet simple backing, I’ve got the project for you! It comes together in no time at all and ends up being approximately 75” x 75”.

This tutorial is perfect for the linens or linen blends that usually have a wider WOF- it assumes a 54” WOF (but will still work for 53”)
Fabric Requirements:
To make this, for the quilt top, you need:
- 1 yard Fabric A (accent)
- 2.75 yards Fabric B (background)
Cutting:
Fabric A
Cut into the following strips:
(6) 2.5” x 54” strips
(2) 6.5” x 54” strips
Fabric B
Cut into the following strips:
(5) 12” x 54” strips - subcut (1) strip into (2) 12” x 27” pieces
(5) 2.5” x 54” strips
(2) 10.5” x 54”strips
Piecing Instructions
Start by taking (1) of your 12” x 54” and (1) 12”x 27” strips and sew them together, short sides together. Repeat for the other two pieces so you have two strips which are approximately 12” x 81”. These strips will be sewn on last and sewn on vertically to all of our strips- we will come back to them.
Next we are going to sew together all of our horizontal strips, right sides together using 1/4” seam, as follows. You can either press your seams open or to the dark side.

Once you have sewn all your horizontal strips together, we need to trim the sides so they are all even- you may have something that looks like this:

Once you have trimmed them, it’s time to add the strips we made earlier- they may be slightly longer but that’s okay as we can just trim them off at the edges!

And now you are done. Baste, quilt and bind as desired.
Want to make your quilt extra special? Here are a couple of suggestions:

Consider using curved edges- all you need to do is take a large bowl or plate and trace/ cut around the curve.

Use checked bias biding in a contrasting colour.
Happy sewing! Let me know if you have any questions :-)