Quilting 101, Lesson 3- Planing and Design
Planning a quilt- for me, this is one of the funnest and most exciting parts of the whole process. If I can offer one tip, spend time in thinking and planning a quilt- I’ve made the error before of coming up with an idea and running with it immediately, without properly thinking it through- safe to say, some of those quilts are still in my work in progress (WIP) pile.
So spend time, thinking about the pattern, the colours, the mood- and once you are really excited about everything, that’s when it’s time to go for it! Here are some suggested steps for what to think about and plan as part of this step:
I : Choosing a size (and purpose)
II: Choosing a quilt design/ pattern
III: Fabric selection (aka my favourite step) (If you’d like to see a video tutorial on this step, click here)
Choosing a size (and purpose):
Decide whether you want to make a quilt for a bed (and if so, what size), a throw, baby quilt or something else?
If you’re a beginner, I’d recommend starting smaller- that way you can get the first quilt under your belt (and that sense of achievement) and you will also find it both easier and quicker to quilt. With a smaller quilt, if you decide to hand quilt, it won’t be a mammoth task, if you decide to machine quilt (and have a basic sewing machine), it will be much easier to quilt it yourself. The first quilt I made was a large bed sized quilt and I quilted myself on my tiny sewing machine that I had at the time. I finished it but it was quite a challenge fitting the whole thing through my much smaller sewing machine!
If you are making a quilt to be used as a bedspread, obviously consider the size of the bed. Measure the width and length of the bed to determine the appropriate size of the quilt and add a few inches to the measurements for overhang.
Quilt design/ pattern
There are two types of general pattern: block based quilts and those that just have one pattern /block that takes up the whole quilt.
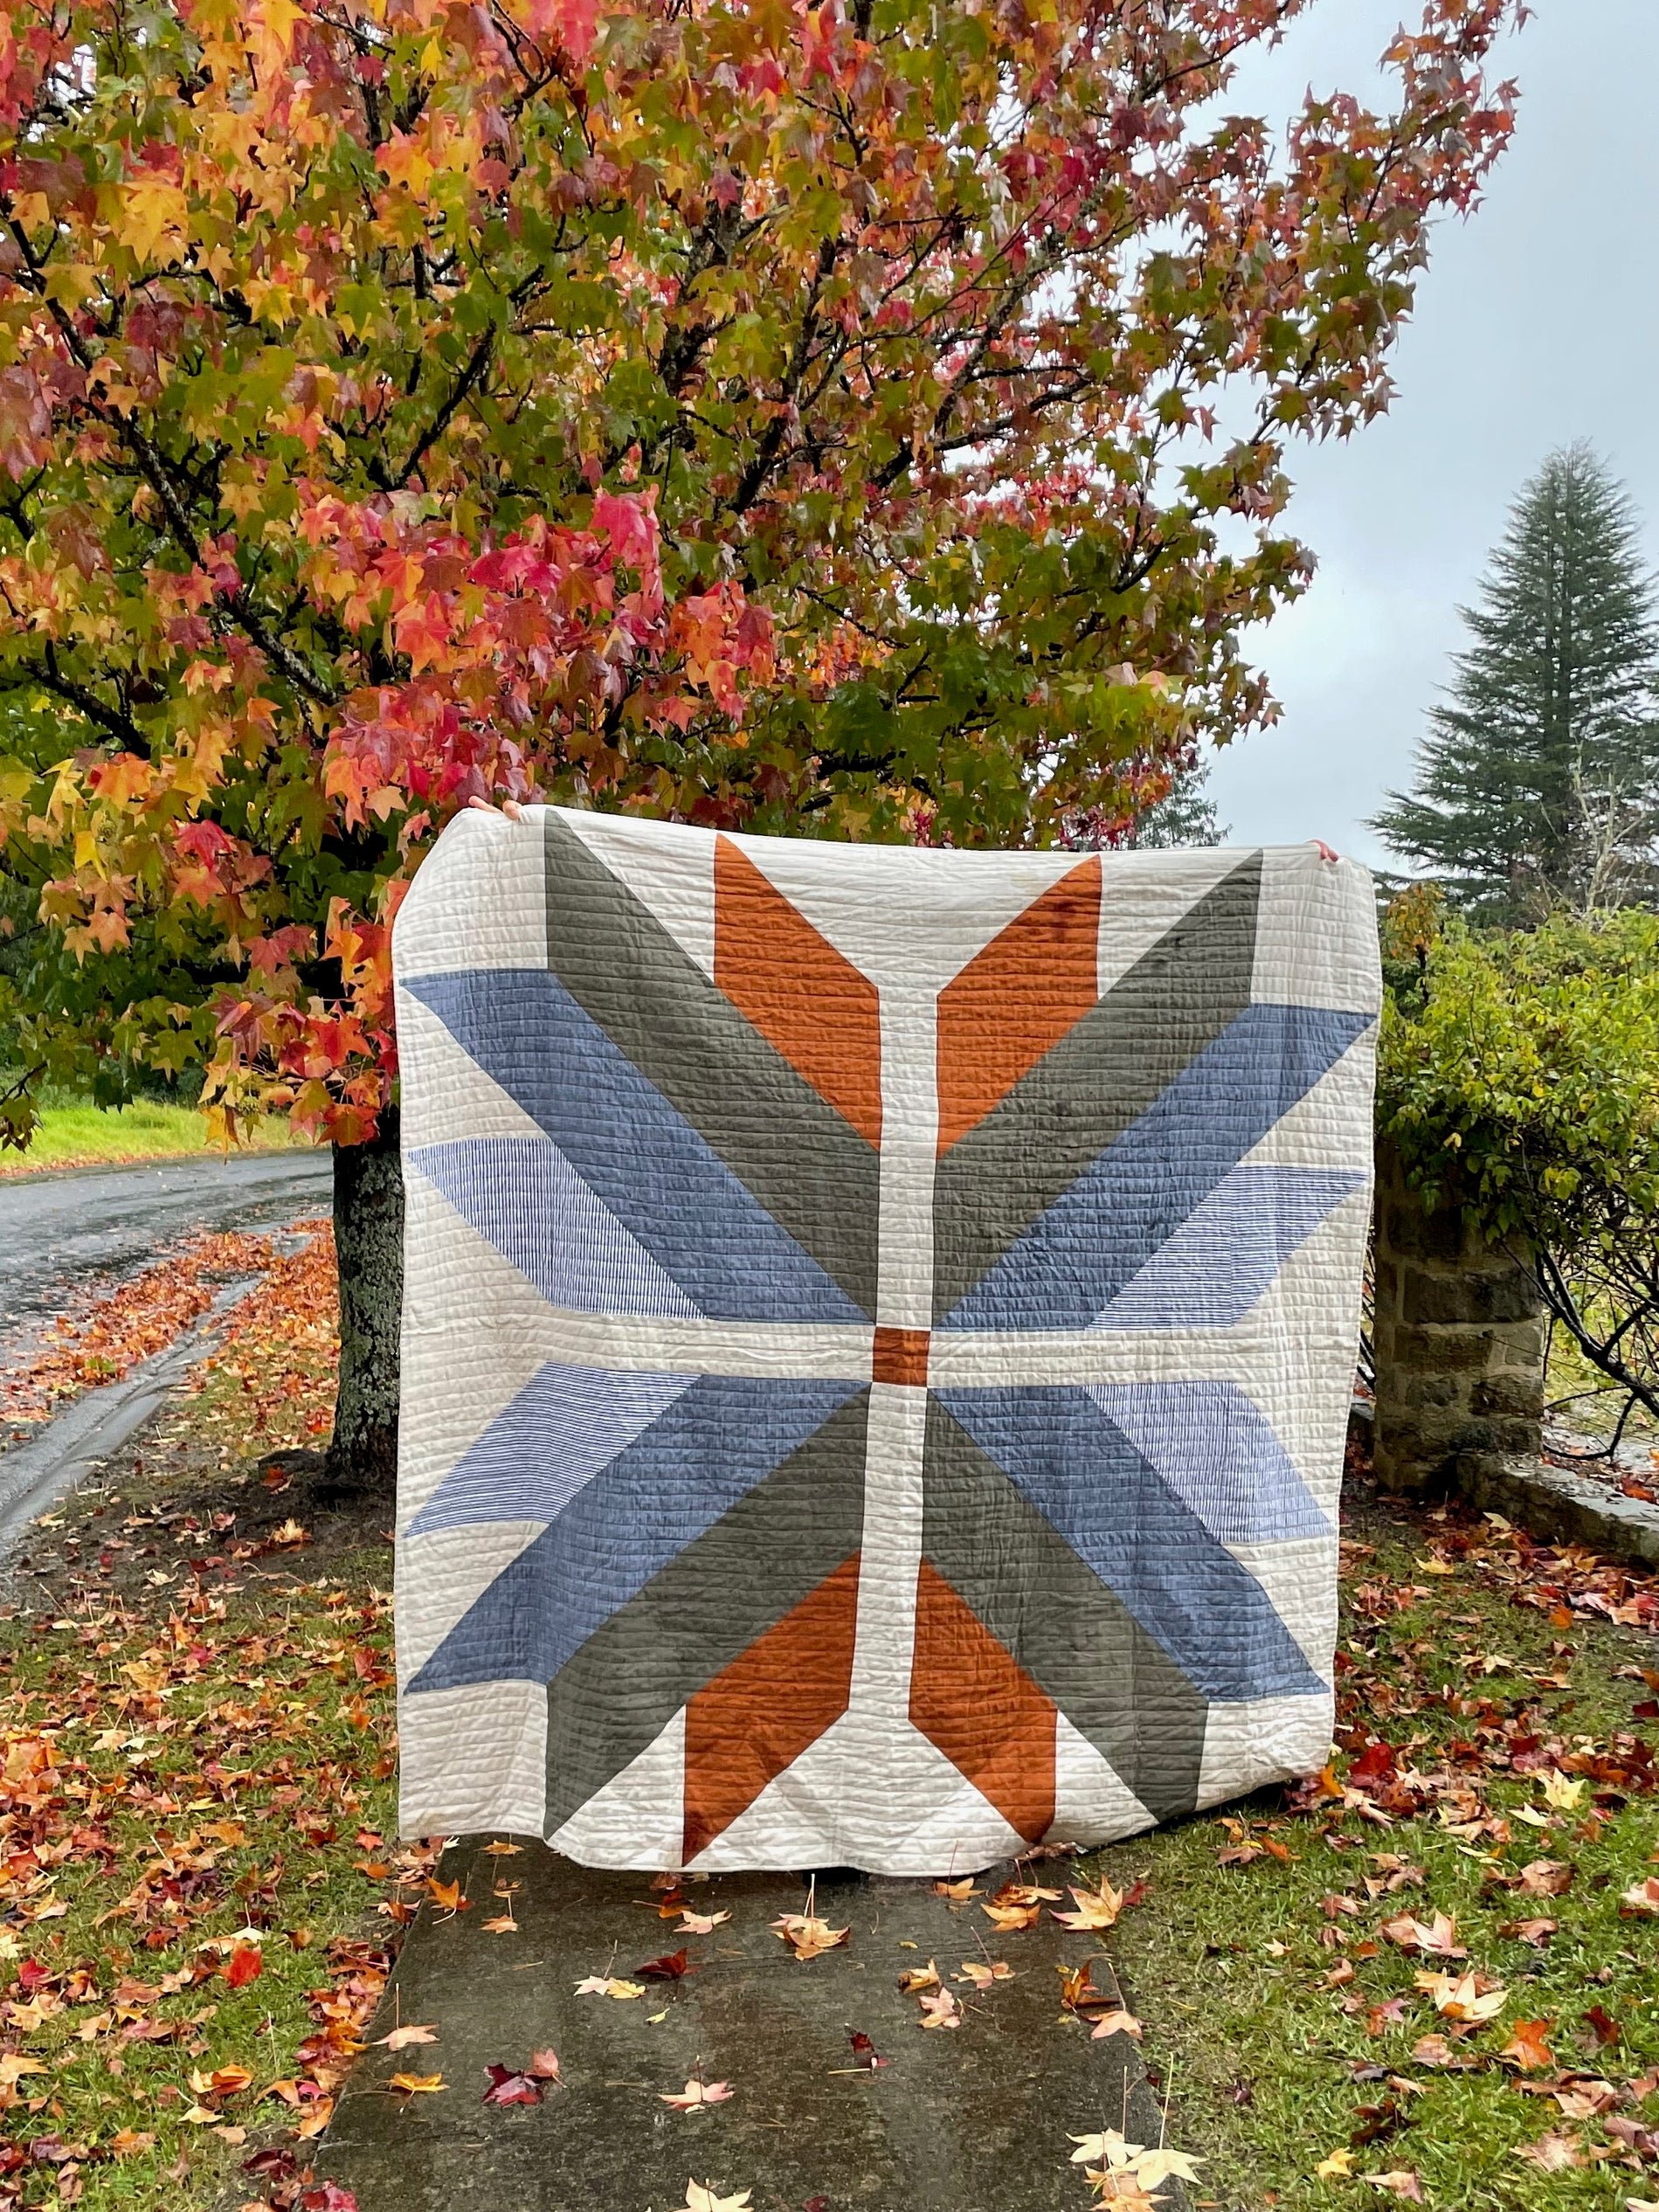
This Lottie Quilt (pattern by Penelope Handmade) is an example of a quilt made from just one block
This Holiday Party Quilt (pattern by SuzyQuilts) is an example of a block based pattern
I’d recommend starting with a block based quilt- that way you can repeat the same block over and over and get practice. Although quilts that have one block can often be easier, sometimes these can be more challenging given the larger pieces needed.
Some beginner pattern suggestions include:
(In fact most of the tutorials you’ll find on this blog will be pretty beginner friendly- I LOVE simple :-)
Irish chain quilt
Fabric (aka as my favourite step):
(If you’d like to see a video tutorial on this step, click here)
Most patterns should include fabric requirements (i.e. how much of each fabric you need to make your quilt)
Colour palette: Decide on a colour palette that you would like to use for the quilt. Consider whether you want a monochromatic, analogous, complementary, or contrasting colour scheme. Choose fabrics that will work well together and create the desired effect.
Some patterns use fat quarters- if you are going to use fat quarters, I highly recommend purchasing a curated bundle- it’s quite hard to purchase fabrics online and many shops don’t sell fat quarters resulting in you walking around a shop with 12 bolts of fabric in your trolley! That’s the reason I actually started Scribbly Gum Quilt Co- because I couldn’t find nice curated bundles in Australia (and bricks and mortar quilting fabric shops are becoming few and far in between)
Consider whether you prefer solids or prints or a combination of both
Consider the type of fabric you’d like to use. I recommend using 100% cotton if you are on your first quilt- linen or linen blends are lovely but definitely a lot more challenging to sew with!
I generally start by buying fabric for my quilt top only, then will later look to find a backing fabric and binding fabric. However, if you wanted to buy everything together, you could consider starting with your backing fabric first- and build your quilt top fabrics around the colours in your backing fabric. Some backing fabrics even have the colours printed on the side which makes it easier for you to match!
Print scale and style: Consider the print scale and style of the fabrics. Will you be using large prints, small prints, or solids? Will the prints be bold or subtle? You can mix and match different scales and styles to add interest and dimension to the quilt. I love to use a combination of solids and prints in my quilt to add some texture.
Theme or purpose: Consider the theme or purpose of the quilt. If you are making a baby quilt, you may want to use fabrics with little animal prints or pastel colours. Choose fabrics that will reflect the theme or purpose of the quilt.
If you are really stuck, consider purchasing a fabric kit which includes fabrics for the equilt top and binding- you can also see what your quilt will look like. Scribbly Gum Quilt Co has a great selection of quilt kits (if I do say so myself, many of the quilts were made by me :-)
I hope you found these tips useful! While I recommend taking some time to think through each of these steps, also don’t spend too much time being weighed down by analysis paralysis- just get started :-)


