
How to make: Fabric gift bags
There’s something about gifting someone a gift in a home-made fabric gift bag that makes it extra special- I mean, how could someone not smile when they receive a present in this?

I’ve put together a little tutorial on how you can make one (or more!) of these yourself. The tutorial covers how to make the star, the measurements I used and the ribbon, and then Bellewood Cottage has an amazing tutorial for how to make the bags themselves (they have french seams which I promise are super easy and means you have a really lovely high quality bag).
A quick note, especially if you are using linen- don’t expect (or even want) perfection. My star is a little wonky, my stitches are a little uneven, but I actually think it adds to the charm and I like how it ended up! :-)
The instructions make a bag that is approximately 8.5” x 10”.
Supplies and cuts
You need:
(1) piece fabric (I used linen) that is 26” x 9.5” (this is the body of the bag)
(3) pieces fabric that are 4” x 4” each (this is for the star background- it should be the same as the body of the bag)
(2) pieces fabric that are 4” x 4” each (these are for the star points- I used green)
(1) piece fabric that is 3.5” x 3.5” (this is for the star centre- I used pink)
(2) pieces fabric that are 2.25” x 15” (this is for the drawstrings- I used a pink floral)

We will start by making the star. Take (2) of your 4”x 4” background pieces and (2) of your 4”x 4” star point pieces.

Sew together, right sides together with a 1/4” seam around the outside (see square at the top).

Then using your ruler, make two cuts on the diagonal to create four half square triangles. Repeat for the other set of squares. You will have 8 half square triangles (HST) in total. Trim each HST so it is 2” x 2”.

Then take your last 4”x4” square and cut it into (4) 2” x 2” squares.

Now we are going to sew our star together.

Using 1/4” seams, right sides together, start by sewing each couple of star points together as follows:

Then sew the two side pieces to the centre square as follows (once again right sides together, using 1/4” seam):

Then the little square to either side of the other star point couples (again right sides together, using 1/4” seam):

And finally sew each of the rows together (right sides together, using 1/4” seams)- and you'r star is (almost) done!

Next, we are going to press in a 1/4” seam so we can attach our star patch to the bag. The reason we are doing it this way, instead of building the patch into the bag is so it’s all nice and tidy on the inside (especially with those beautiful French seams)- and it means we don’t have to line it. I thought this step wouldn’t. be much fun but it actually is surprisingly easy! You can use the tips of your stars as a guide point but press down each side 1/4” away from the edge as follows:

Then using basting spray or a few pins, attach your bag to the front of the bag. Use a ruler to make sure it’s nicely centred but make sure you measure from 2.5” from the top of the bag (as that’s how much fabric is needed to add the drawstring folds)- see how in the picture, I have a fold that is 2.5” at the top. I also put my star a little closer to the bottom but this is totally personal preference! :-)

Now it’s time to sew on your star- on my sewing machine, i’ve used the internal side of the foot to get it as close to the edge as possible- go slowly but it doesn’t have to be perfect!

Go all the way around and your star is attached! Now we just need to make the drawstring ties before I direct you in the attention of the tutorial for making the actual bag.
Take your (2) strips of fabric that are 2.25”x 16” and press each one in half, wrong sides together as follows:
Then open up your piece of fabric and press each edge into the centre (using the centre pressed line from the previous step) as follows, first one half:

Then the other:

Then fold each of the ends into a little point like this (this will mean you have a nice end that doesn’t fray)

And finally, press each of your strips back in half so it looks like this:

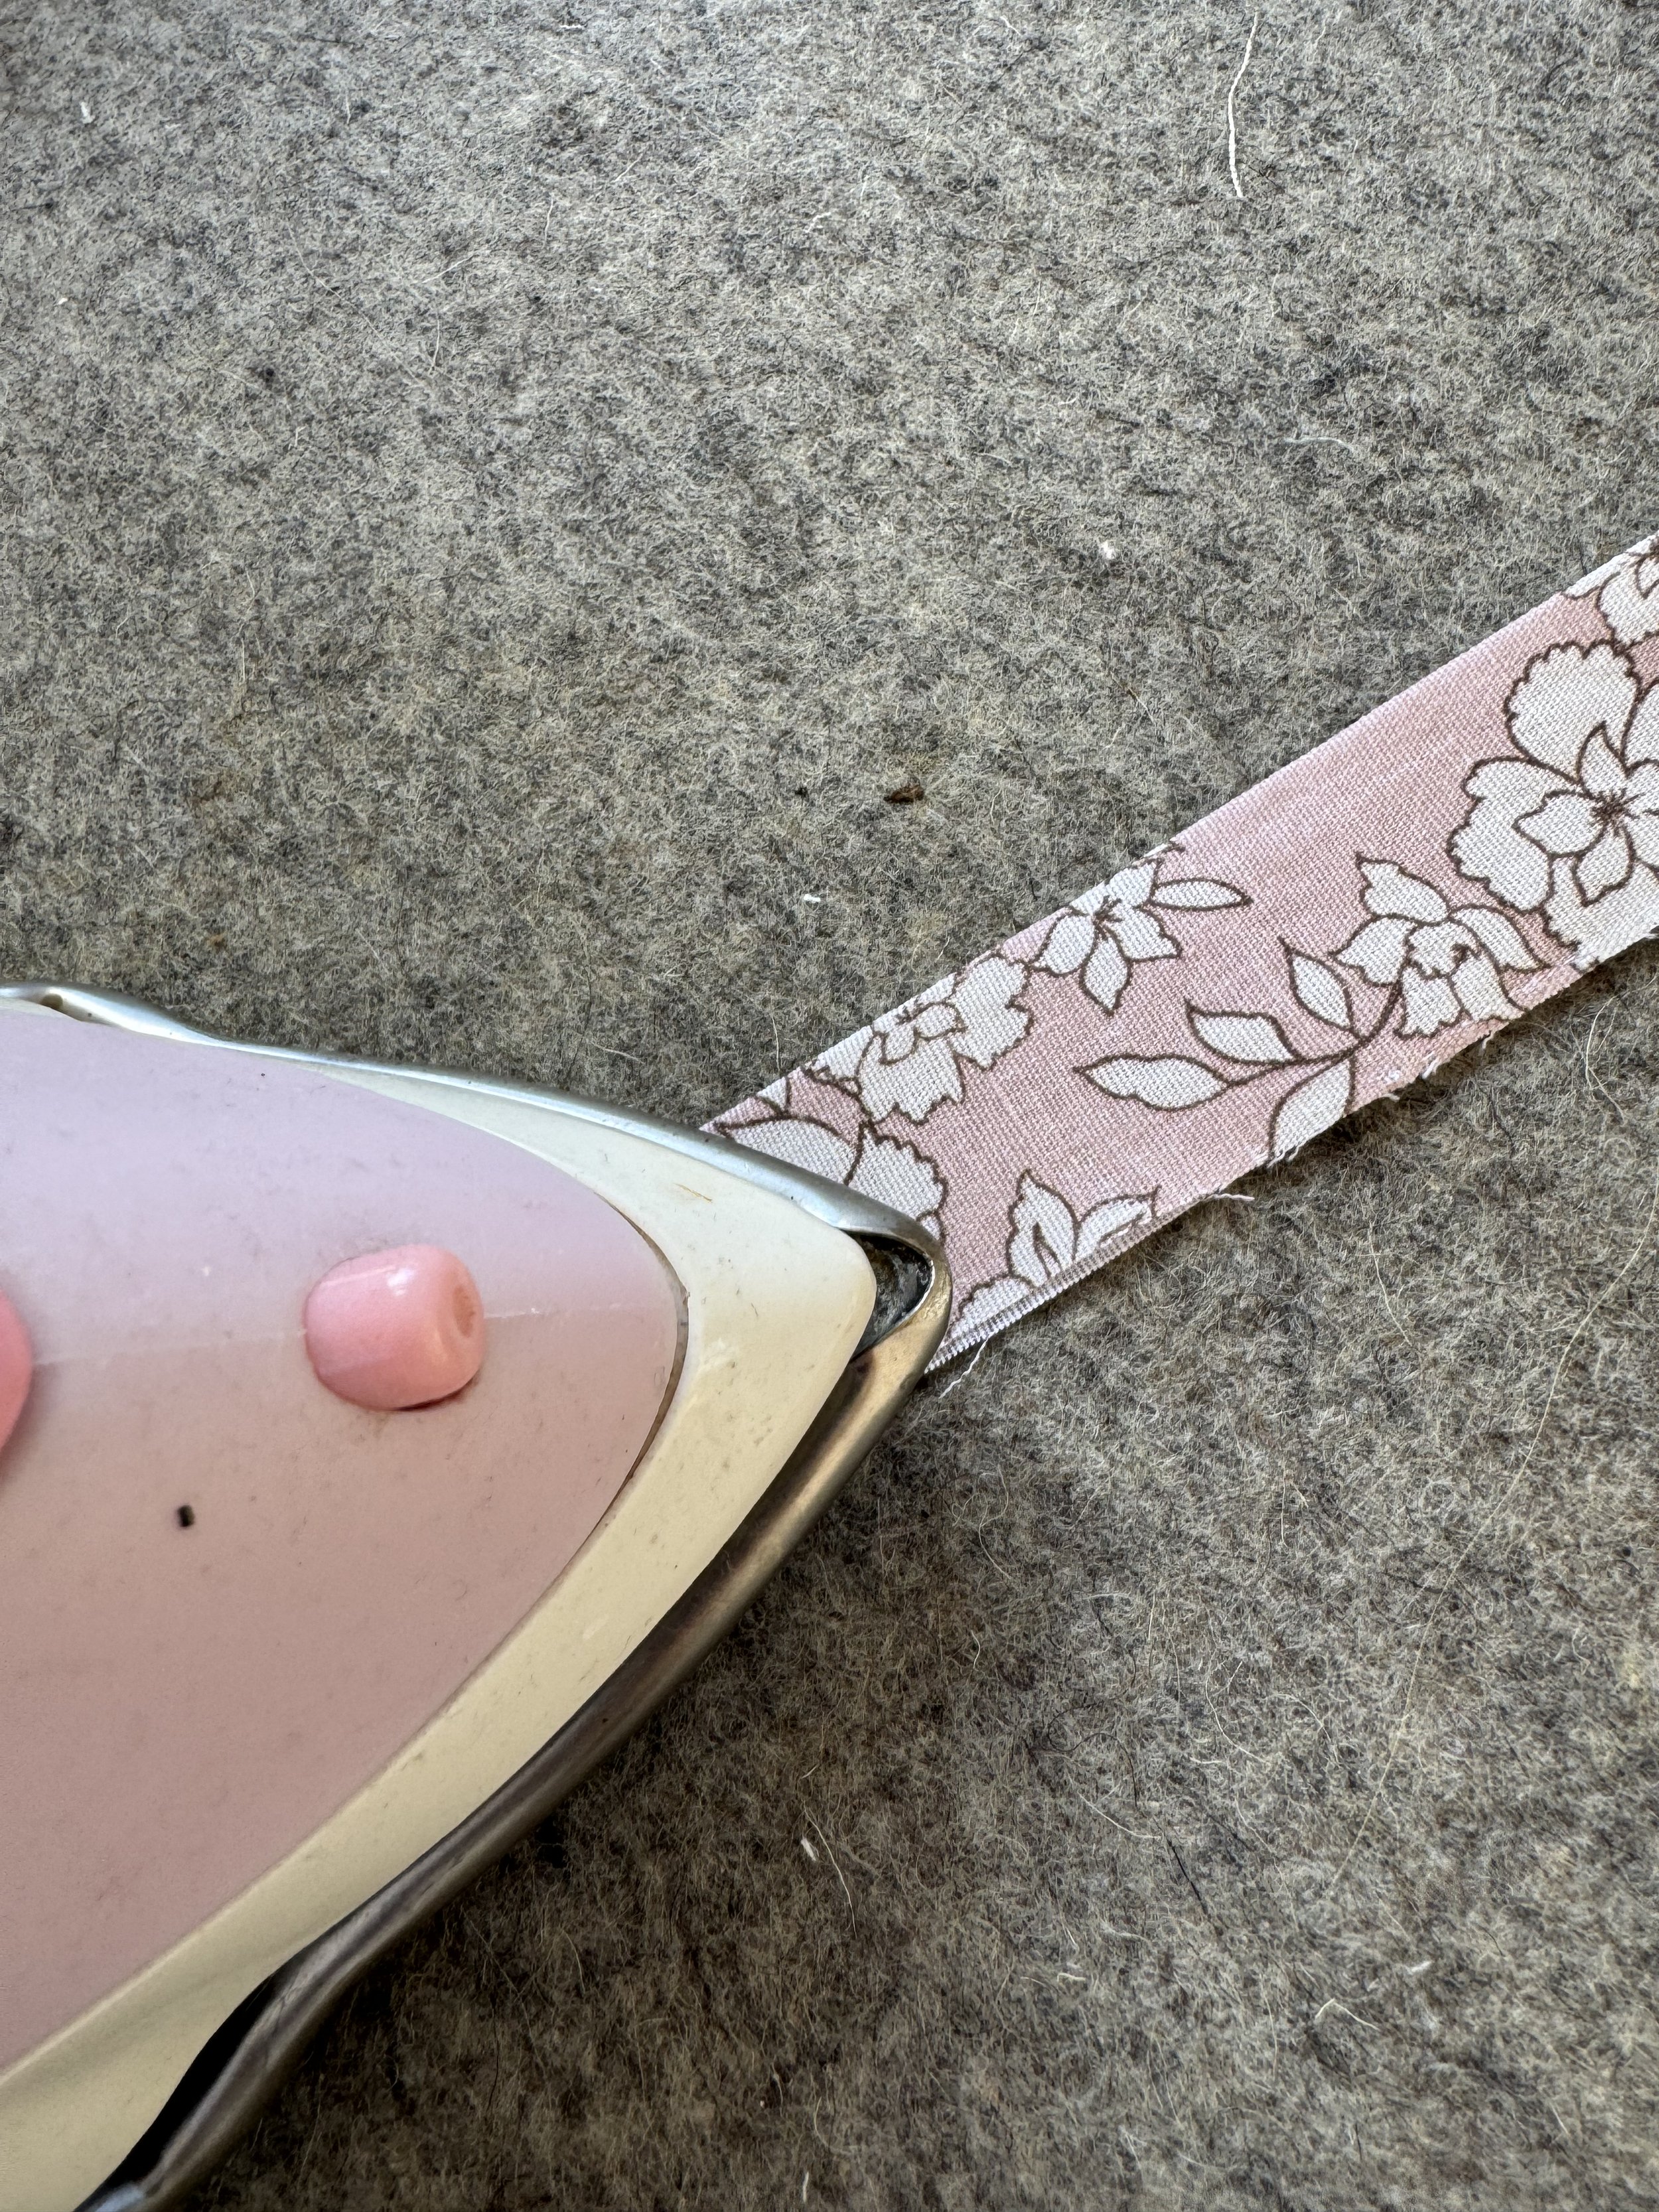
Now using the same edge of your sewing machine, sew along the edge to seal each piece shut:

And your drawstrings are done and your star is attached!
Optional step: You can hand quilt your star using thicker thread if you want another extra detail (see the photo at the top)

And now I will direct you to the very excellent tutorial by Bellewood Cottage for making the bags themselves- make sure to scroll down to the bottom of the post for a quick video which is super clear and well explained.

Happy sewing! Let me know if you have any questions :-)