
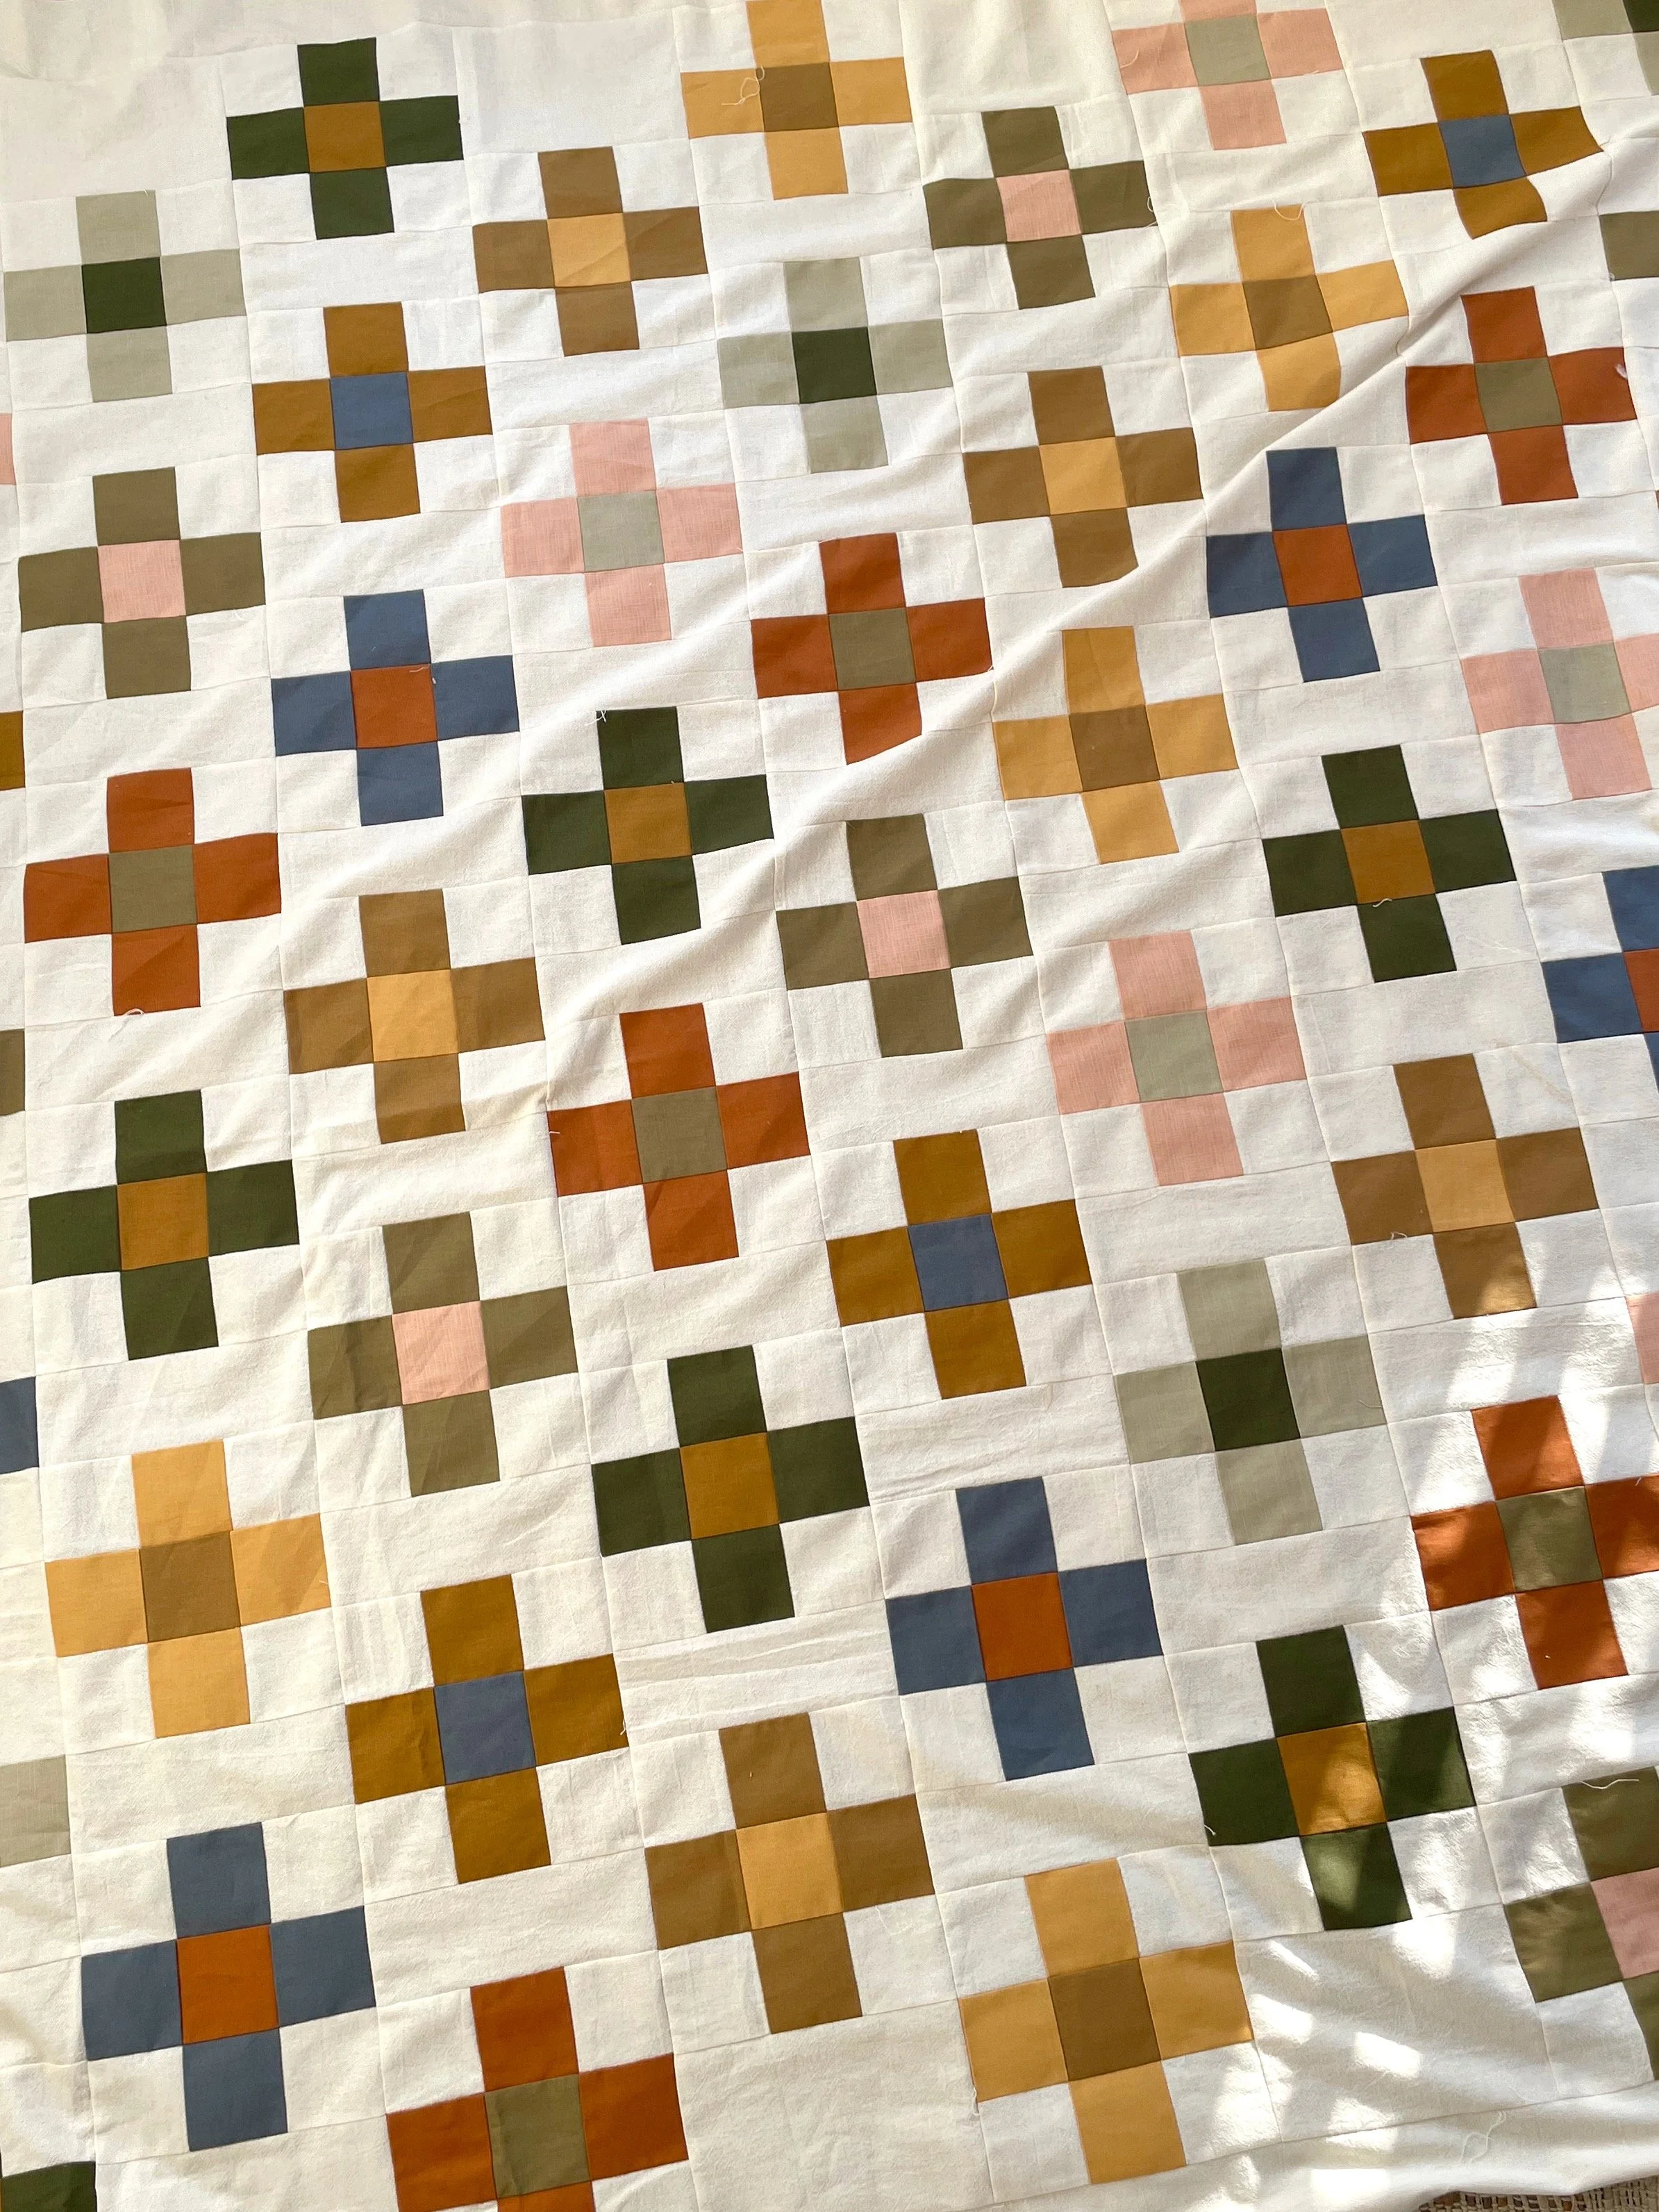
Quilting 101- Lesson 5- Sewing your quilt top
Now we are onto one of the funnest steps- making the quilt top- to me this is the quintessential step in quilting and where your quilt really starts to come to life !

A quick note before starting your quilt top- it doesn’t have to be perfect!! I promise you don’t notice a slightly wonky seam or misaligned piece (I have them in ALL my quilts and never notice them).
And if you already know how to sew your quilt top and are just here for some speedy tips and tricks scroll down to the end of this blog post :-)
Step 1: Read the Pattern
Before cutting your fabric, read through the pattern carefully. Make sure you understand the instructions and have all the necessary materials. Check if the pattern has a recommended cutting diagram to make the most efficient use of your fabric.
Step 2: Cut Your Fabric
Using your rotary cutter, cutting mat, and rulers, cut your fabric according to the pattern instructions. Be sure to cut accurately to ensure your quilt top will fit together correctly. (I’ve got a longer tutorial on cutting here)

Step 3: Arrange Your Pieces
Once all your pieces are cut, lay them out on a flat surface according to the pattern instructions. This will give you an idea of how the block will look and allow you to make any necessary adjustments to the colour placement. A tip with this step- don’t agonise for toooo long- it will all look lovely once it’s sewn together :-)
Step 4: Sew Your Pieces Together to create your blocks
Begin sewing your pieces together according to the pattern instructions. It's important to use an accurate 1/4-inch seam allowance throughout your sewing. This will ensure your pieces fit together properly and your finished block is square.
I love using a 1/4” seam foot to make my seams extra accurate (check out the tools tutorial for more information on this one :-)
Step 5: Press Your Seams
After each section is sewn, press your seams with an iron. This will help your seams lie flat and create a smoother finished quilt top. I personally recommend pressing to the dark side- it’s a lot quicker and it allows seams to nest together meaning you won’t need to pin and your seams will be more accurate. True quilting purists always press their seams open but I don’t really care for the amount of effort of doing that- it all quilts out in the end! (But obviously this is totally personal preference

Step 6: Lay out your blocks
This step is optional- sometimes I throw caution into the wind and just sew my blocks together as I go, hoping it will look okay (spoiler alert, it always does), but if you want to, you can lay out your blocks to see how they look next to each other- this may allow you to find areas that are concentrated- eg do you have two blue blocks next to each other- would they look better separated? etc
Step 7: Sew your blocks together
Sew your blocks together until you have completed the entire quilt top (once again using the 1/4” seam). Join the sections together as specified in the pattern instructions.
Step 8: Add Borders (Optional)
If your quilt pattern includes borders, cut and sew them onto the quilt top.
Step 9: Finish Your Quilt Top
Once your quilt top is complete, give it a final press with an iron (I like to use lots of steam to make it extra flat). Your quilt top is now ready for the next step- the quilt sandwich!
Tips and Tricks:
Cut multiple pieces at once to speed up the process. You can do this by laying your fat quarters on top of each other and making sure they are perfectly aligned- then you can cut them at the same time (Start with 2 or 3, and then you can work your way up to more!)
Use chain piecing to quickly sew multiple pieces together- this means you sew two pieces together then the next two, without cutting the thread (it also means you don’t need to raise your sewing foot)- once you’ve sewn all your pieces (eg sewing two rectangles together 20 times), you can use snips to cut them apart
Nesting seams- Nested seams are one of my favourite tricks because they mean you don’t need to pin, but also your pieces will line up perfectly! Basically, you want to sew two seams in a way that they fit neatly within each other, like puzzle pieces. This reduces the bulk and helps the fabric lay flat. Essentially your seams will be pressed in opposite directions so they nest together like puzzle pieces! So if you've got two seams that will intersect, just press one to the right and the other to the left (NB: This usually happens automatically when you press to the dark side as you often have opposite pieces next to each other). Then, when you sew them together, they'll nest together like BFFs. It's a small detail, but it can make a big difference in the finished appearance of your quilt blocks!
Starch your fabric before cutting to make it easier to work with.
Keep your work area organised to avoid losing pieces or cutting mistakes (hahah do as I say and not as I do ).